FemtoBuck Constant Current LED Driver Hookup Guide v13
 SFUptownMaker
 Connecting to an Arduino or Compatible Board
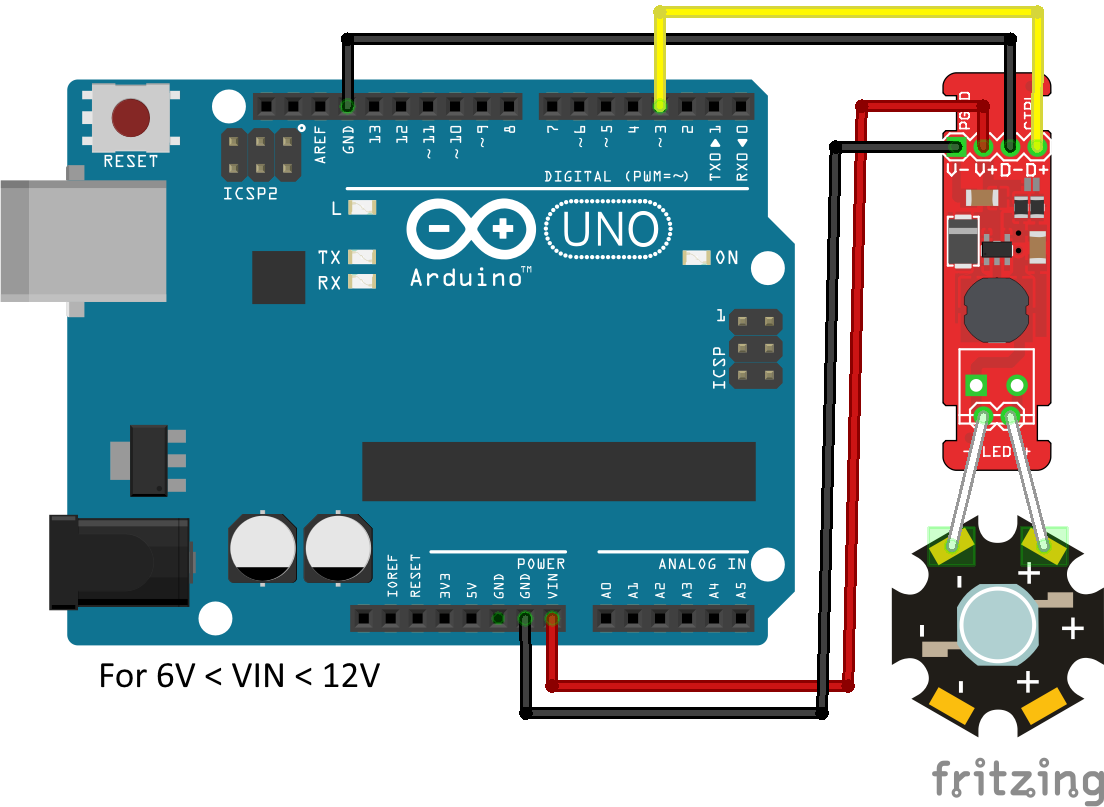
If you have only one or two LEDs, you can connect the FemtoBuck directly to the VIN pin on your Arduino. You will need to power the board from an external supply, as the 5V provided by USB isn't high enough to power the FemtoBuck (the FemtoBuck won't turn on below 6V).
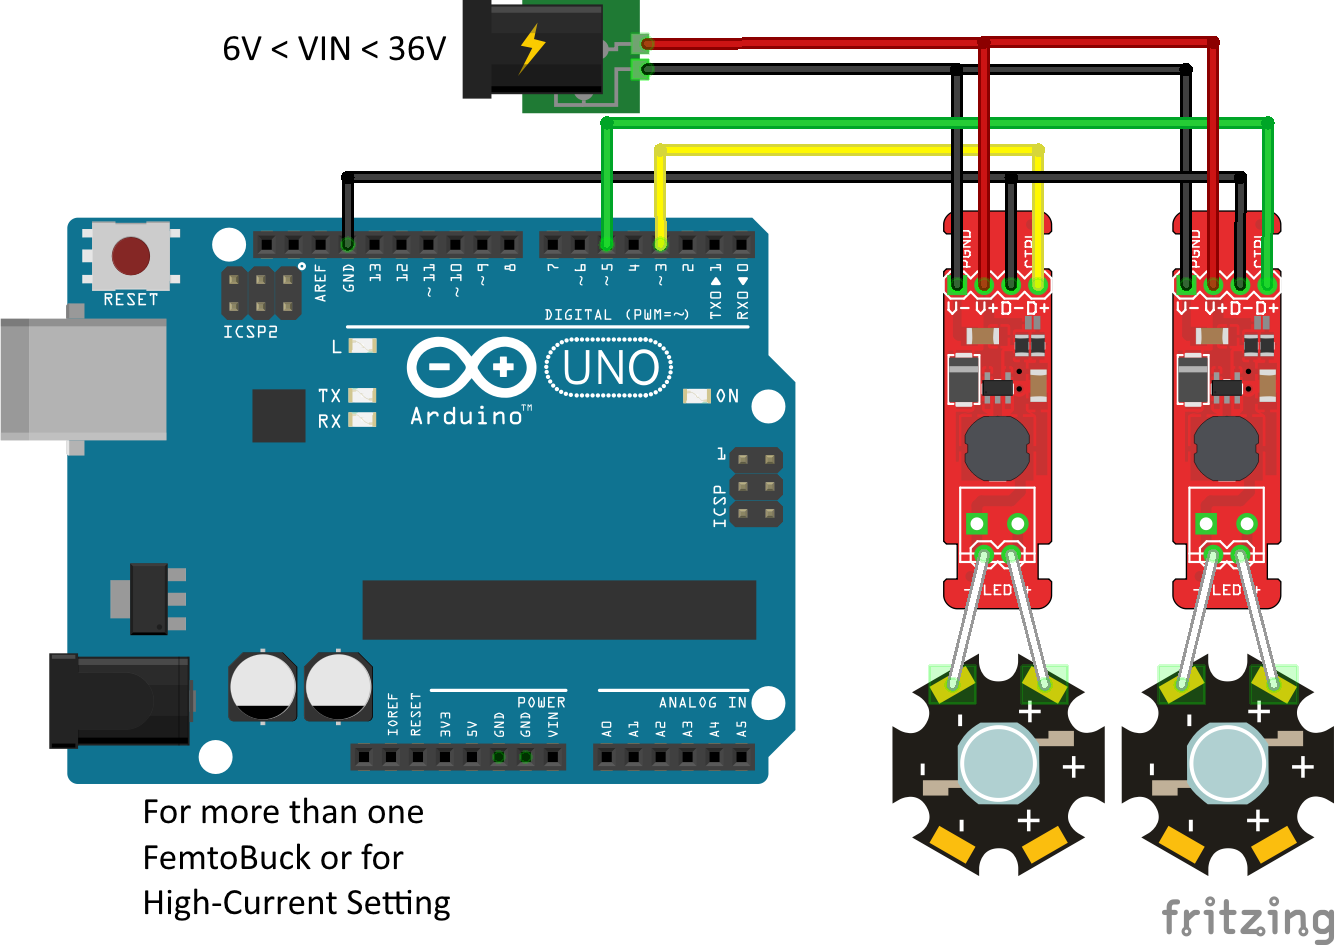
If you want more than one FemtoBuck, or if you've closed the solder jumper to increase the drive current, you'll need to add an external power supply. It's not good to try to run too much current through the traces on the Arduino. Note that the LEDs are wired separately to each FemtoBuck! This is very important; the output of each FemtoBuck must be completely isolated from any other! That means that RGB LEDs with "common" pins (common anode or common cathode) cannot be used with the FemtoBuck!
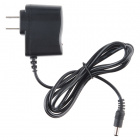
Wall Adapter Power Supply - 9VDC 650mA
TOL-00298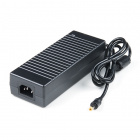
Power Supply - 24V (5A)
TOL-13758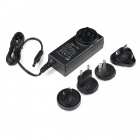
Multiple LEDs can be connected in series, as shown, and the supply voltage should be at least 2-3V higher than the sum of the forward voltages of the LEDs.
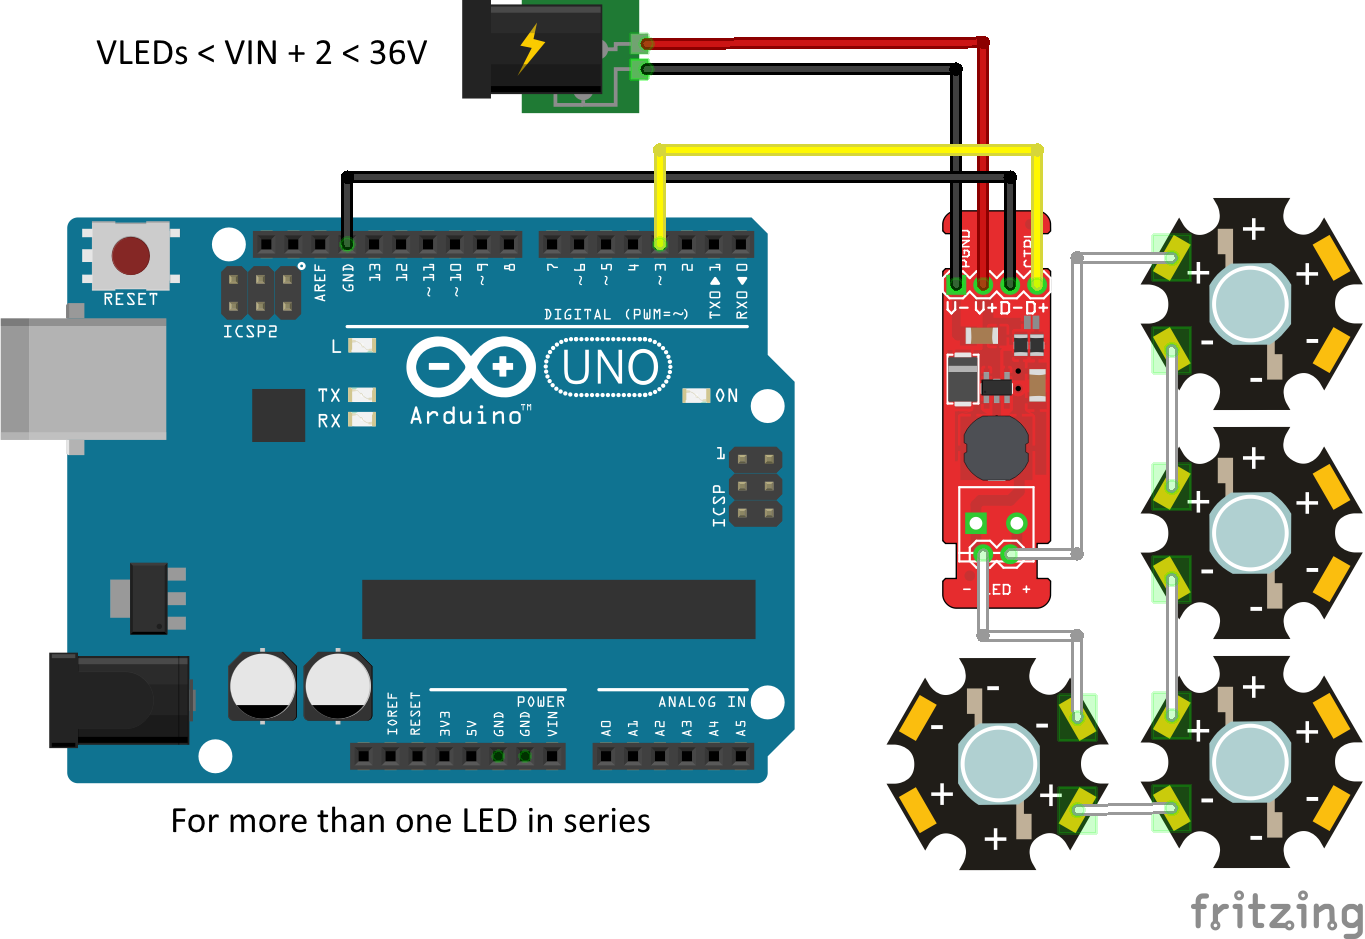
For instance, our blue 3W LEDs have a forward voltage of 3.2V to 3.8V. To be on the safe side, use the highest voltage in the range. If you want to connect four of them, you'd need a power supply of ~17V or greater (3.8V + 3.8V + 3.8V + 3.8V = 15.2V; add 2V of "head room").
Since 17V is greater than the Arduino can tolerate on its input, we have to provide an external supply for the Arduino as well. This can be the standard 5V USB supply.
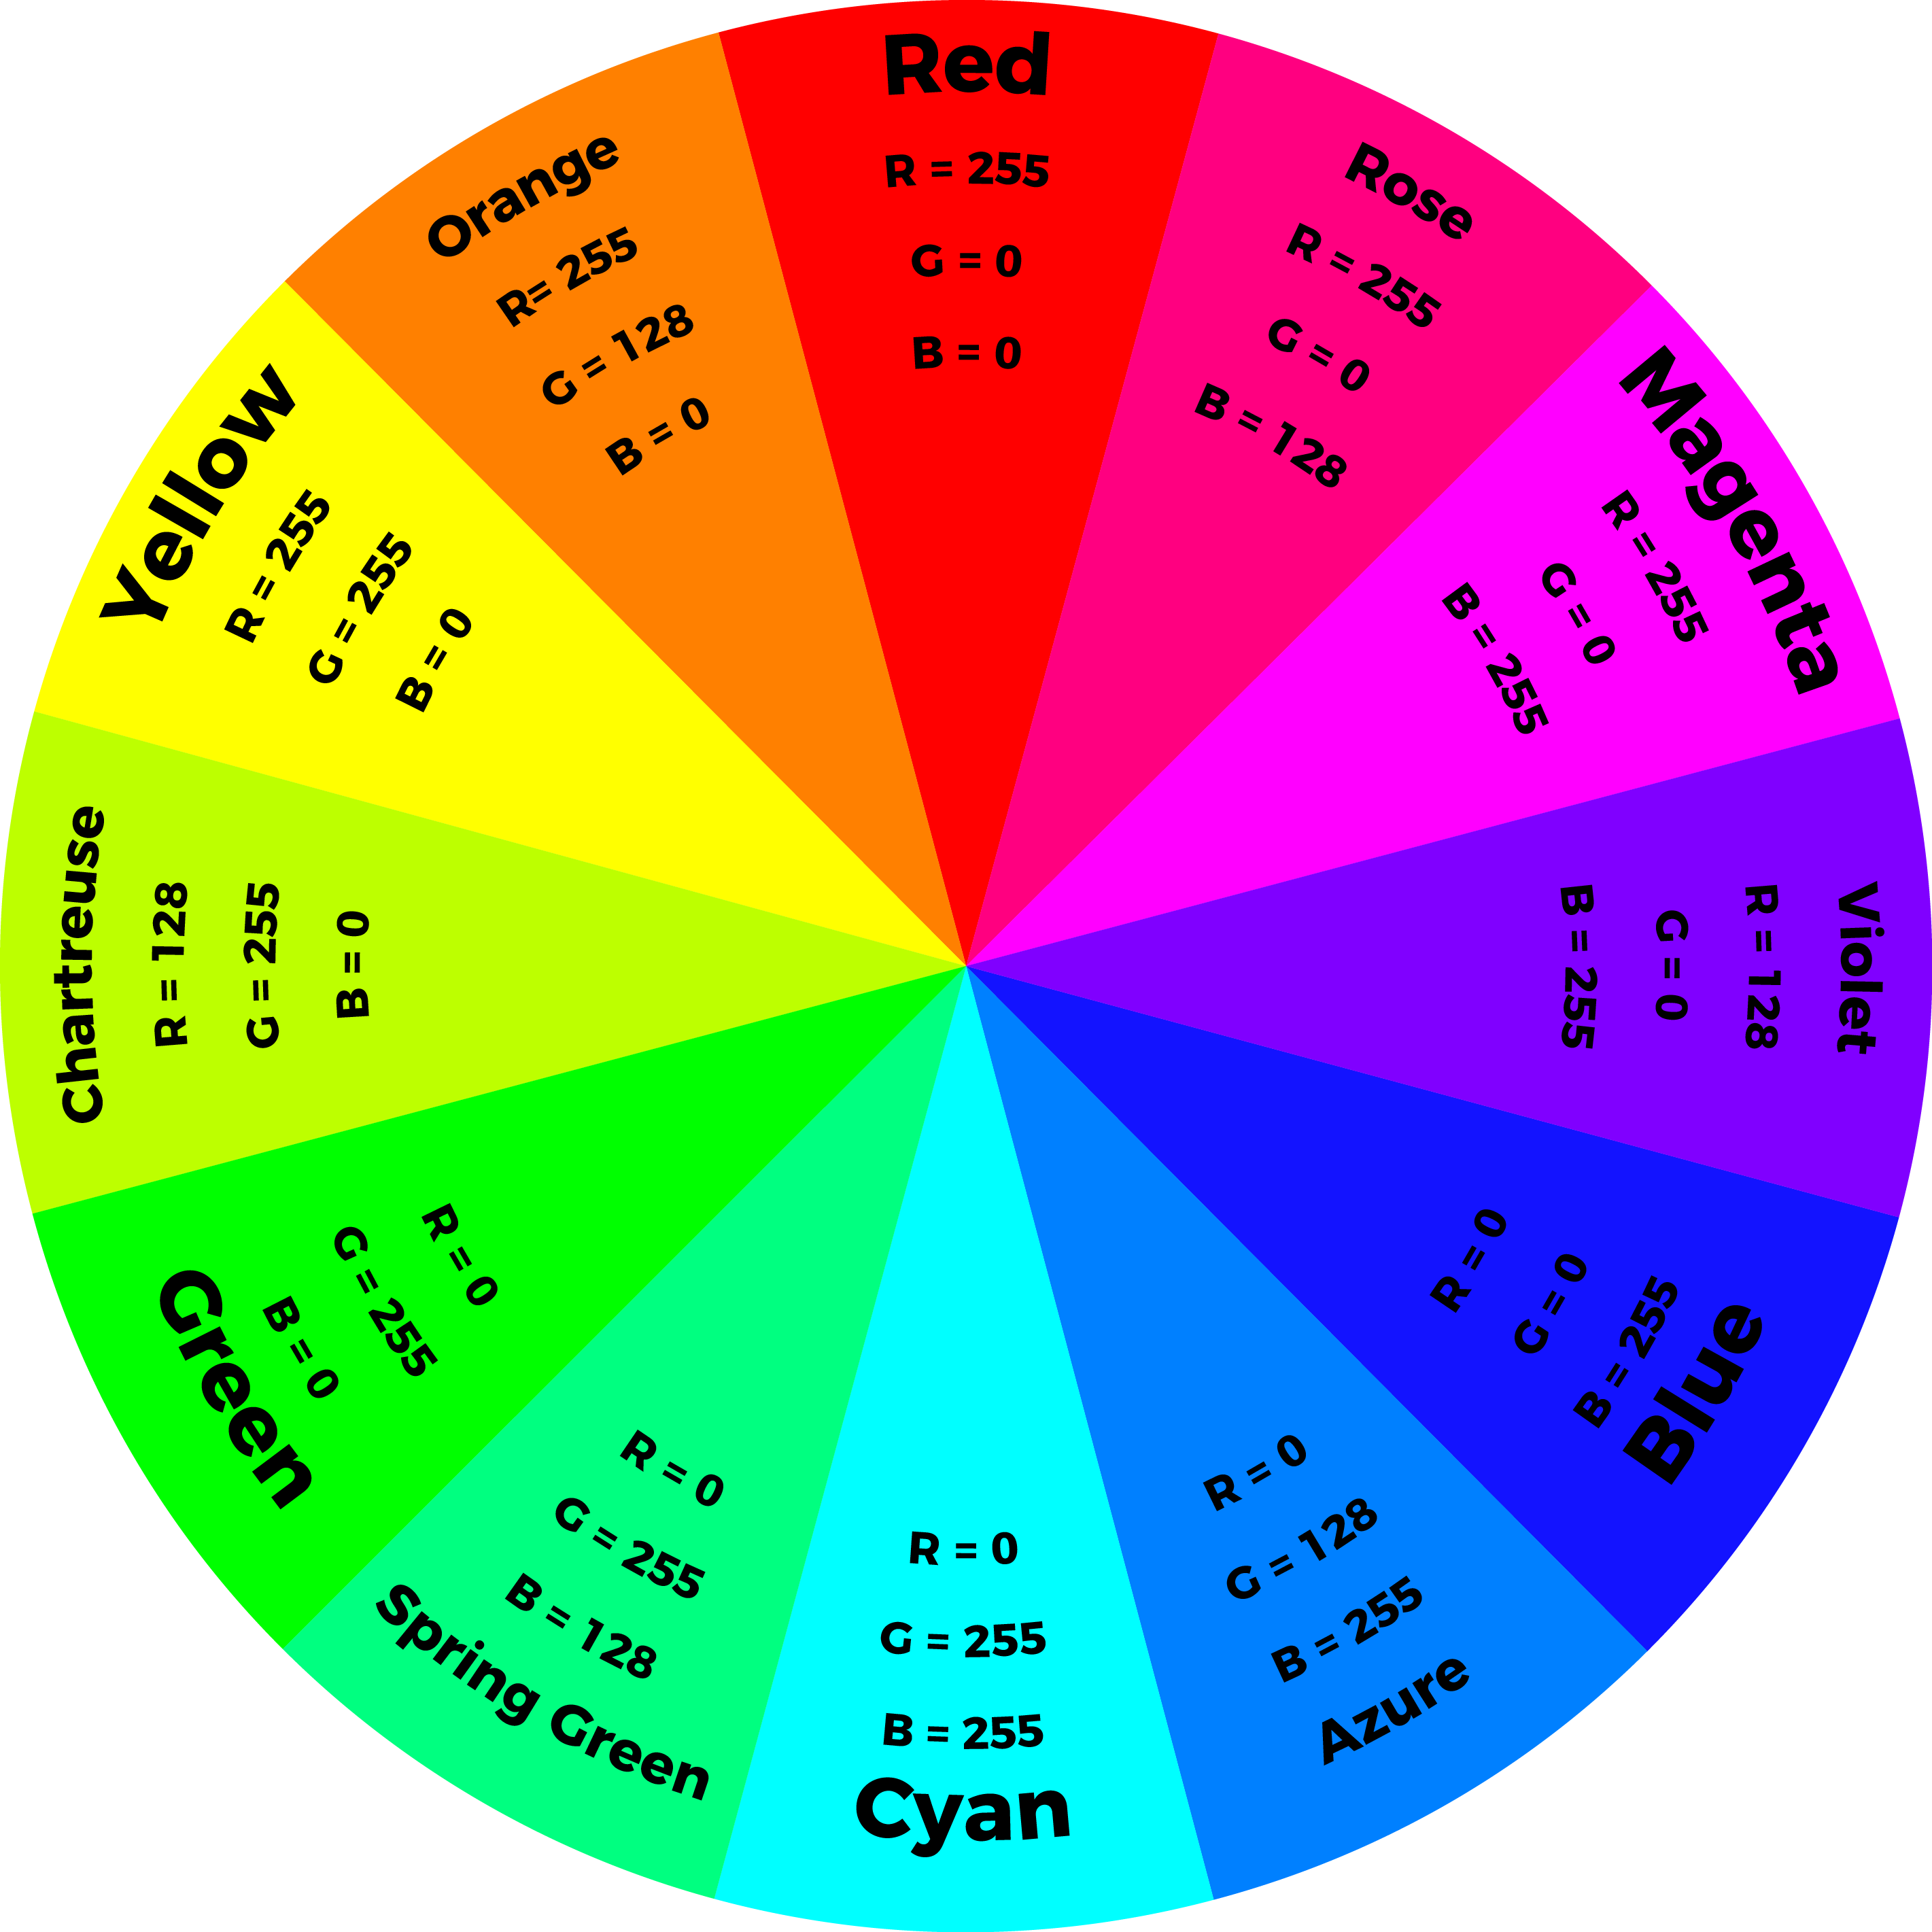
Try checking the example that was used in the LilyPad ProtoSnap Plus Activity Guide for custom color mixing with tertiary colors. Just make sure to update the pin definitions.
Or try using the code from the Non-Addressable RGB LED Strip Hookup Guide. While the code was written for RGB strips with transistors, the code functions the same with the the PickBuck.