Experiment Guide for the Red Hat Co.Lab Farm Kit
 D___Run___,
  Gina Likins
Before You Start
Before you start building your farm, there are some things that you can do ahead of time to ensure your farm project will be a success. The information below will tell you how much time you can expect to spend, what tools and materials you'll need, and what you can do before you start your project that will make it easier (and more likely to work!).
Recommended Age and Prerequisite Skills
This activity is best suited for ages 9 and up.
There are no specific skills necessary to complete the project, and no prior knowledge of circuits is assumed. Some of the components are small and making connections requires a bit of dexterity, so younger students may need adult assistance.
Time Requirements
- Experiment 1: Breadboards and Basic Circuits - 30 minutes (but there's lots of experimentation that can be done here, so feel free to spend more time with this)
- Experiment 2: Building Your "Water-Me" Signal - 30 minutes
- Experiment 3: Planting Your Farm - 15 minutes to plant (but you'll also spend time caring for your farm after you plant it)
Tools and Materials
- The Red Hat Co.Lab Farm Kit
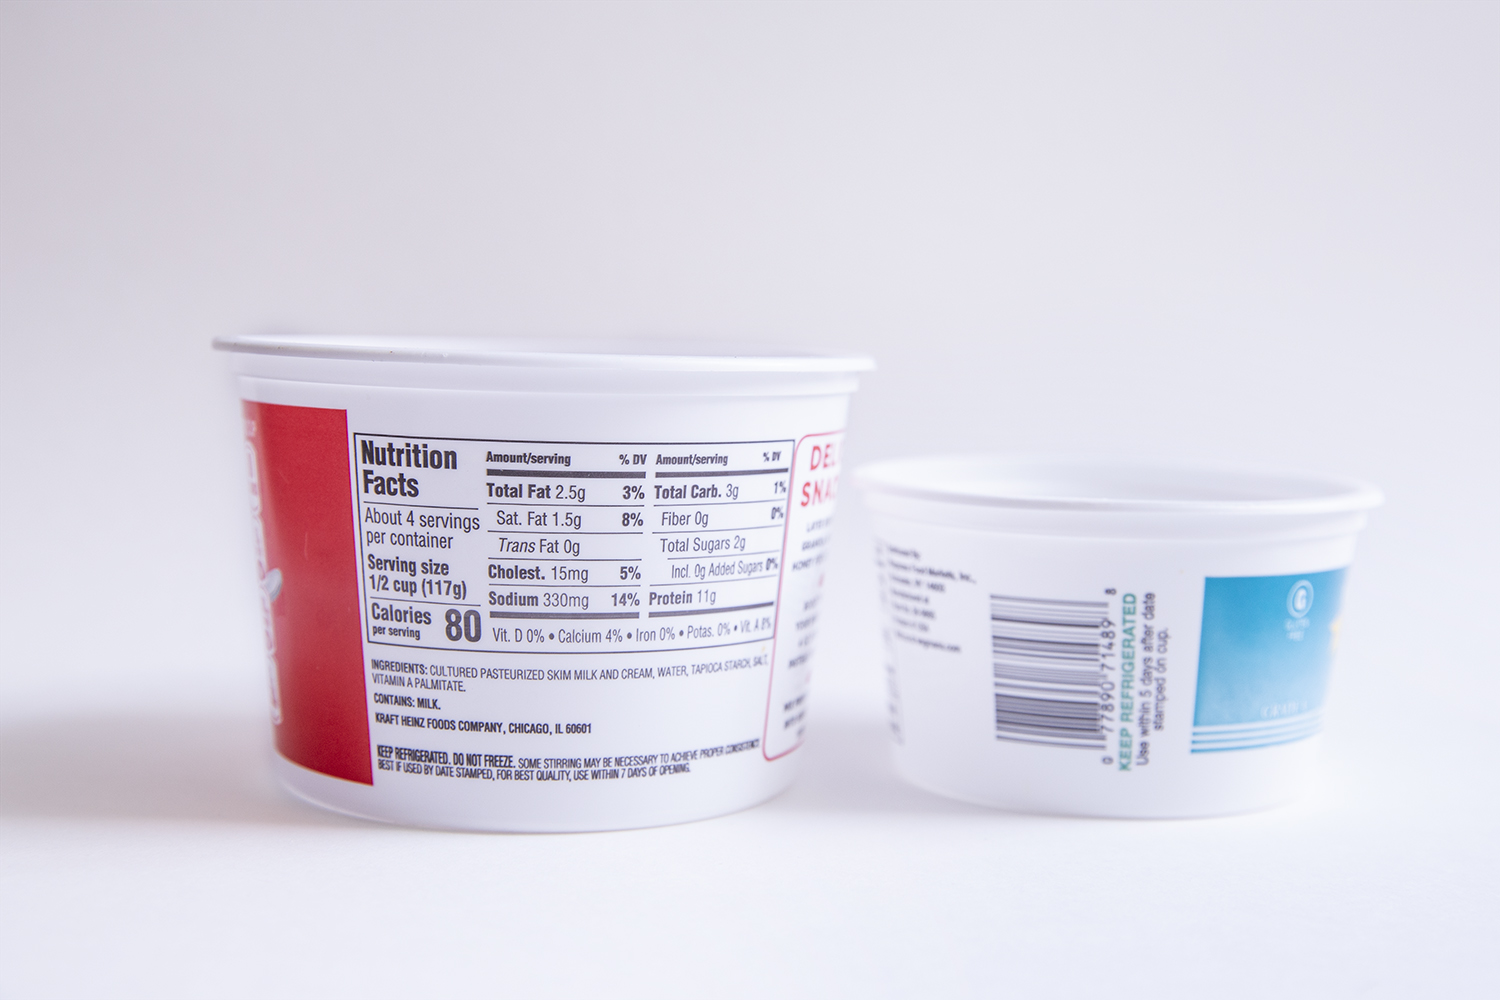
- A container: to plant your seeds in. Approximately 3-5" across (round or square is fine) and no more than 2-3" deep is perfect. A well-rinsed, recycled tub like yogurt or cottage cheese comes in; the 8 oz. size of takeout container; or a milk carton, trimmed down (with adult help) would all work well.
- Microgreen seeds: you can order these online from many places (and may be able to find them at your local garden store). You don't need many, and several people can split a single package of seeds.
- Scissors -- for cutting the hydroponic felt to fit the bottom of your container. The felt can be torn, but it shreds a little, so it's neater to cut it.
- A Pencil: to mark your felt before trimming it
- Electrical Tape: electrical tape can be used to provide extra protection for the sensor connections (not necessary, but helpful)
- A sunny spot to put your tiny farm: check the planting instructions on your seed package for light requirements, and make sure you have a suitably sunny spot picked out for your farm where you will also be able to see the "Water-Me Signal."
Project checklist
☑ Read Requirements and Assemble Tools
☐ Read the Instructions
☐ Identify the Parts
☐ Build Your Project
☐ Testing
☐ Show it off!
Read the Instructions
You know how people always say "Read all the instructions before starting?" It really does help. (Hint: try to familiarize yourself with the parts you'll be using as you're reading through the instructions.)
Project checklist
☑ Read Requirements and Assemble Tools
☑ Read the Instructions
☐ Identify the Parts
☐ Build Your Project
☐ Testing
☐ Show it off!
Identify the Parts
Before you start your project it's a good idea to check to be sure that you have everything you need (and that you know which part is which). This includes making sure that you have any required materials that didn't come in the kit (like your planter and your seeds!).
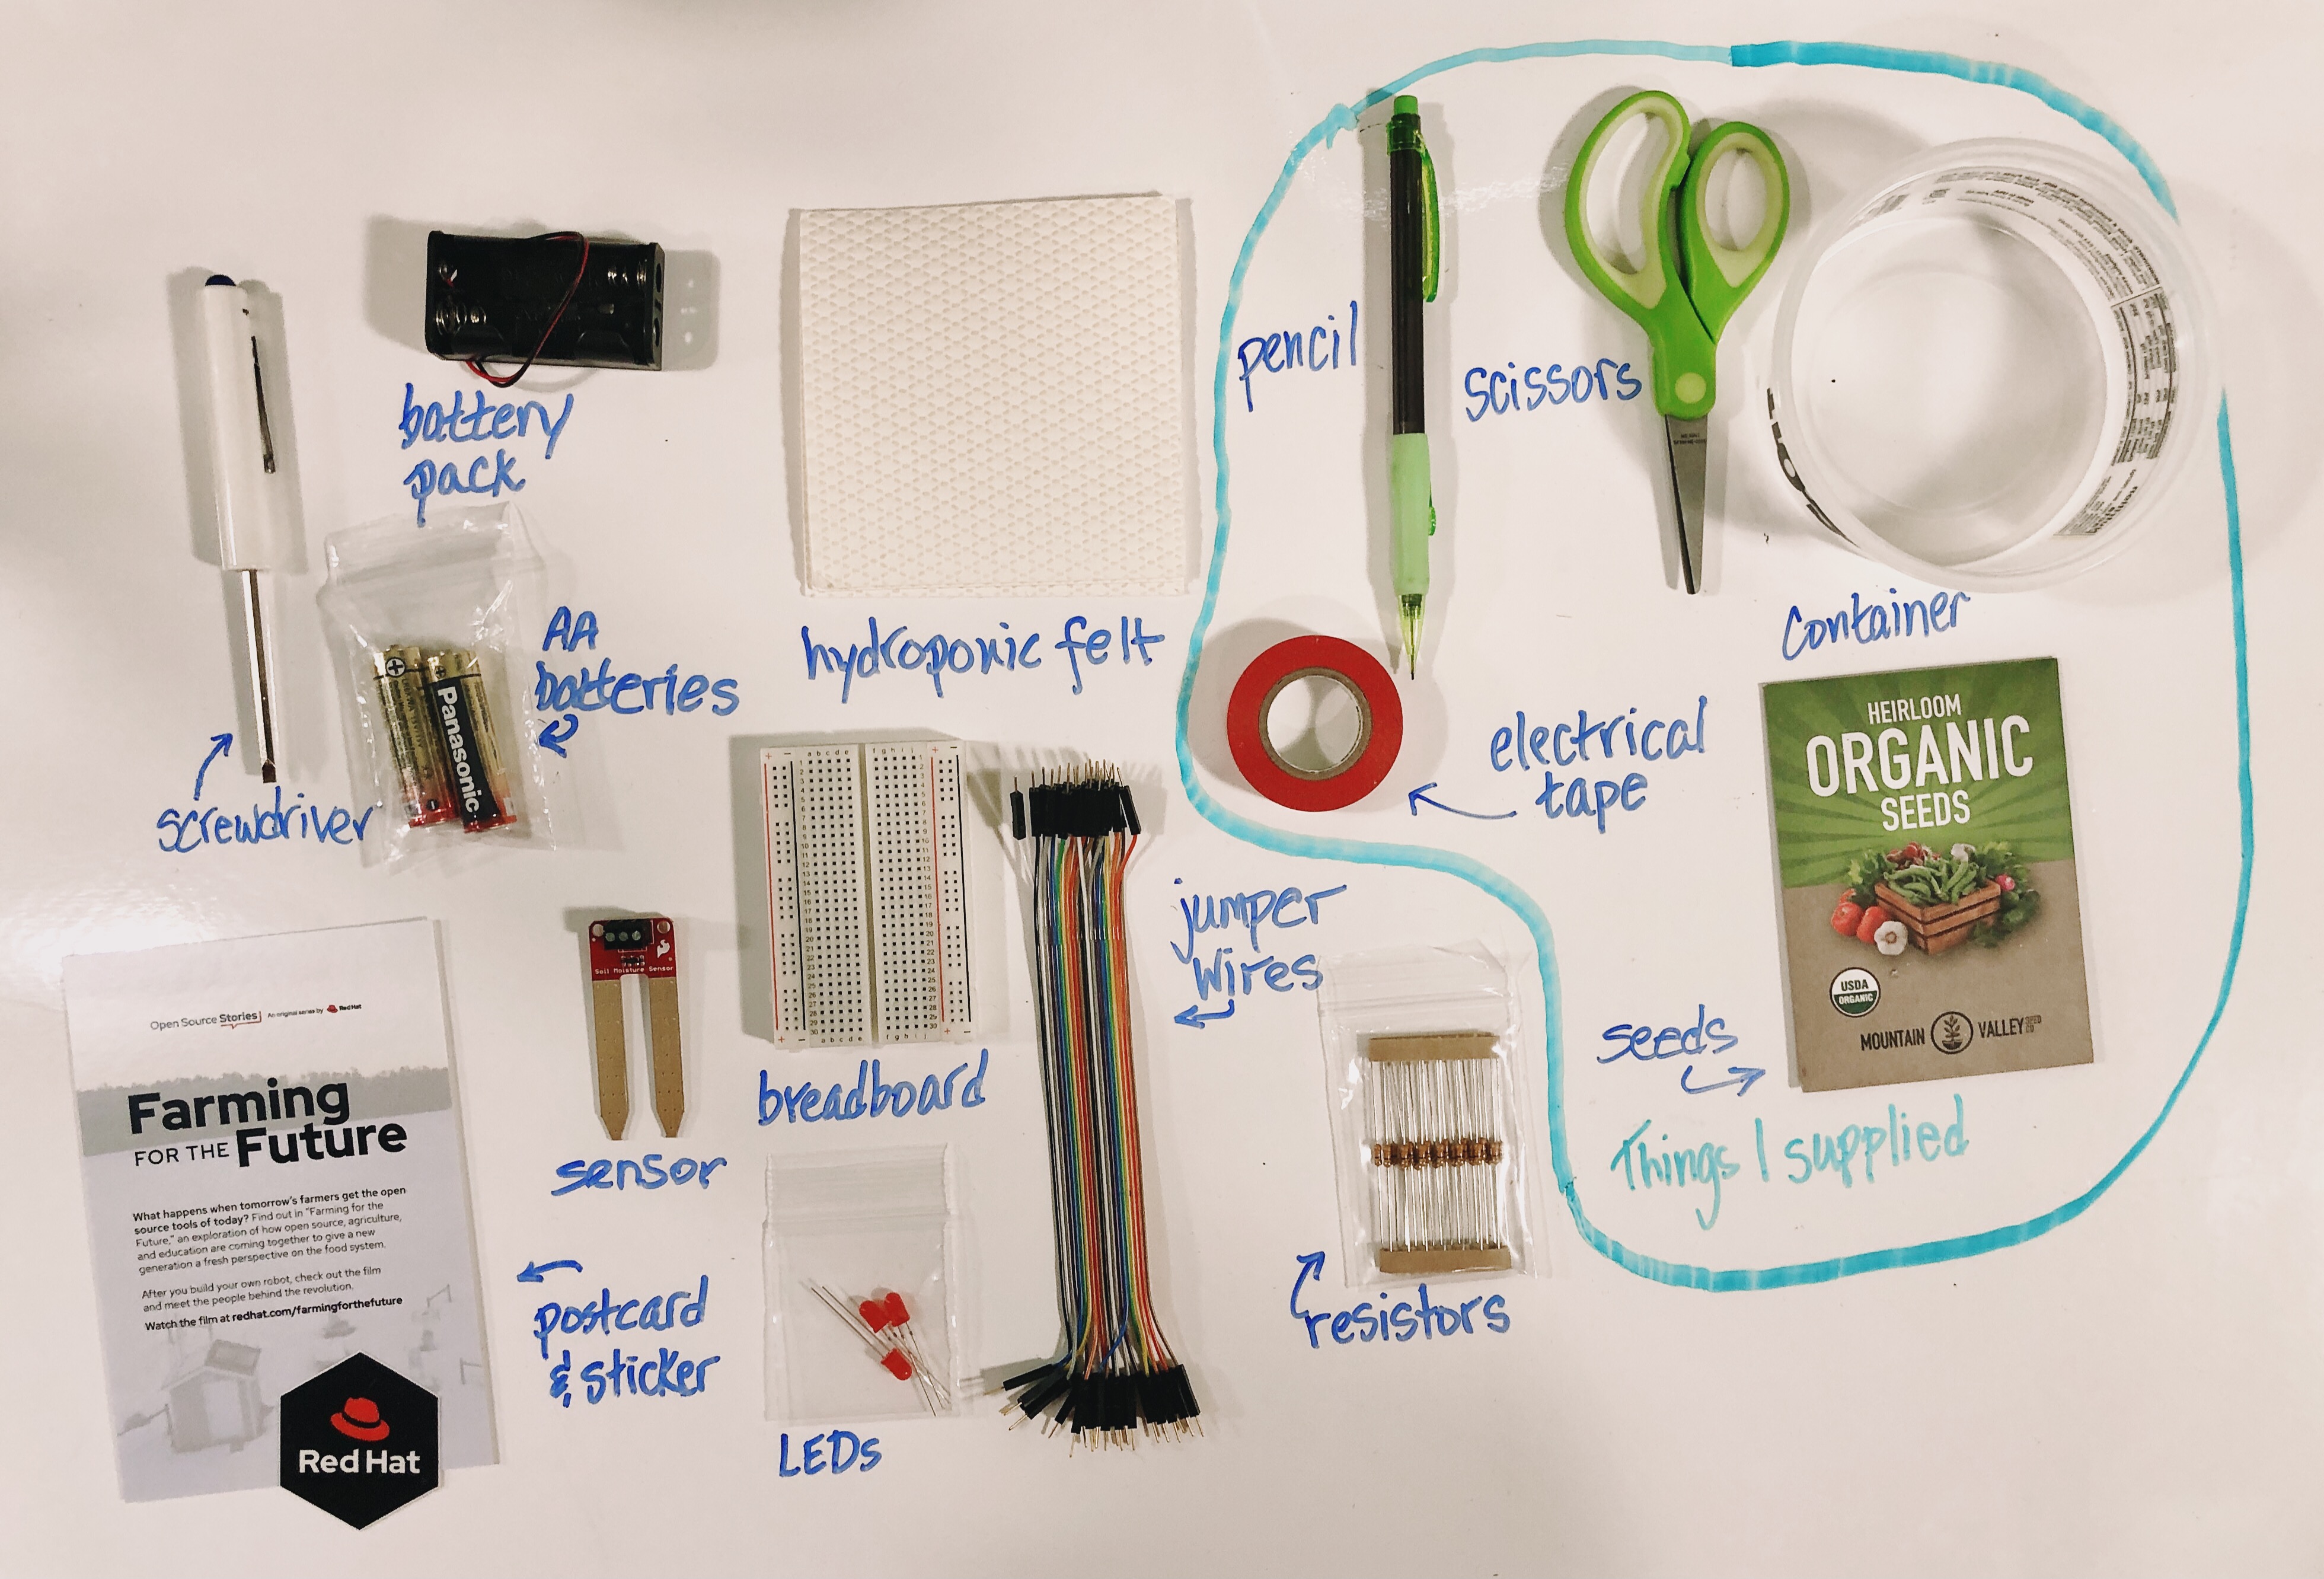
I've taken my kit and laid out the parts. As I do this I am doing three things:
- identifying each part (and labeling it so I can find it easier)
- counting each part to make sure that I have the correct number
- taking a look at each part to make sure it's not obviously broken -- that nothing is bent or broken off, for instance
I also add the pieces that I am supplying (in this case, the seeds and the container), as well as any tools I know I will need, so that I have everything I need spread out and organized in front of me.
Project checklist
☑ Read Requirements and Assemble Tools
☑ Read the Instructions
☑ Identify the Parts
☐ Build Your Project
☐ Testing
☐ Show it off!
Ok - the pre-work is done, so we're ready to start building!