E-Textile Art Pin
This Tutorial is Retired!
For an updated E-Textile Art Pin tutorial, try checking out the "Glowing Pin" tutorial.
View the updated tutorial: Glowing Pin
 Gella
Gella 
Step 3: Sew Positive Trace
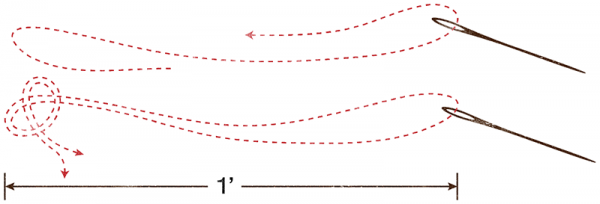
After you've arranged your components, it's time to sew them together! We'll be sewing paths for the electricity, called traces, with conductive thread, connecting the positive (+) sides of the components together, and then the same for the negative (-) sides. Unwind about 1 foot of conductive thread to work with, carefully thread the needle, and tie a knot at the end. A needle threader or needle with a larger eye will help, if you are having trouble getting the thread through. Just be careful not to use a needle too big for the holes in your LilyPad components.
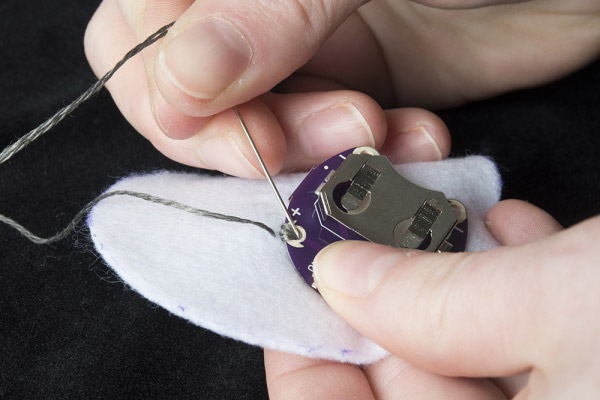
On your battery holder, find the hole marked with a positive (+) symbol closest to your LED board. Push your needle up through hole and felt, then to the outside of the hole and felt -- this creates a stitch that holds the battery holder down and makes an electrical connection with the metal around the hole. Repeat 3 more times to make a secure connection, then, using a straight stitch, follow your path to the next positive hole on your LED. Don't forget to loop 3-4 times around each hole to secure. Once you have finished at the LED, tie a knot in your thread, and trim any excess. Congratulations, you've just sewn the first half of your circuit!