E-Textile Art Pin
This Tutorial is Retired!
For an updated E-Textile Art Pin tutorial, try checking out the "Glowing Pin" tutorial.
View the updated tutorial: Glowing Pin
 Gella
Gella 
Step 1: Prepare Fabric
Cut a 2.5" circle of felt for the backing of your pin and a slightly larger circle out of thin fabric for the front/top of your pin. If your fabric is fraying along the edges, use fray check or clear nail polish to seal after you finish your project.
Designs
Here are some designs we've created. There are 12 to a sheet, but you'll only need one for this project. Right-click the image below and choose “Save Link As” to download the design to your computer.

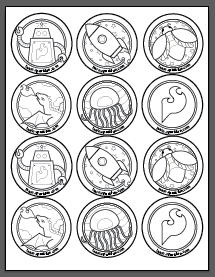
After downloading a design, follow the directions on the package of your printable fabric to print them out. Feel free to create a larger pin by scaling the downloadable designs if you'd like more room to work with or for a real statement piece.