E-Textile Art Pin
This Tutorial is Retired!
For an updated E-Textile Art Pin tutorial, try checking out the "Glowing Pin" tutorial.
View the updated tutorial: Glowing Pin
 Gella
Gella 
Step 2: Attach Components
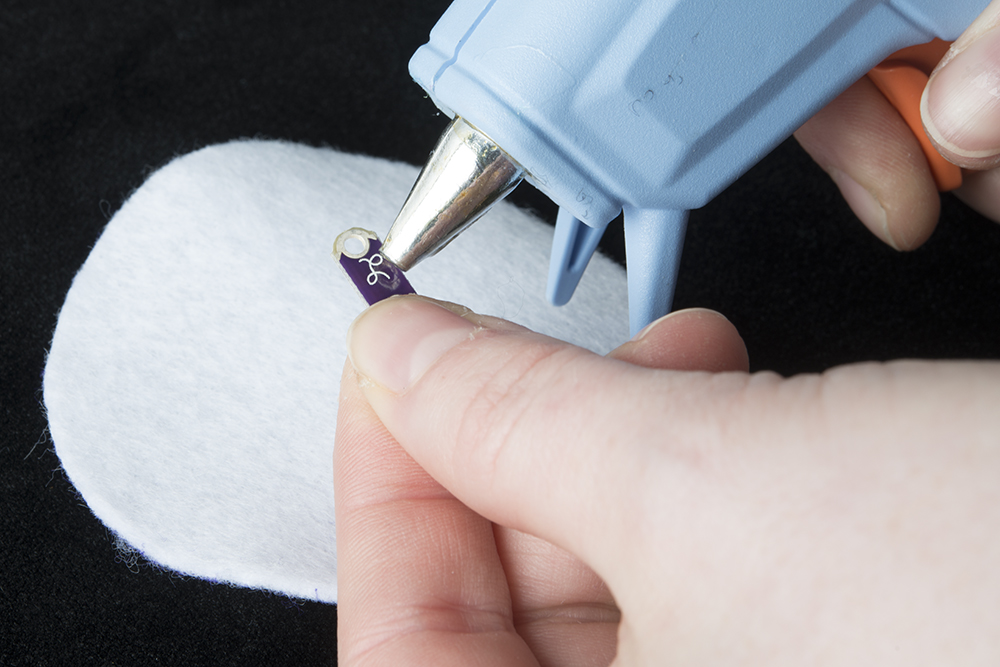
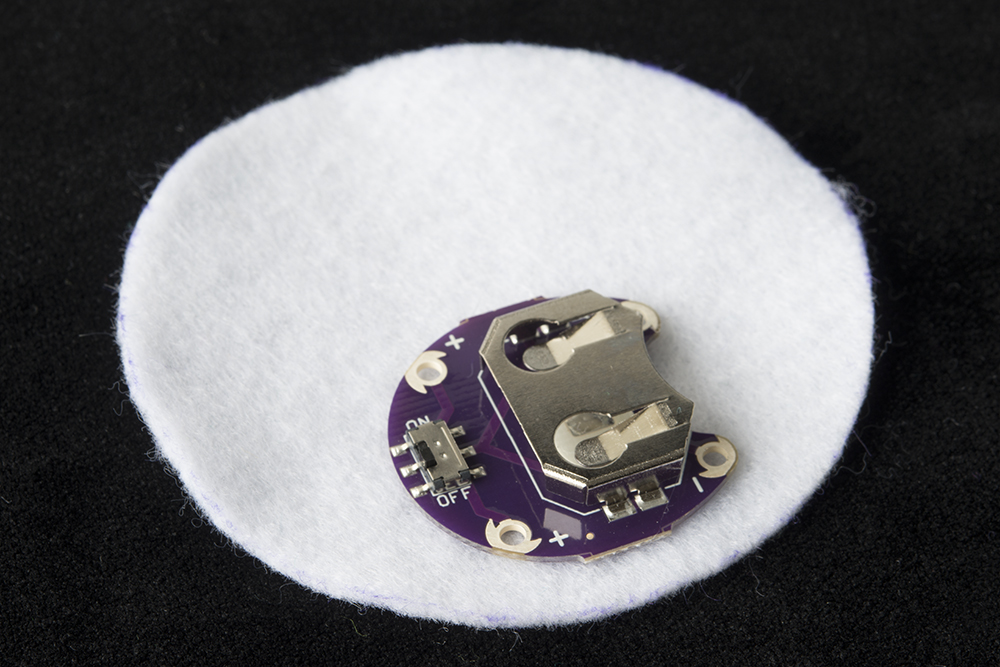
Take a look at your LED and battery holder, and notice that the silver sewing holes are labeled either positive or negative. Orient the battery holder with the ON/OFF switch to the left side and the bottom of the holder as close to the edge as you can. Use a a small dot of hot glue in the center of the holder to attach it to the felt, as shown. Gluing the battery holder on this way leaves room for the LilyPad LED.
Placing LED
Flip the circle over -- time to decide on the placement of the LED.
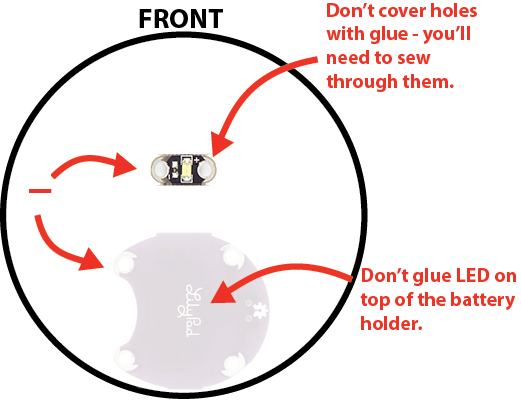
If you are using one of the pre-made designs, hold the design over the felt, and use a fabric marker to mark where the LED should be placed to shine through. Be careful not to put the LED directly behind the battery holder or else you won't be able to sew through it.
If you are designing your own artwork, decide where on the fabric the LED should shine through, and mark it. Draw your design now, or wait until the finishing touches step.

While designing, keep in mind that the LED will need to be slightly above the center or towards the top half of the fabric so it doesn't interfere with the battery holder.
Grab an LED, and line up the (+) and (-) symbols with the symbols on the battery holder. Remember, we are working on the opposite side of the felt, so the symbols will be reversed.
Use a small dab of hot glue in the middle of the board to secure to the felt. Be careful not to cover the holes with glue -– we'll need those to sew through later. Do not put your battery in yet.