Das Blinken Top Hat
 Nate
Nate 
Hardware
Parts used:
- Arduino Pro Mini
- Mini FET Shield
- ADXL335 Triple Axis Accelerometer
- Rectangle AA battery holder
- Power switch
- Wire wrap wire
- 12V Strip LEDs
LEDs
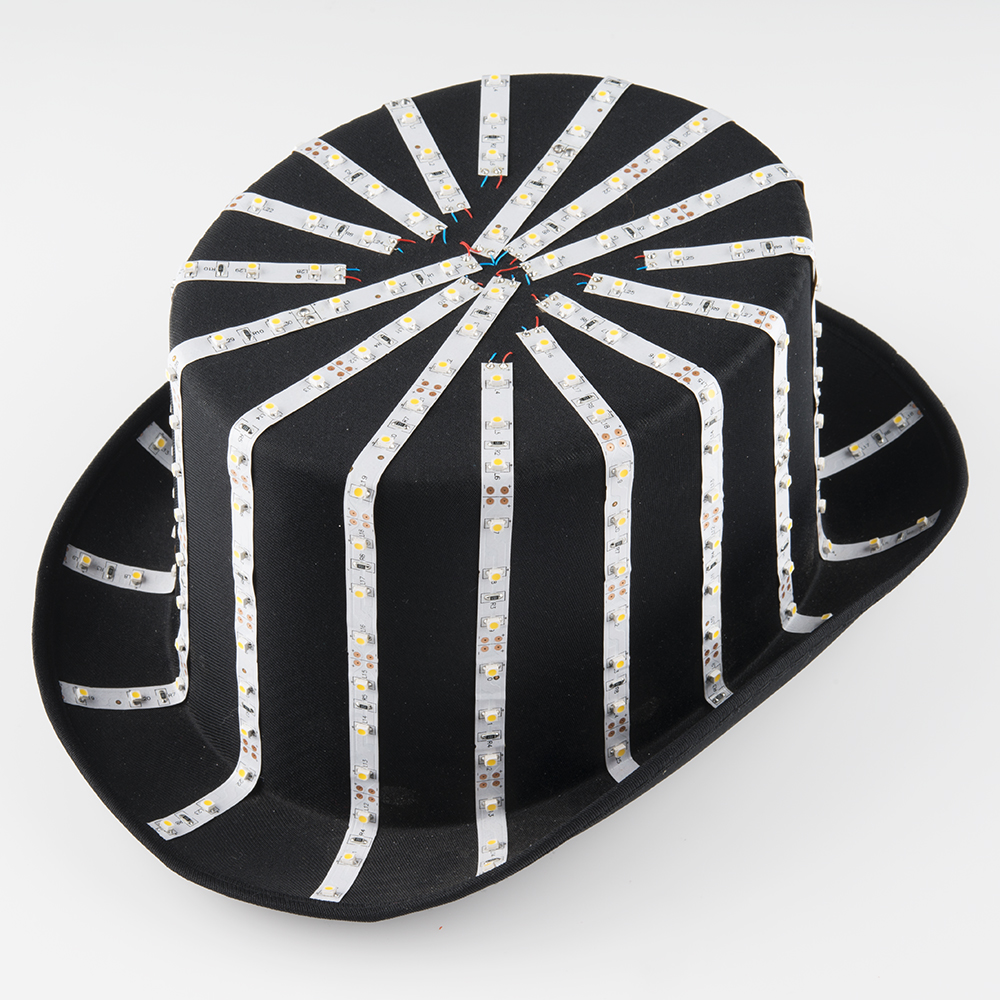
The lighting comes from common white LED strips. They are driven by 12V, and are extremely bright!
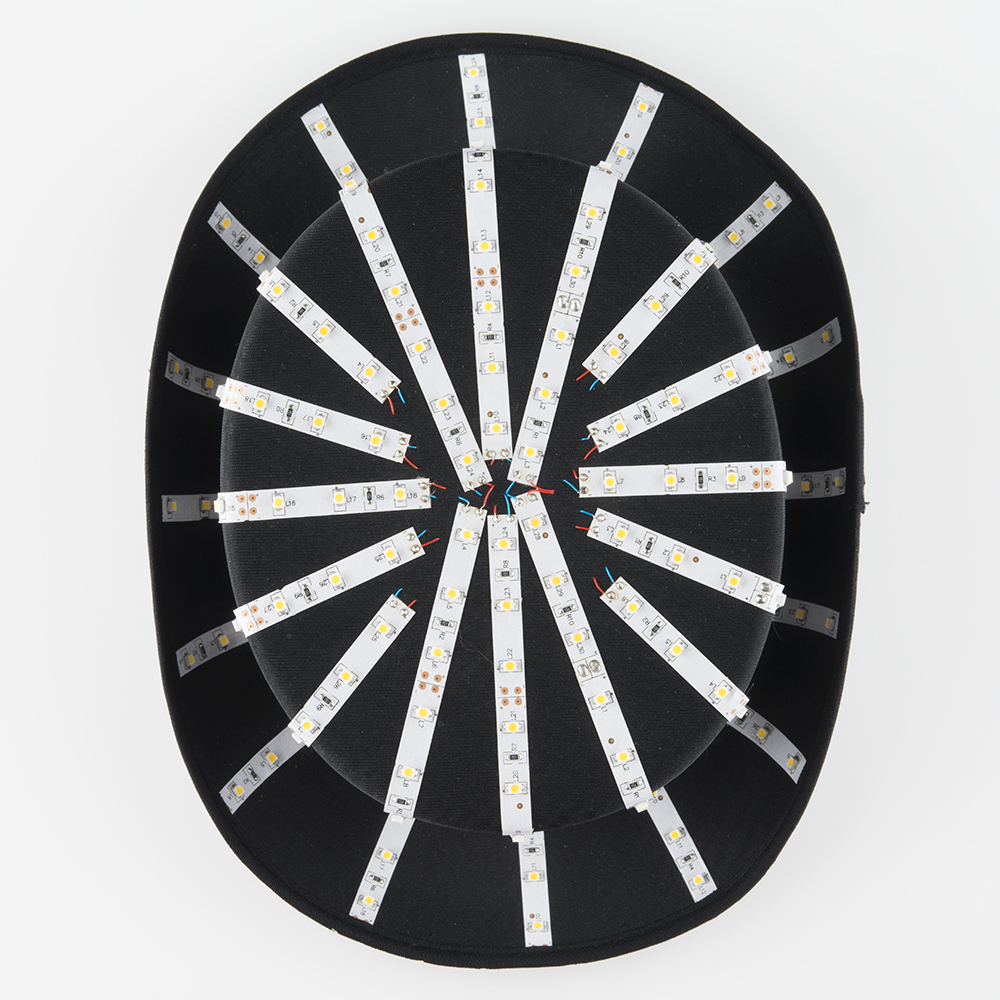
There's 16 strips in all, wired very ingeniously in parallel so that the Arduino Pro Mini shield only has to deal with 8 channels.
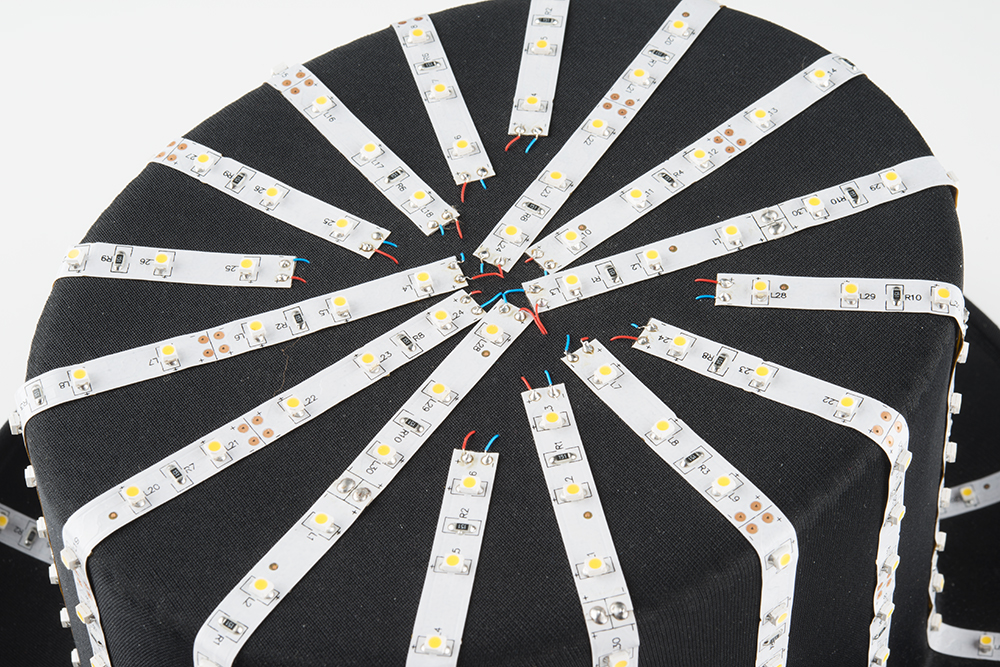
Each strip has a self adhesive backing that holds the strip solidly (during extreme head maneuvers) to the top hat. The + and - connections are created with thin 30AWG wire wrap wire and poked through the fabric.
Arduino Pro Mini + Driver
The Arduino Pro Mini 3.3V/8MHz is the perfect size and has plenty of computing power to read the accelerometer and control 8 channels of LEDs. It uses a fraction of the power that the LEDs use and can be reprogrammed with an FTDI Basic for other nifty lighting effects.
Each strip has 15 LEDs, which means it will use about (15 * 20) 300mA per strip when illuminated. This is way more than the ATmega328 can handle (about 20mA max) so the Mini FET Shield came in super handy. This shield allows a low voltage Arduino (3.3Vs in the case of the top hat) to control much larger loads (12V and 300mA in the case of the LED strips). Each of the 8 channels on the Mini FET shield can handle 2 amps, so the MOSFETs shouldn't even get warm. As previously mentioned, there are 16 LED strips, but they are wired in parallel so that we only need to control 8 channels to get a really cool effect.
Accelerometer
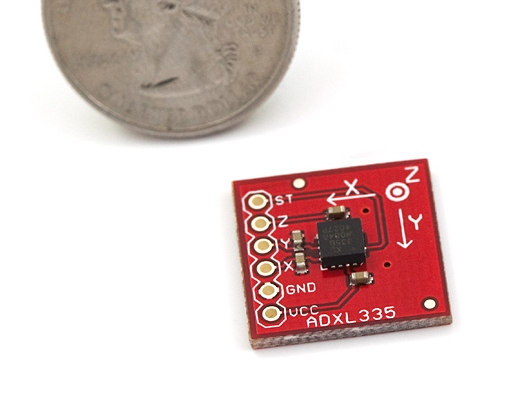
The hat uses the ADXL335, a classic workhorse with easy to read analog outputs for the three axes. But any solid state accelerometer, such as the ADXL345, the MMA7361, or the MMA8452Q, should work just fine.
The ADXL335 is old (3 years is archaic in the electronics world), but it's super easy to read the analog voltages and convert them into 10-bit integers using Arduino. The real trick is doing the basic math to figure out how the top hat is moving. In general we take the three vectors (X, Y, and Z) and combine them into one vector.
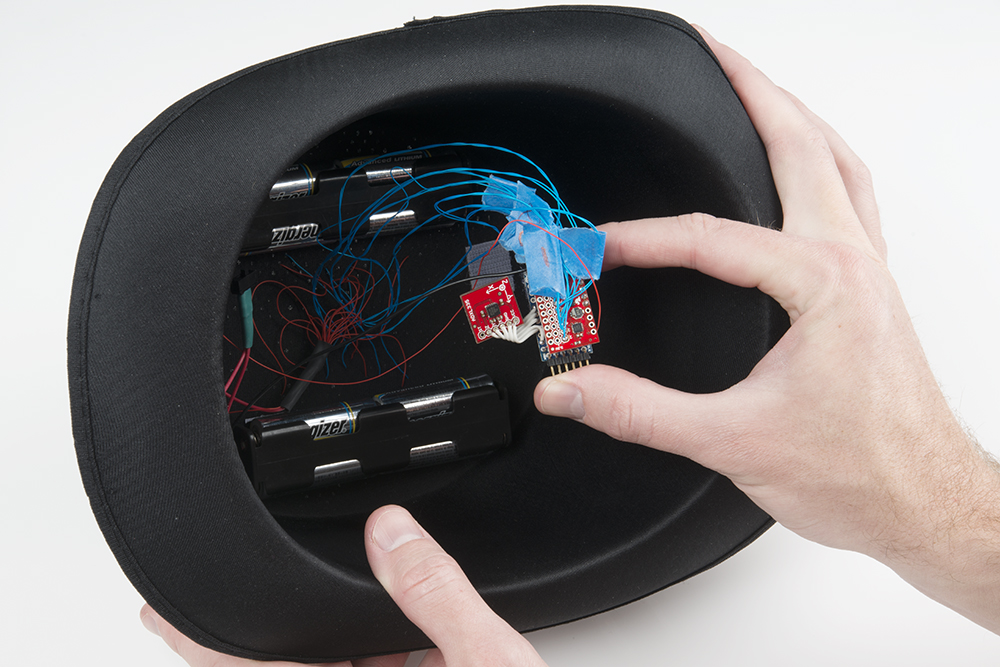
Battery Power

Because the LED strips run at 12V, the hat uses 8 AAs in two battery holders, to distribute the weight. When the batteries are fresh, we have a nominal voltage of 1.5V * 8 = 12V. The LEDs use a fair amount of juice, so lithium batteries were used to maximize the run time. In practice, the hat runs for tens of hours on a set of batteries, so alkalines could also be used. An in-line slide switch makes it easy to kill the power to the hat at the end of the night.
Wiring Diagram
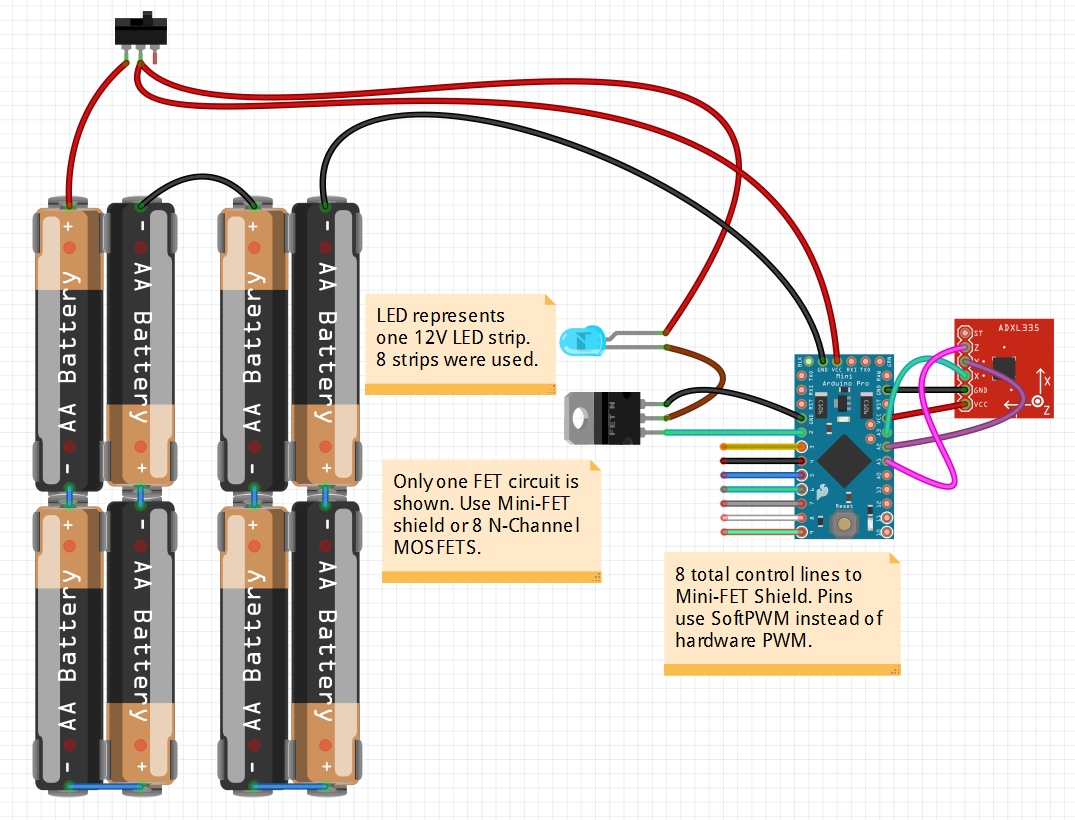
This shows how the hat is wired. The on/off switch provides power to the Arduino Pro Mini as well as power to the LED strips. There are 8 MOSFETs on the MiniFET that are individually controlled. You can use the shield or use 8 discrete MOSFETs (for powering really big stuff). The accelerometer is wired into the analog inputs.