Blynk Board Bridge Widget Demo
Contributors:
 .Brent.
.Brent. 
Hardware Hookup
There is no need to futz with extra hardware to prove concepts. Software developers might appreciate this. Once you have the built in button controlling the built in LED, it's just matter of changing one or two values and clipping on extra hardware.
For this tutorial, all you need to do is provide power the the Blynk Boards. This is easiest two ways: USB, or a 3.7V LiPo battery (1S).
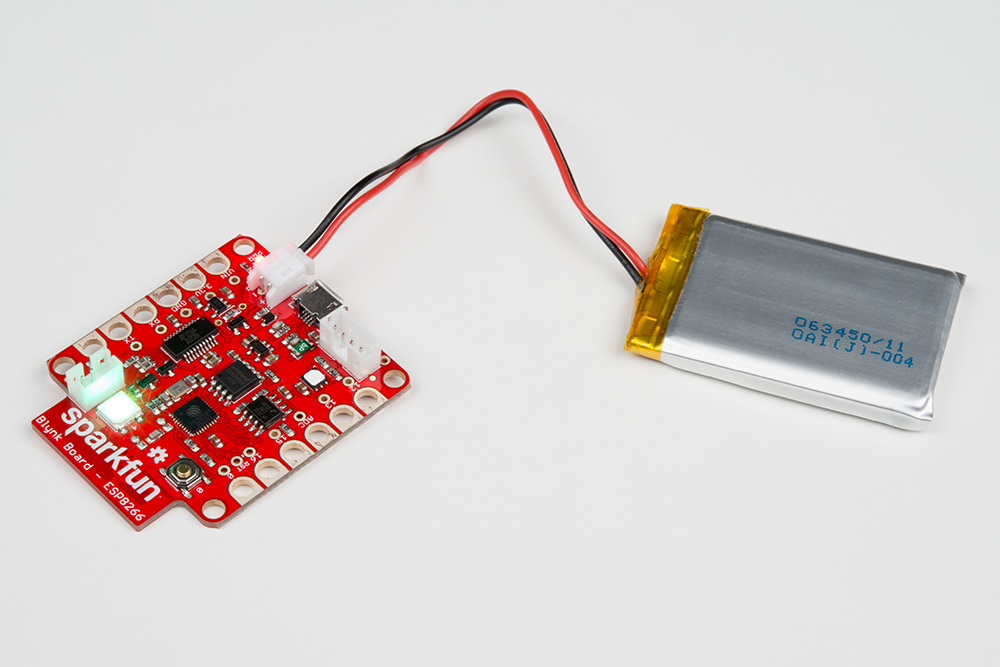
SparkFun Blynk Board powered with a single cell LiPo battery
Powering the device with a USB cable connected to your development machine is the easiest way to prototype. Load new code, and it just runs.
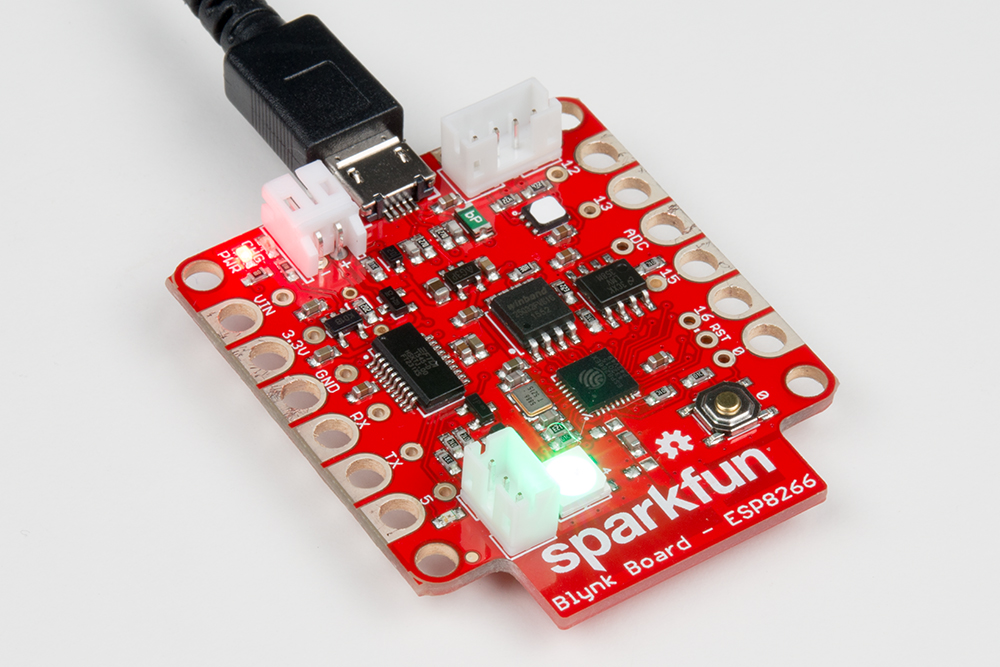
SparkFun Blynk Board powered with a USB micro-B cable