Beefcake Relay Control Hookup Guide
 MTaylor
Example: Arduino Control
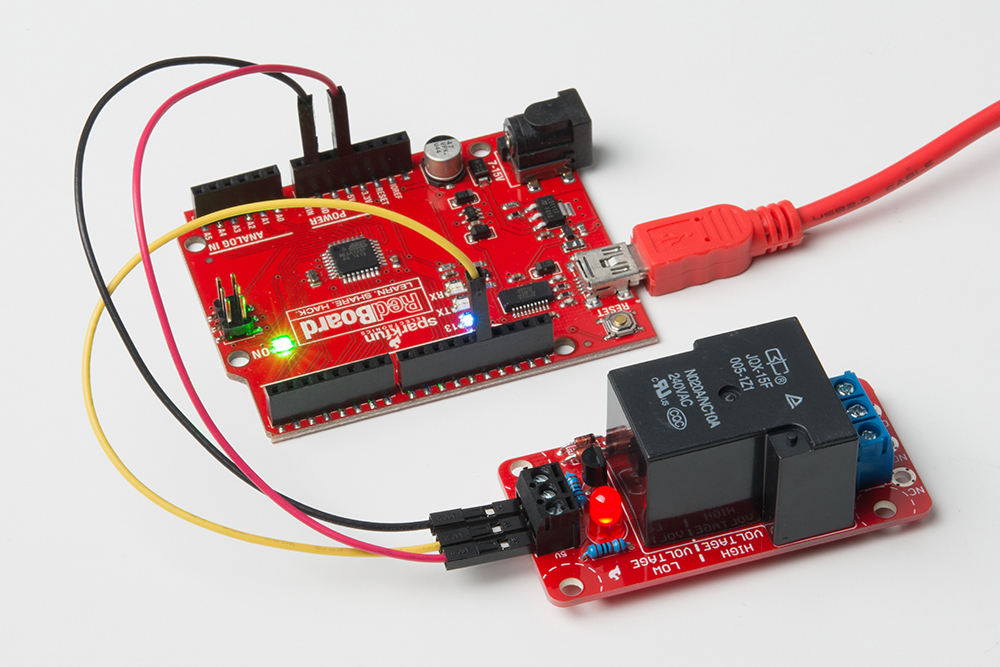
Now, it's time to make the relay sing the song of its people. Connect the 5V terminal to 5V power capable of supplying 150mA, the ground to ground, and a signal wire from a digital output to the control pin (CTRL).
A basic example is the blink.ino sketch. Connect the signal pin to digital out 13, which is the same as the LED. Connect Ground to the GND terminal and 5 volts to the 5V terminal as shown below.

Now, as the LED on the microcontroller board blinks, the relay will energize, and the Beefcake's LED will illuminate. You should hear a pleasant clicking sound every second.
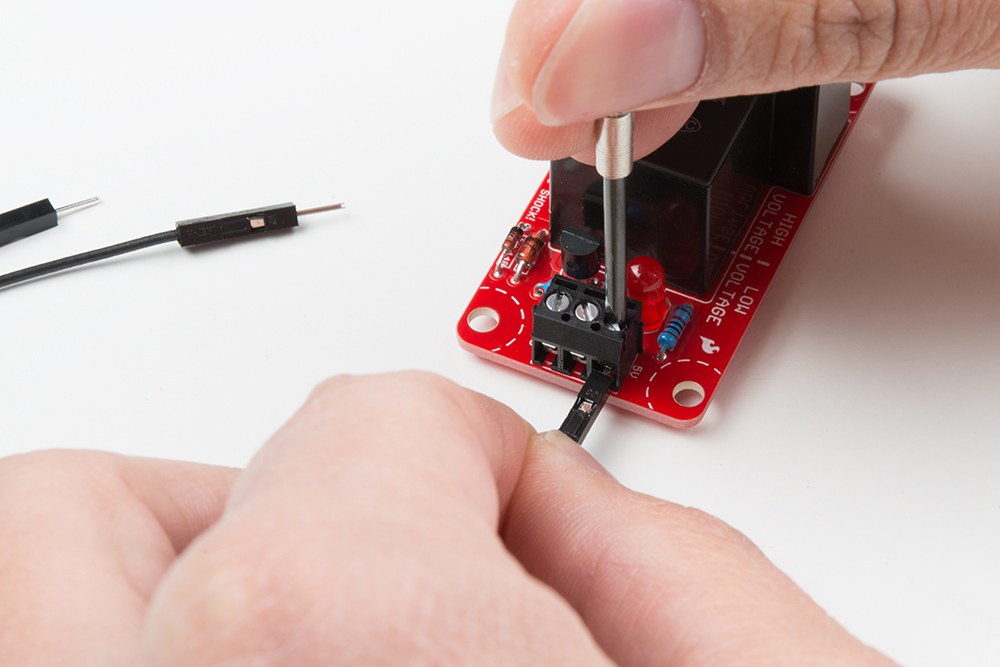
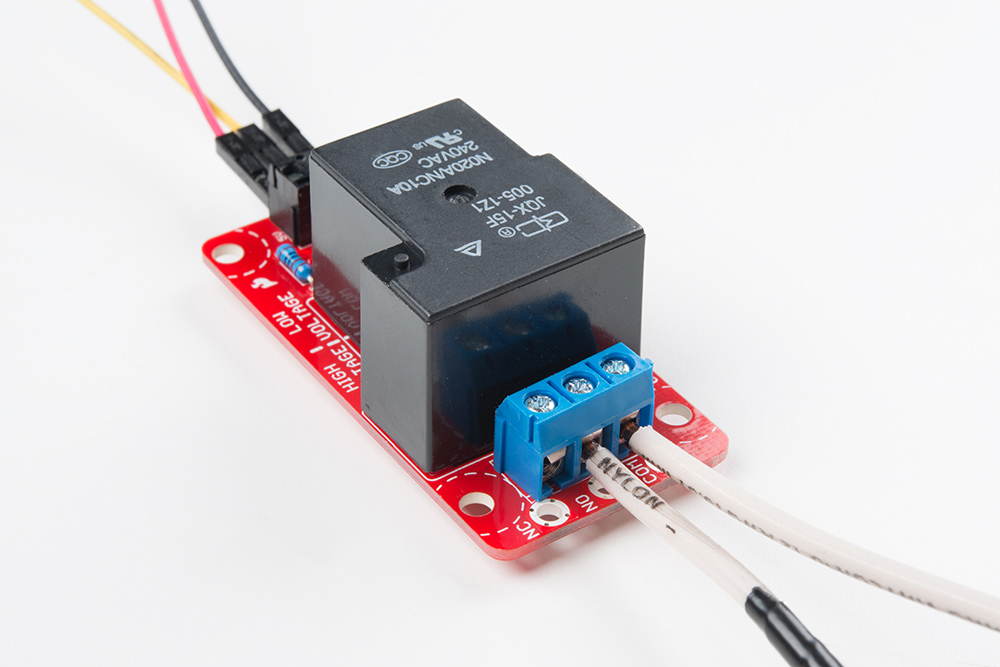
Ahh, so satisfying. But, really this should be used to switch a load. Here I've attached 12 gauge solid house wiring into the terminals, which was a pretty tight fit. The terminals are only specified to 14 gauge wire.
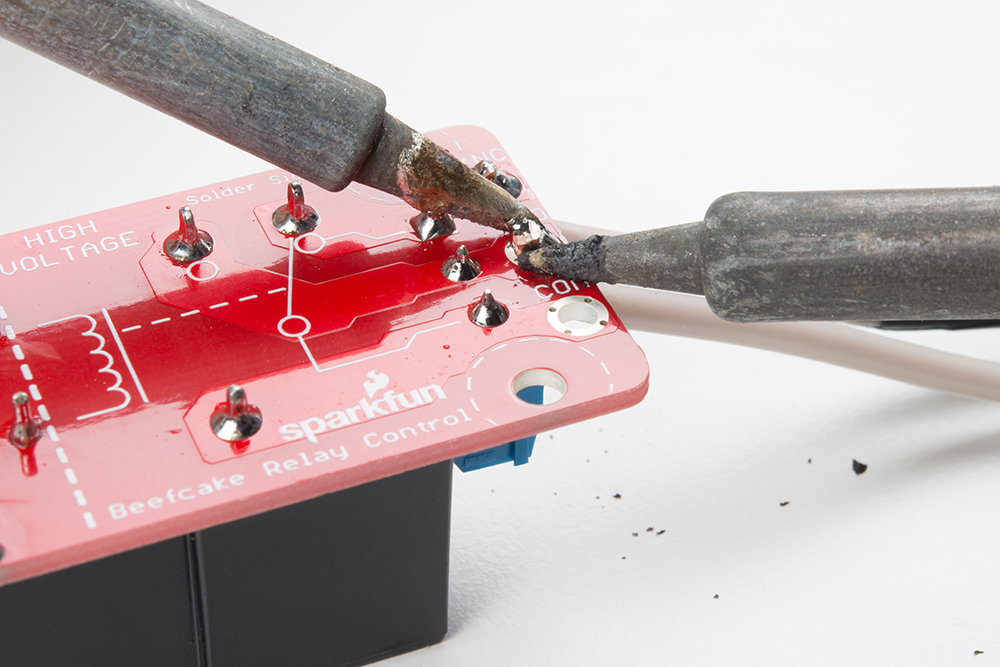
If you would like a more permanent installation, go ahead and solder to the large lugs on the edge of the board. This will take even more heat with the large solid copper wires, so be patient.
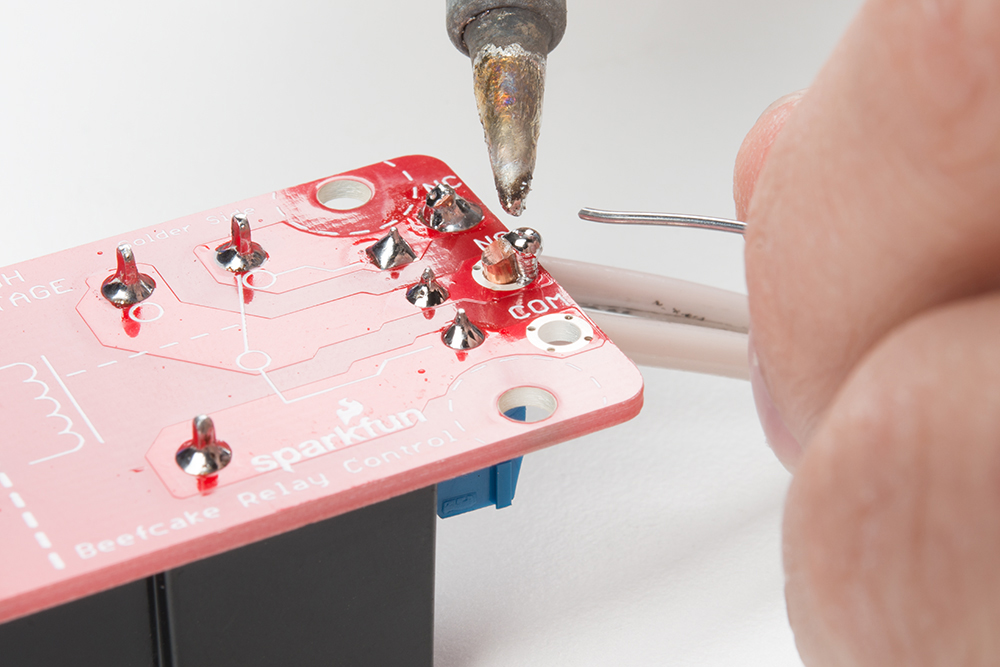
A technique for getting a bit of extra heat in there is to warm up a second iron, blob up a bunch of solder first, the heat with both irons.