AT42QT1010 Capacitive Touch Breakout Hookup Guide
This Tutorial is Retired!
This tutorial covers concepts or technologies that are no longer current. It's still here for you to read and enjoy, but may not be as useful as our newest tutorials.
View the updated tutorial: AT42QT101X Capacitive Touch Breakout Hookup Guide
 Shawn Hymel
Hardware Hookup
Assembly
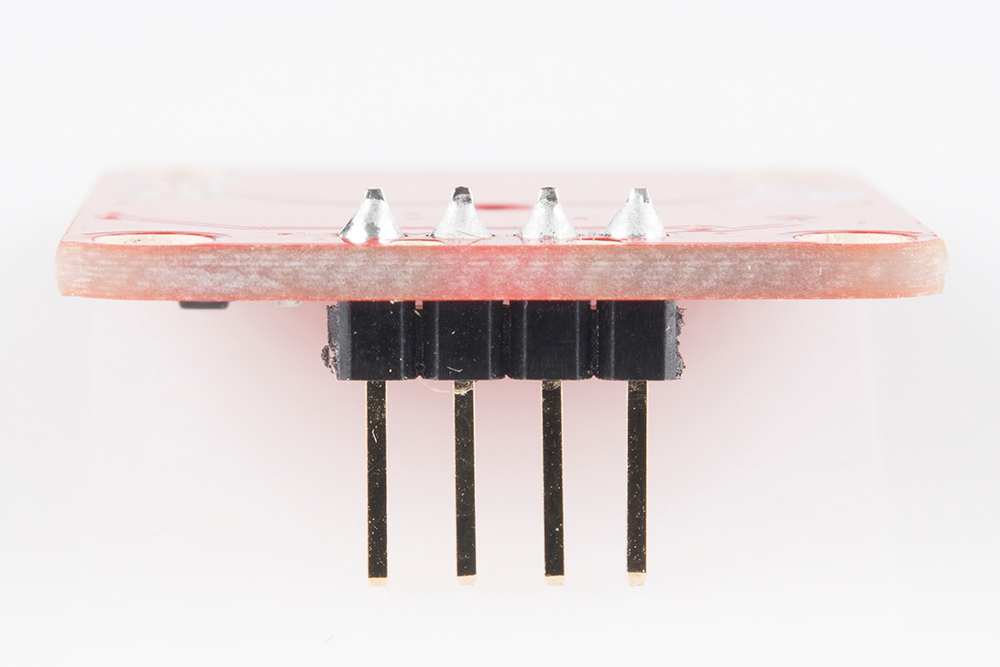
If you are not planning to mount the board flush to a panel, you can solder either wires or break away headers to the 4 header holes on the board.
On the other hand, if you wish to mount the AT42QT1010 to a panel, you can solder a 4-pin male header to the SMD pads.

Connecting the AT42QT1010 Breakout Board
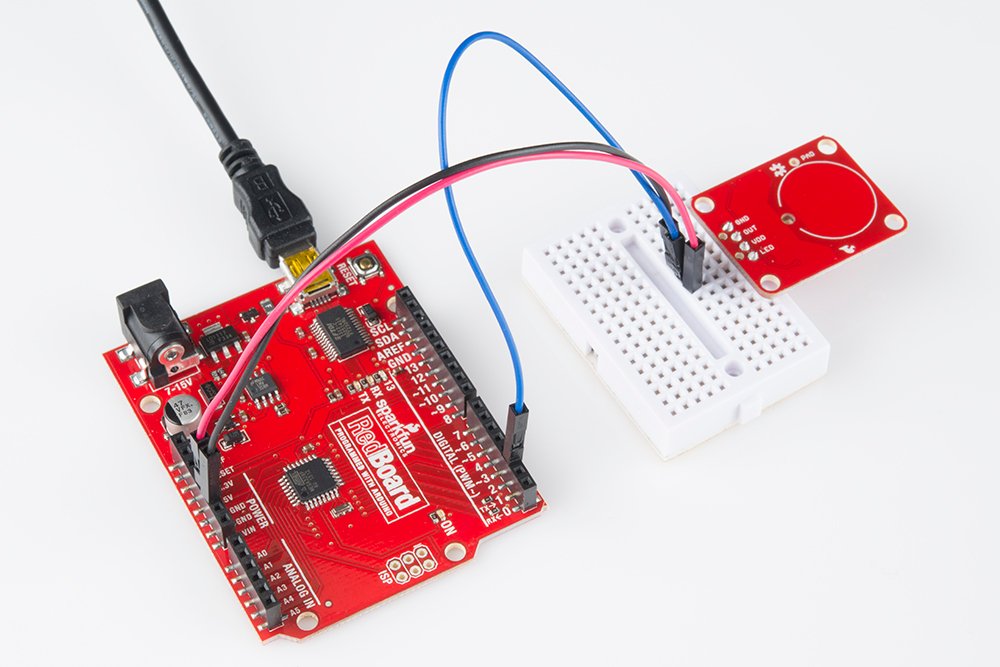
For an Arduino, make the following connections with jumper wires:
(AT42QT1010 → Arduino)
- VDD → 5V
- OUT → 2
- GND → GND
Mounting the AT42QT1010 Breakout Board
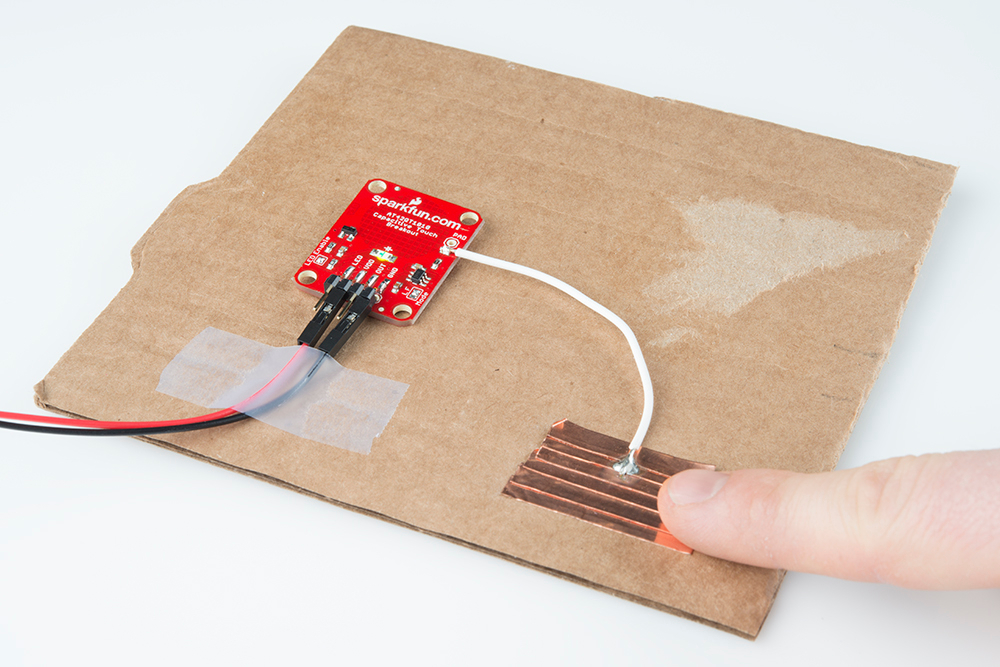
One advantage of capacitive touch boards is their ability to be mounted to panels and detect touch through thin plastic, cardboard, etc. Using a drill or laser cutter, cut four 0.125 inch holes in the same pattern as the mounting holes on the breakout board.
Attach the board to the panel using #4-40 screws and #4-40 nuts.

External Electrode
You can create your own electrode by using foil, copper tape, or any other conductive material. Cut or shape the electrode and attach a wire between the electrode and the PAD pin on the AT42QT1010 breakout board. The electrode can be almost any shape and size.