Assembly Guide for SparkFun JetBot AI Kit V2.0
 Evan_Double_U
Introduction
SparkFun’s multiple Jetbot offerings merge the industry leading machine learning capabilities of the NVIDIA Jetson Nano with the vast SparkFun ecosystem of sensors and accessories. Packaged as a ready-to-assemble robotics platform, the SparkFun JetBot AI Kit v2.0 requires no additional components or 3D printing to get started - just assemble the robot, boot up the Jetson Nano, connect to WiFi and start using the JetBot immediately. This combination of advanced technologies in a ready-to-assemble package makes the SparkFun JetBot Kit a standout, delivering one of the strongest robotics platforms on the market. This guide serves as hardware assembly instructions for the JetBot AI Kit v2.0. The SparkFun JetBot comes with a pre-flashed micro SD card image that includes the Nvidia JetBot base image with additional installations of the SparkFun Qwiic Python library, Edimax WiFi driver, AWS RoboMaker ready with AWS IoT Greengrass, and of course the JetBot ROS. Users only need to plug in the SD card and set up the WiFi connection to get started.
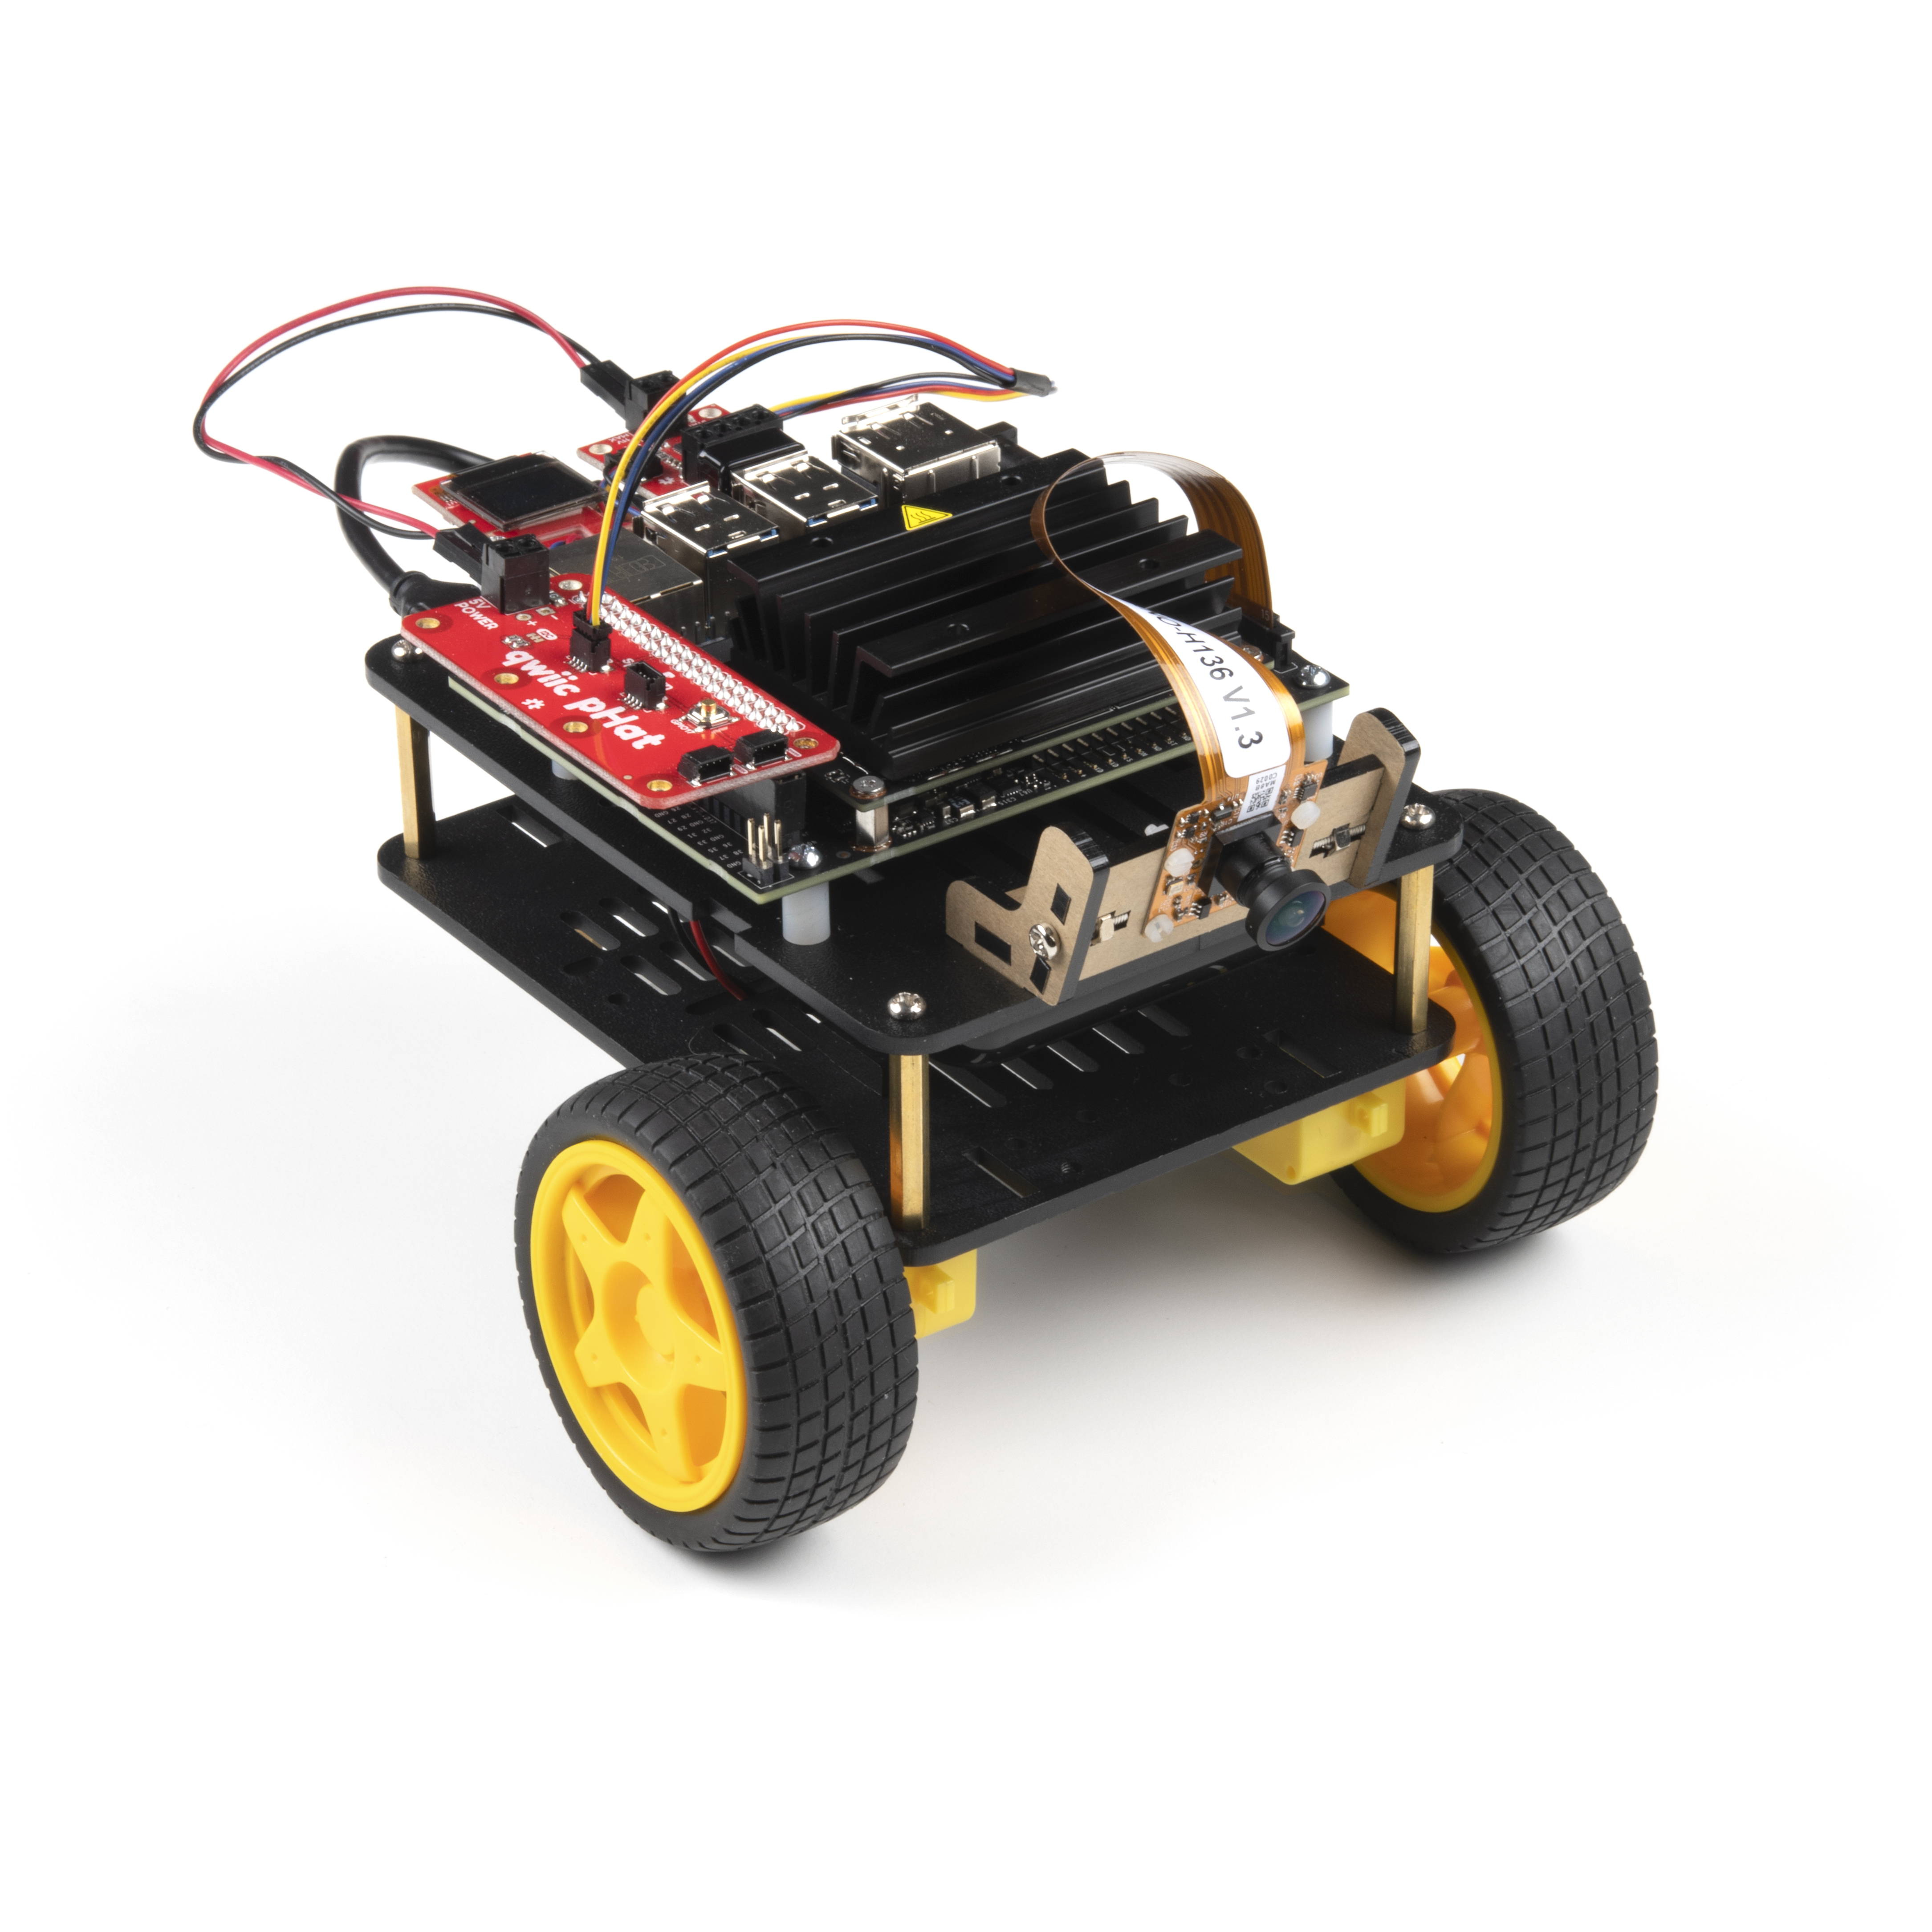
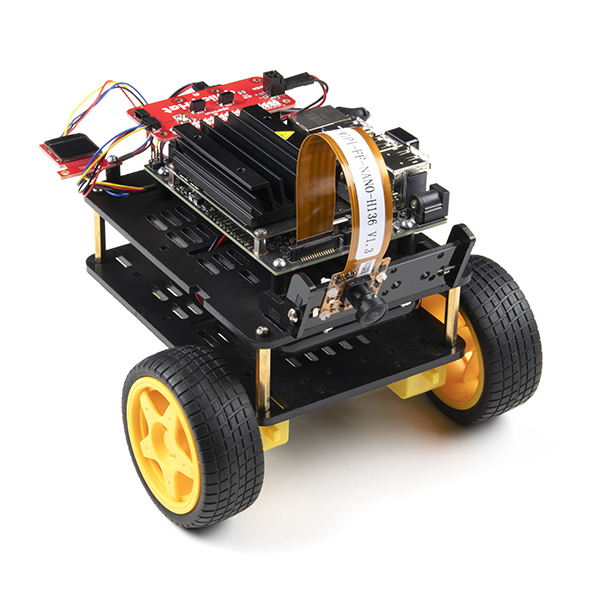
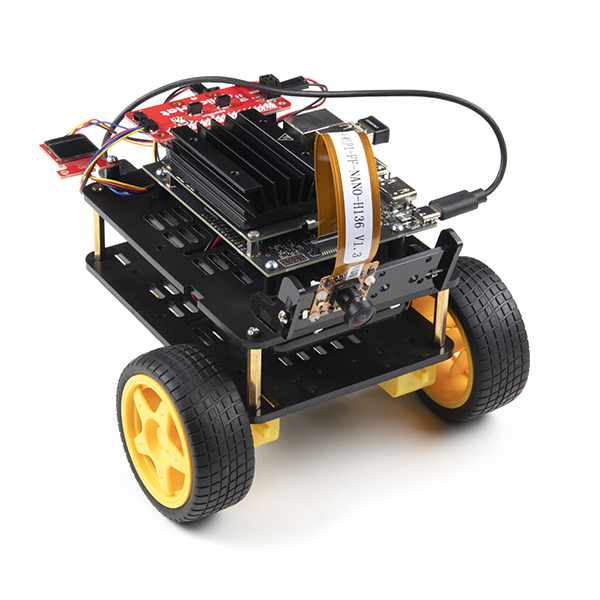
SparkFun has released several version of the Jetbot. Please make note of the comments under some photos to ensure it related to the Jetbot kit you have purchased. Completed Jetbot photos are shown below for comparison.
- SparkFun JetBot AI Kit v2.0 - Purchase before Dec 2020
- SparkFun JetBot AI Kit v2.1 - 4GB Jetson Nano Dev kit - Dec 2020 and later
- SparkFun JetBot AI Kit Powered by Jetson Nano 2GB
Attention: The SD card in this kit comes pre-flashed to work with our hardware and has the all the modules installed (including the sample machine learning models needed for the collision avoidance and object following examples). The only software procedures needed to get your JetBot running are steps 2-4 from the Nvidia instructions (i.e. setup the WiFi connection and then connect to the JetBot using a browser). Please DO NOT format or flash a new image on the SD card; otherwise, you will need to flash our image back onto the card.
If you accidentally make this mistake, don't worry. You can find instructions for re-flashing our image back onto the SD card in the Software Setup section of this guide
The Jetson Nano Developer Kit offers extensibility through an industry standard GPIO header and associated programming capabilities like the Jetson GPIO Python library. Building off this capability, the SparkFun kit includes the SparkFun Qwiic pHAT for Raspberry Pi, enabling immediate access to the extensive SparkFun Qwiic ecosystem from within the Jetson Nano environment, which makes it easy to integrate more than 30 sensors (no soldering and daisy-chainable).
The SparkFun Qwiic Connect System is an ecosystem of I2C sensors, actuators, shields and cables that make prototyping faster and less prone to error. All Qwiic-enabled boards use a common 1mm pitch, 4-pin JST connector. This reduces the amount of required PCB space, and polarized connections mean you can’t hook it up wrong.
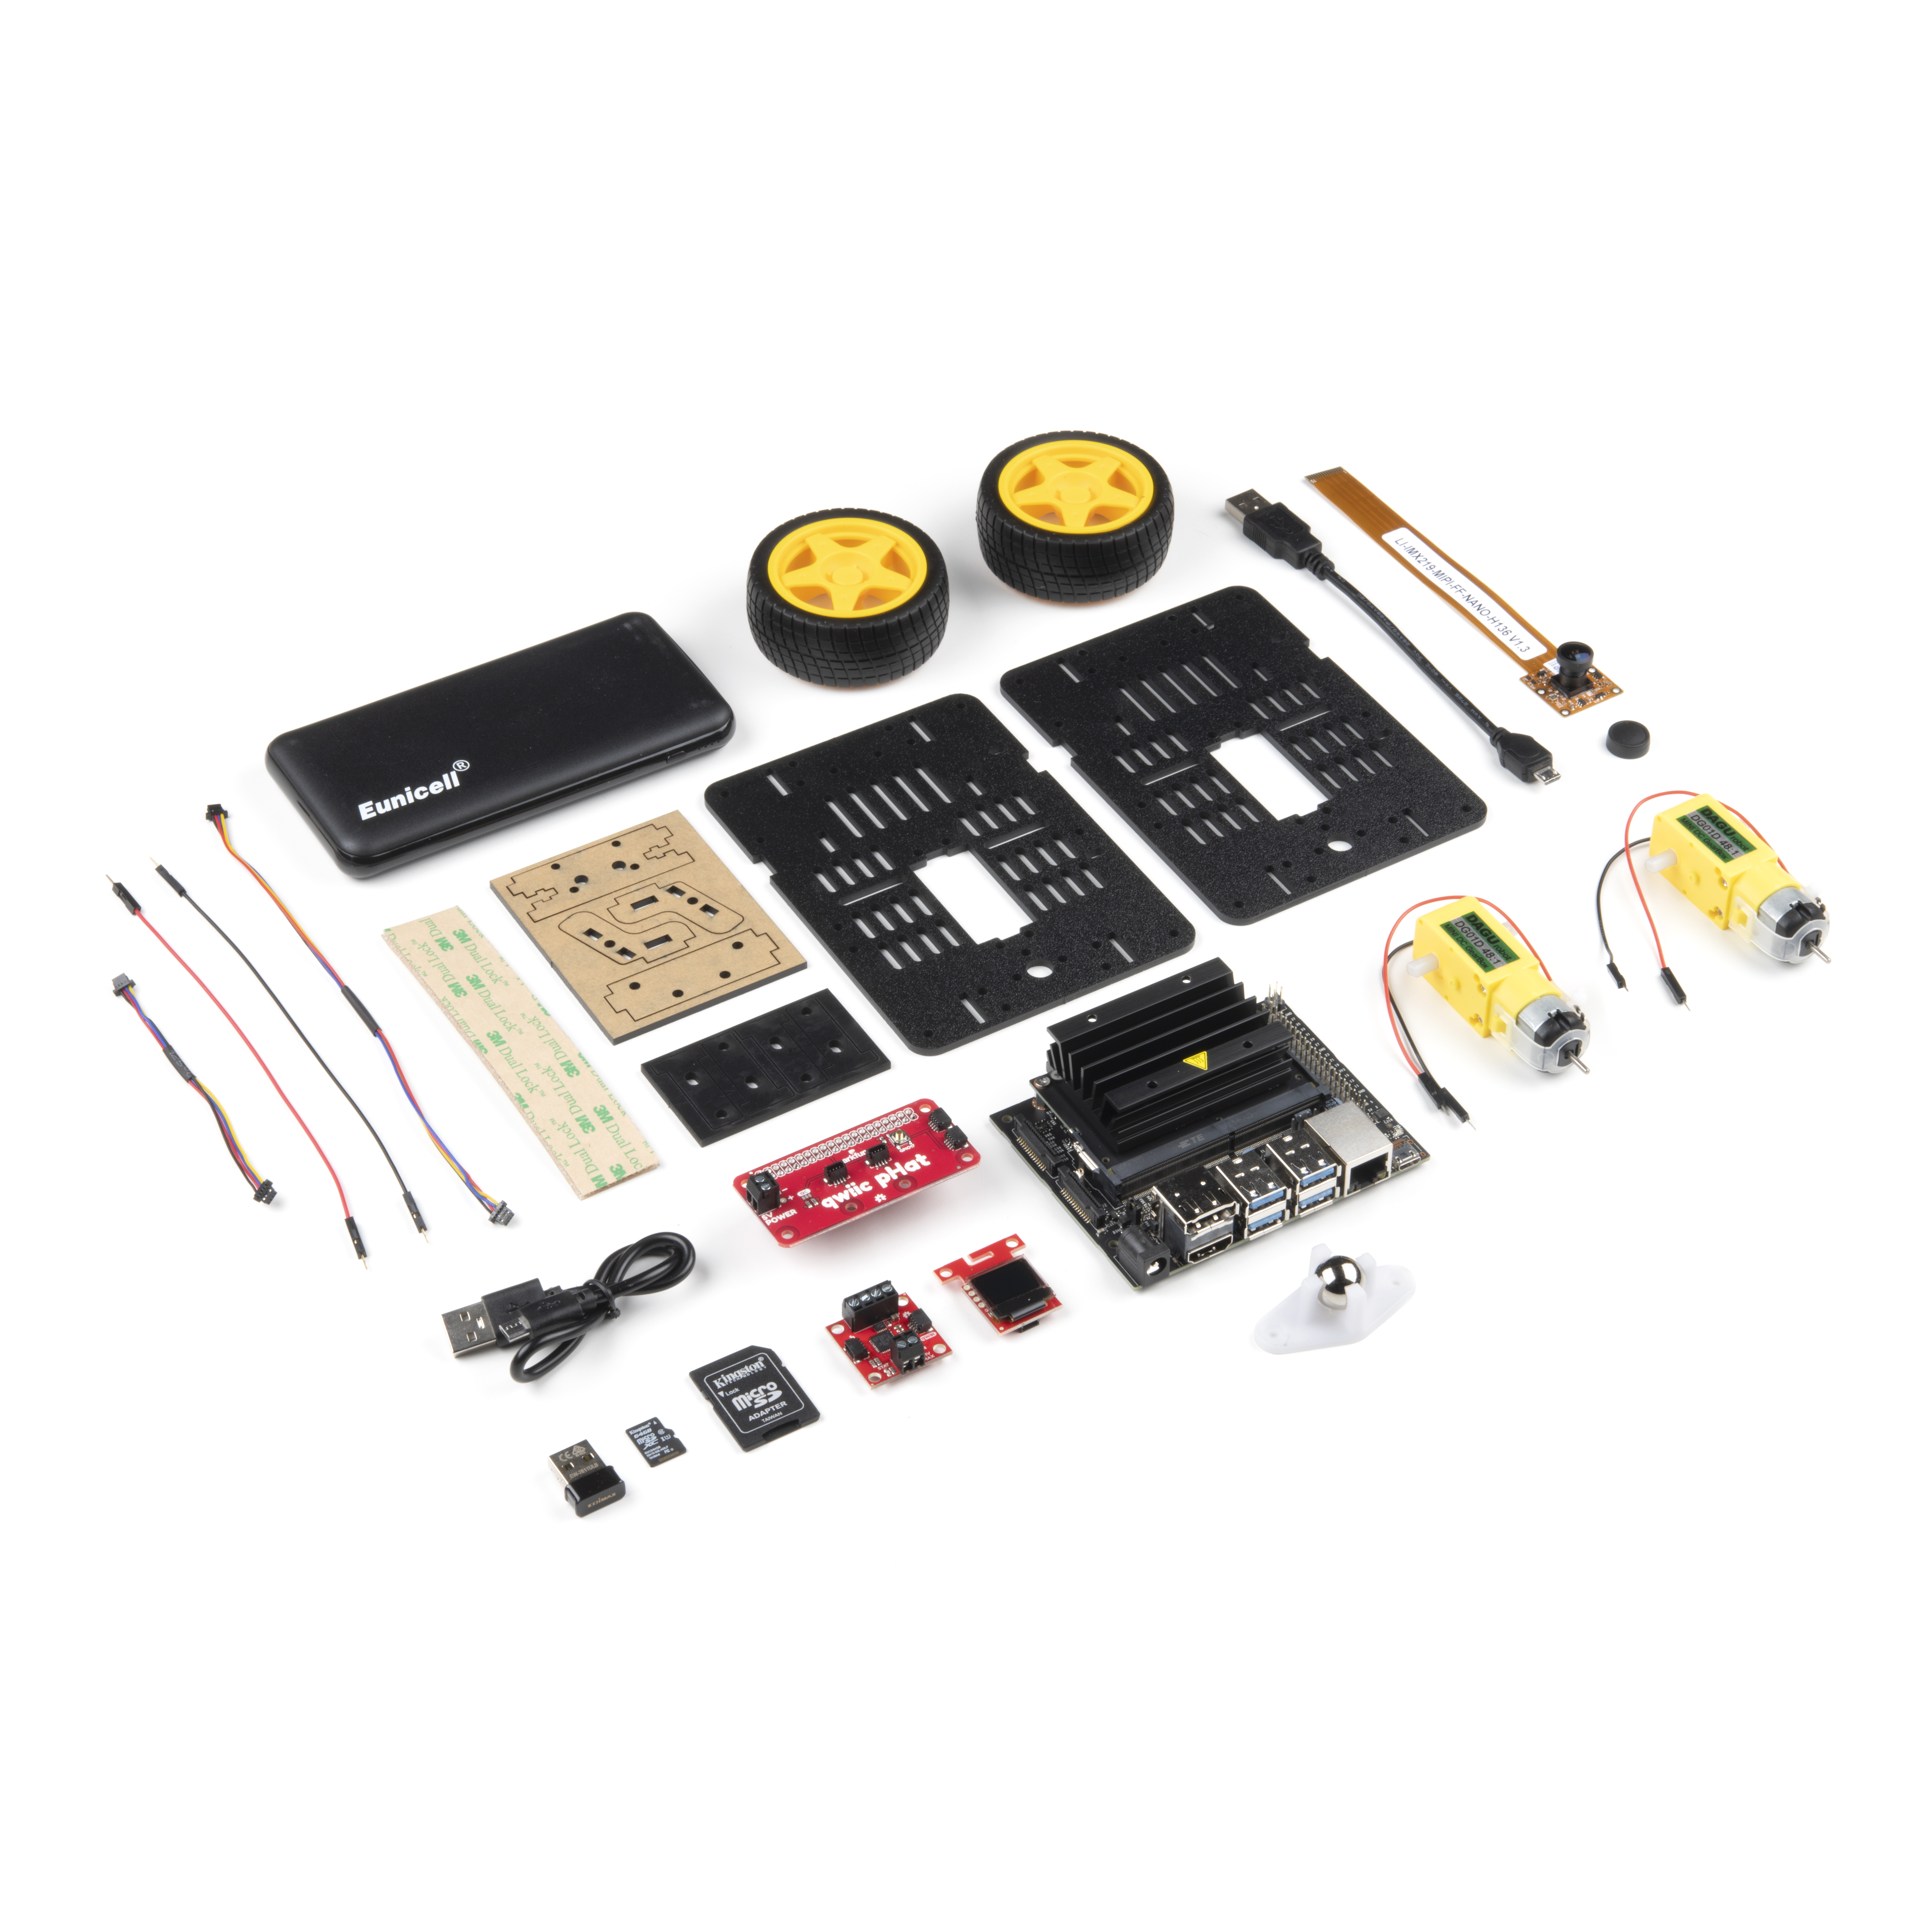
Materials
| Part | Qty |
|---|---|
| JetBot Chassis Kit | 1 |
| Hobby Gearmotor (pair) included as part of JetBot Chassis Kit | 1 |
| Camera mount included as part of JetBot Chassis Kit | 1 |
| Wheels & Tires - included as part of JetBot Chassis Kit | 2 |
| Lithium Ion Battery Pack - 10Ah (3A/1A USB Ports) | 1 |
| Edimax 2-in-1 WiFi and Bluetooth 4.0 Adapter *not included in 2GB Jetbot* | 1 |
| Jetson Dev Kit *Specific Jetson Dev Kit only included in specified Kits* | 1 |
| SparkFun JetBot image (Pre Flashed) | 1 |
| Leopard Imaging 136 FOV Camera | 1 |
| SparkFun Micro OLED Breakout (Qwiic) | 1 |
| SparkFun Qwiic Motor Driver | 1 |
| SparkFun Qwiic pHAT v2.0 for Raspberry Pi | 1 |
| Qwiic Cable - 100mm | 1 |
| Qwiic Cable - 200mm | 1 |
| Jumper Wires Premium 6" M/M (2-pack black & red) | 1 |
| USB Micro-B Cable - 6" *Jetbot 2GB includes USB-C cable for power* | 1 |
| Dual Lock Velcro | 1 |
| Part | Qty |
|---|---|
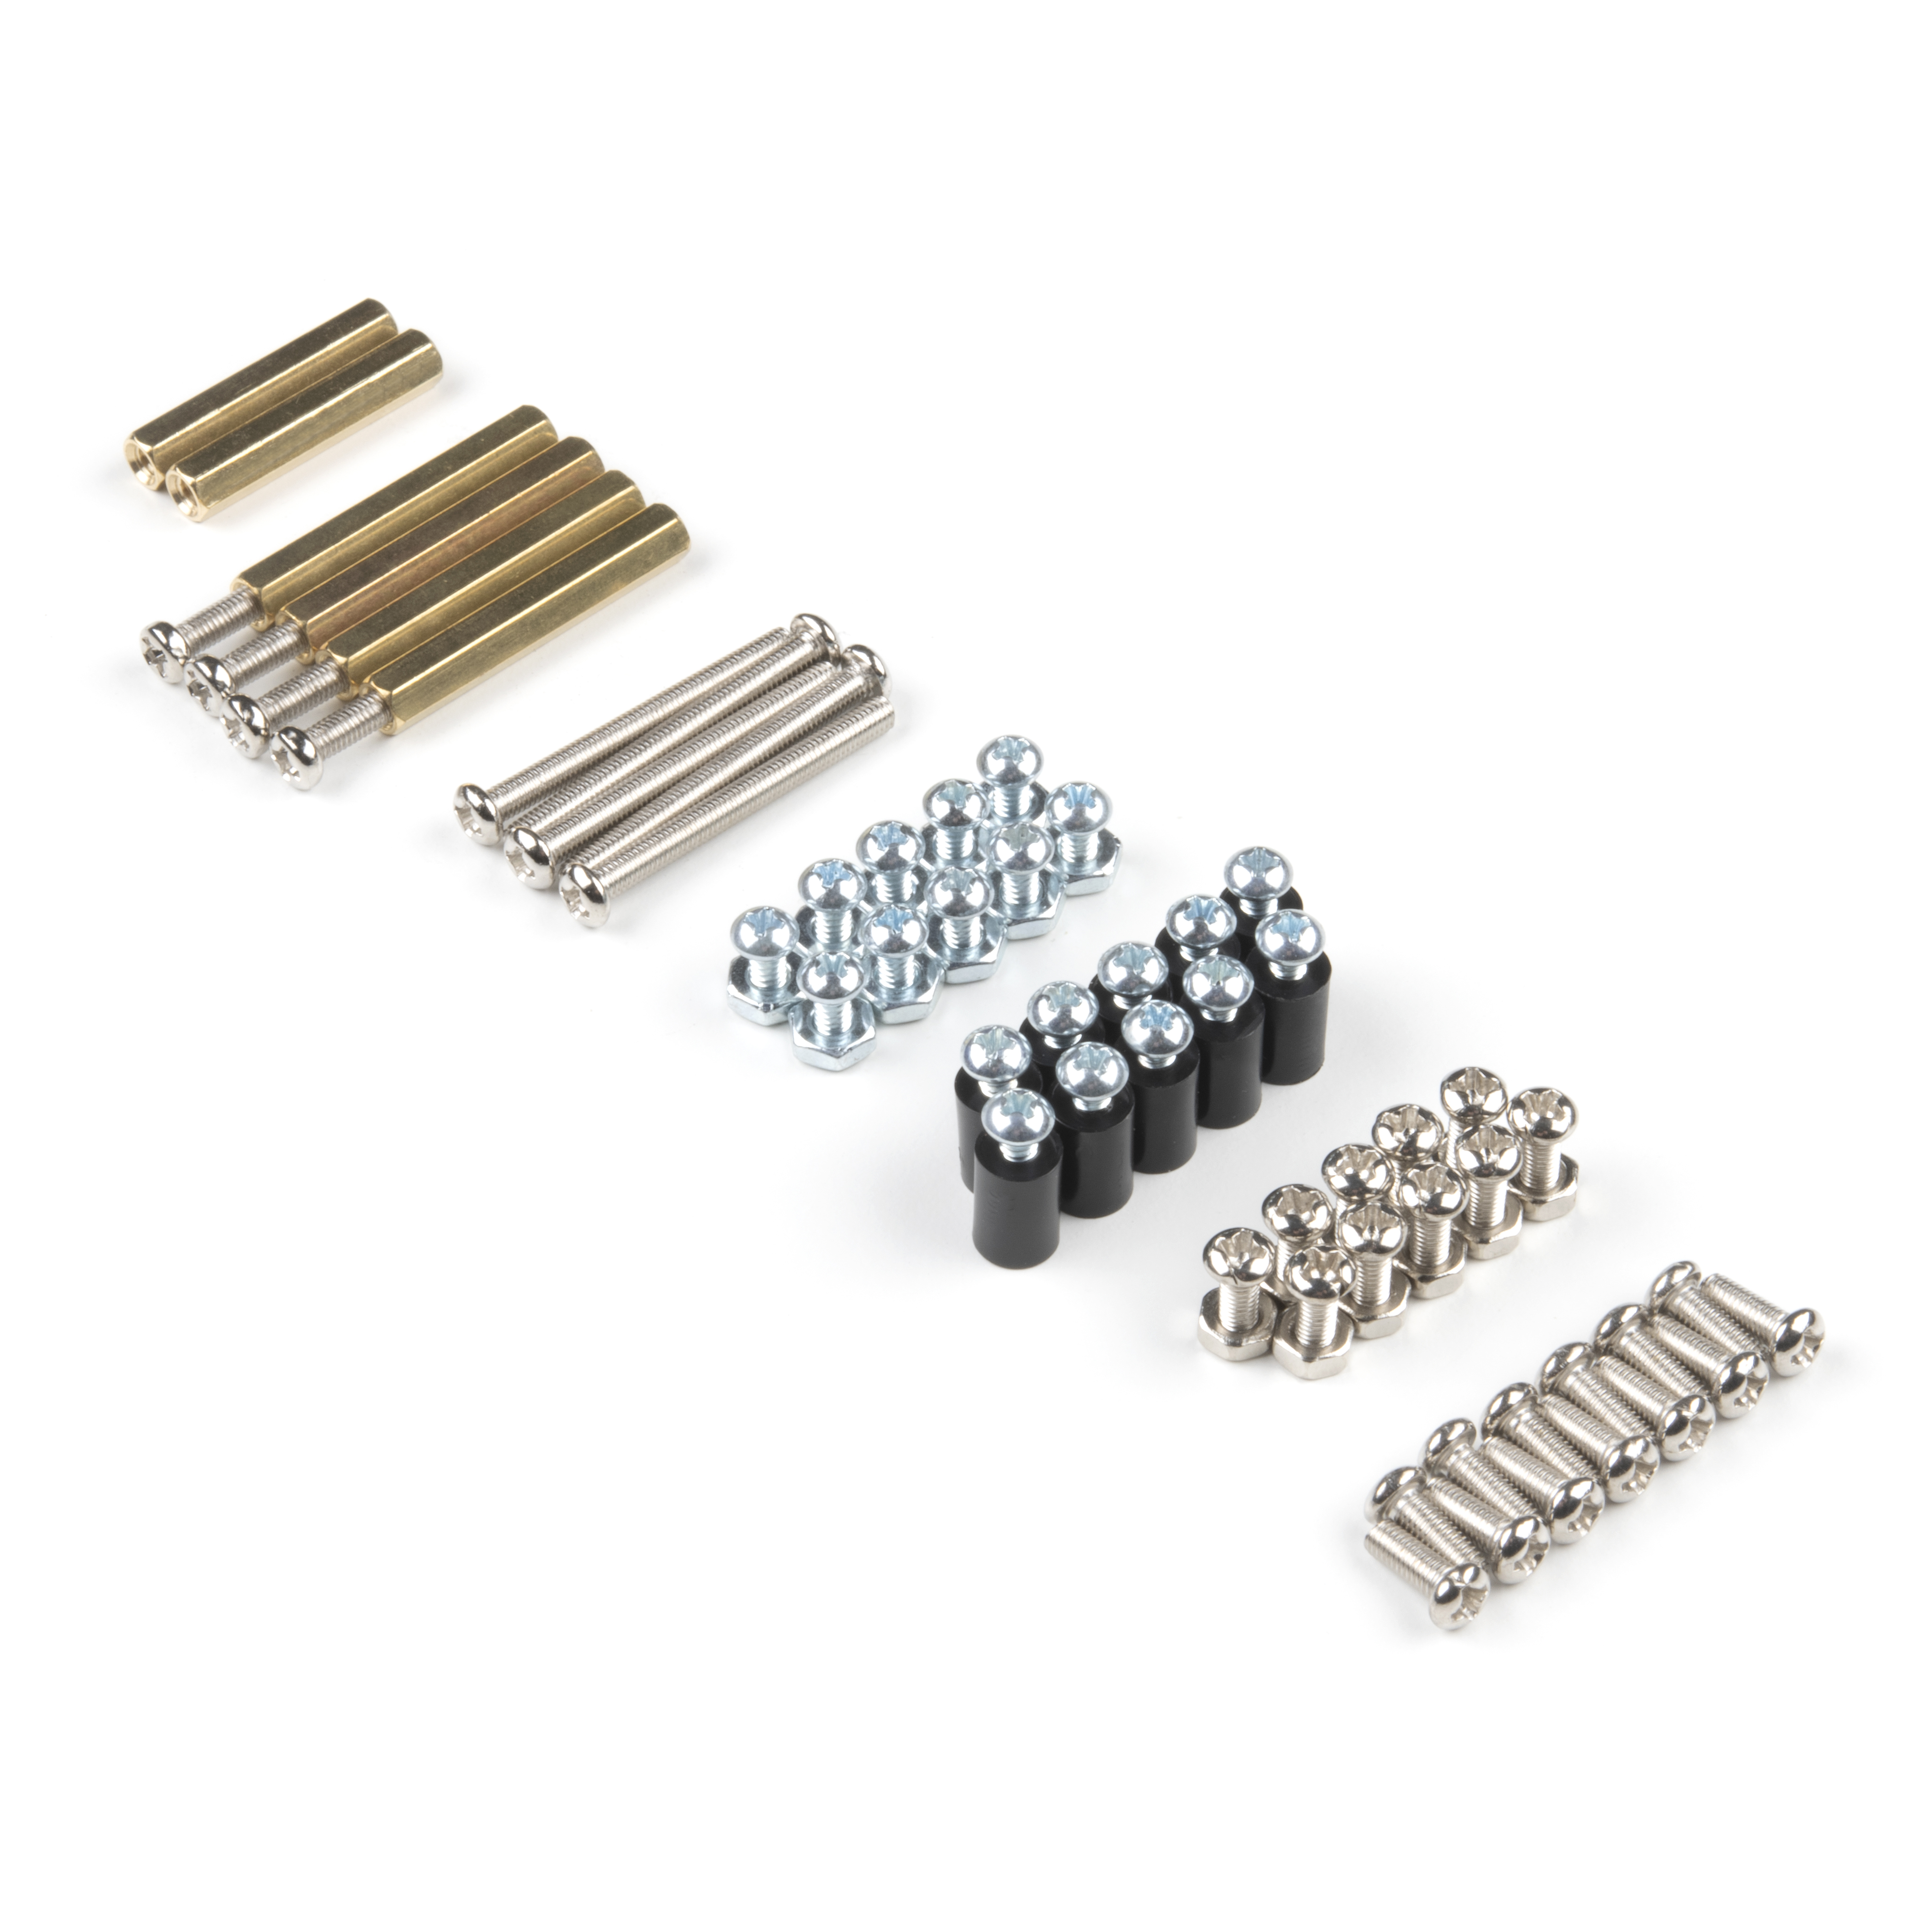
| Standoff - Nylon (4-40; 3/8in.) | 10 |
| 1/4" Phillips Screw with 4-40 Thread | 20 |
| Machine Screw Nut - 4-40 | 10 |
| M2 Nylon hex nut | 4 |
| M2 Nylon screw slotted drive | 4 |
| JetBot Chassis Hardware *included as part of JetBot Chassis Kit | 1 |
Recommended Tools
We did not include any tools in this kit because if you are like us you are looking for an excuse to use the tools you have more than needing new tools to work on your projects. That said, the following tools will be required to assemble your SparkFun JetBot.
- Small phillips & small flat head head screwdriver will be needed for chassis assembly & to tighten the screw terminal connections for each motor. We reccomend the Pocket Screwdriver Set; TOL-12268.
- Pair of scissors will be needed to cut the adhesive Dual Lock Velcro strap to desired size; recommended, but not essential..
- Optional- adjustable wrench or pliers to hold small components (nuts & standoffs) in place while tightening screws; your finger grip is usually enough to hold these in place while tightening screws & helps to ensure nothing is over tightened.
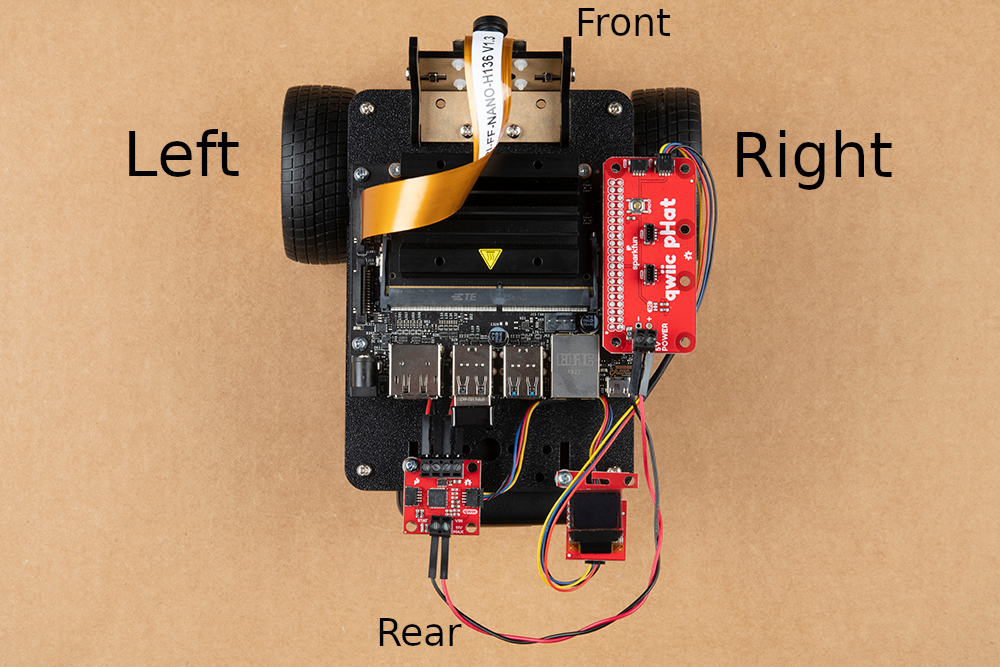
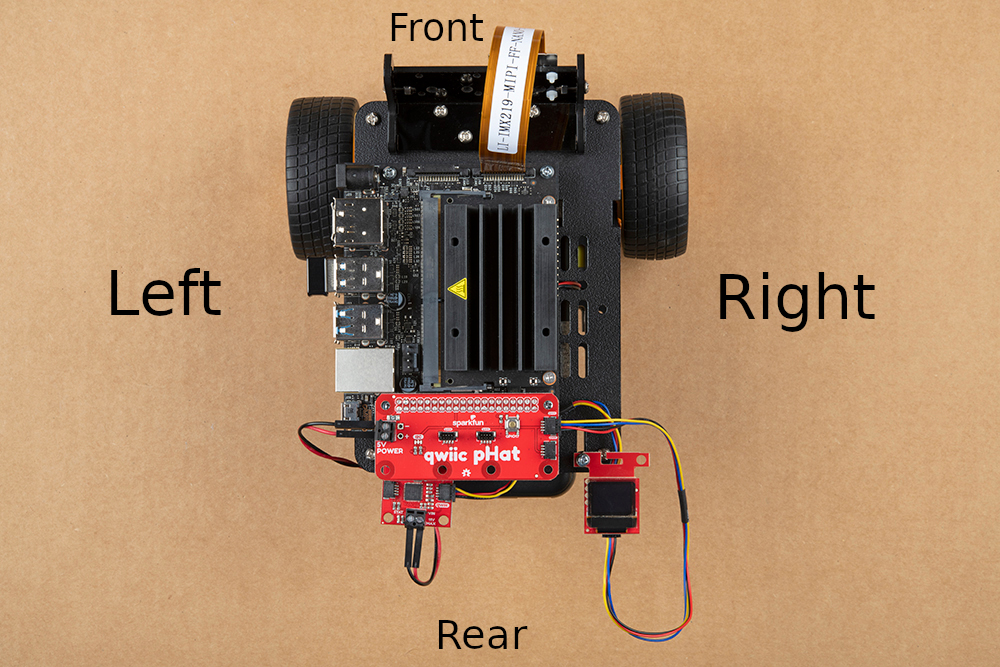
A Note About Directions
When we talk about the "Front," or "Forward" of the JetBot, we are referring to direction the camera is pointed when the JetBot is fully assembled. "Left" and "Right" will be from the perspective of the SparkFun JetBot (i.e. what the JetBot camera sees).