Arduino Shields v2
 jimblom,
  El Duderino
Assembly Tricks
The previous assembly section should detail everything you need to know about simple shield header installation. There are, however, a few tricks we've picked up along the way...
Use An Old Shield to Aid Alignment
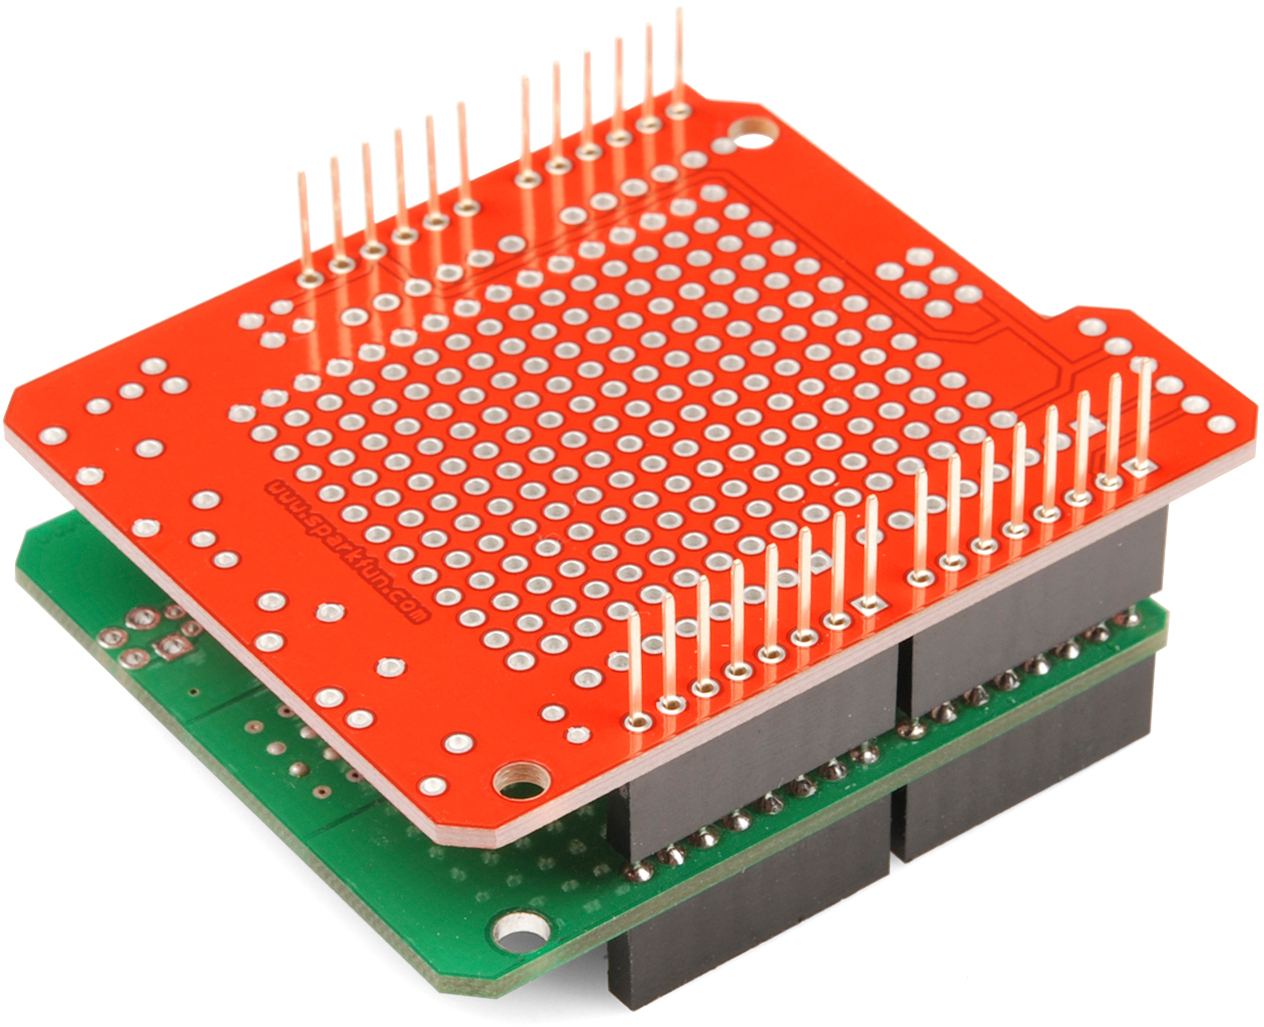
The easiest place to mess up shield assembly is in aligning each of those headers. It's best to avoid soldering the stackable headers while the shield's connected to the Arduino, so the method described in the assembly section is usually best. If you've got a spare shield lying around you can take advantage of another little trick by using it as a header-alignment-jig.
Begin by plugging all of the headers into your spare shield jig.
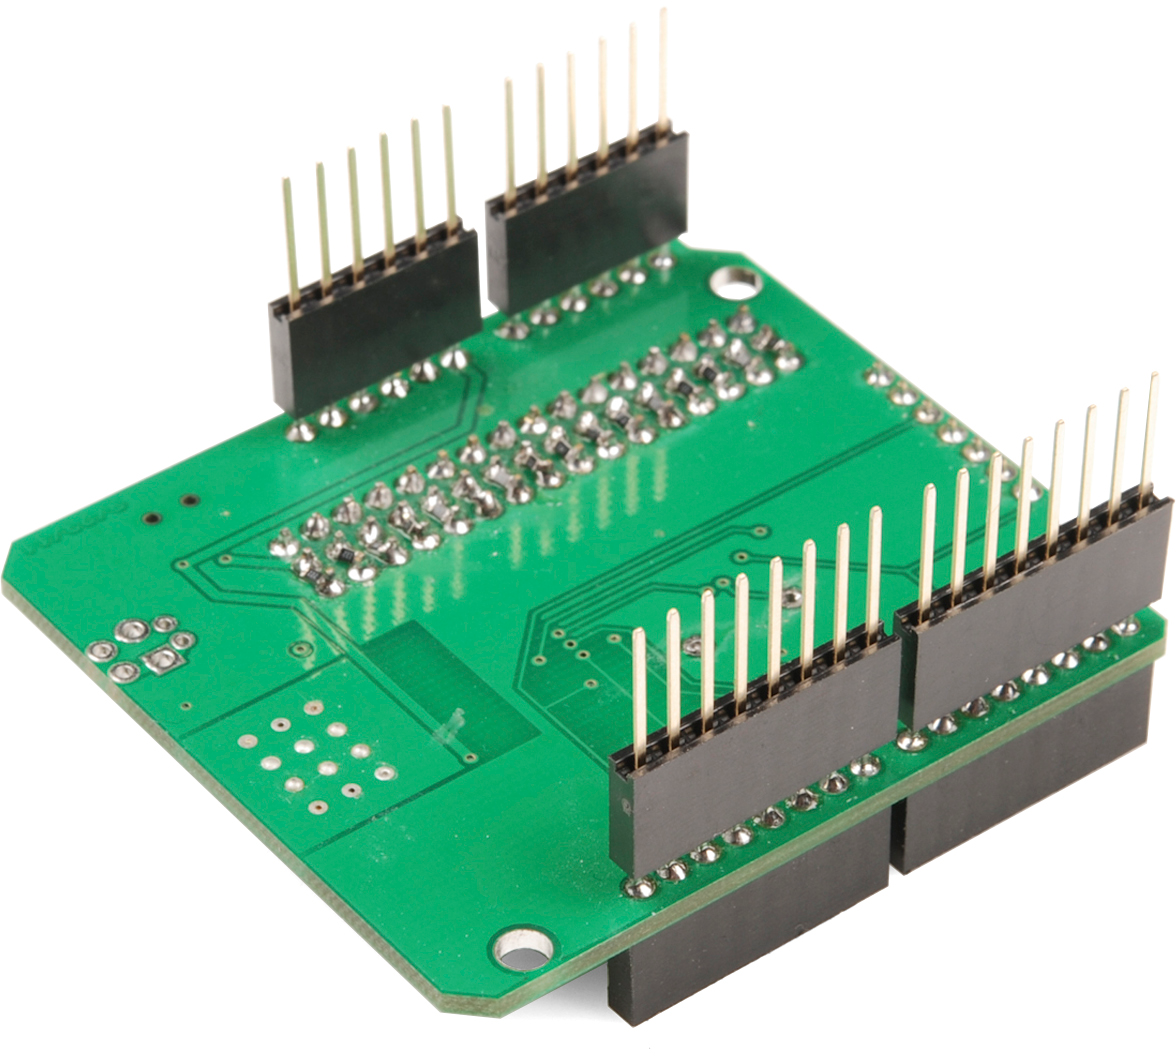
Then insert the headers into your to-be-soldered shield, and solder them all up. Assuming the spare shield is aligned properly (you may want to check that first), your headers will line up perfectly with your Arduino.
Installing Male Headers
If you value a smaller profile shield installation over the ability to stack shields and connect jumper wires, male headers are an option.
In a way, male headers are actually easier to align and install because you can use your Arduino as a jig. Begin by inserting the headers into your Arduino.
Then line up and plug in the shield, and solder away.
Be somewhat careful using this method. Don't leave the iron on the pins for too long or you risk burning the Arduino's headers underneath. If you're especially worried about burning your Arduino's female headers, you can solder just a single pin on each header, remove the shield, and solder the rest.
Holding Headers Against the Shield
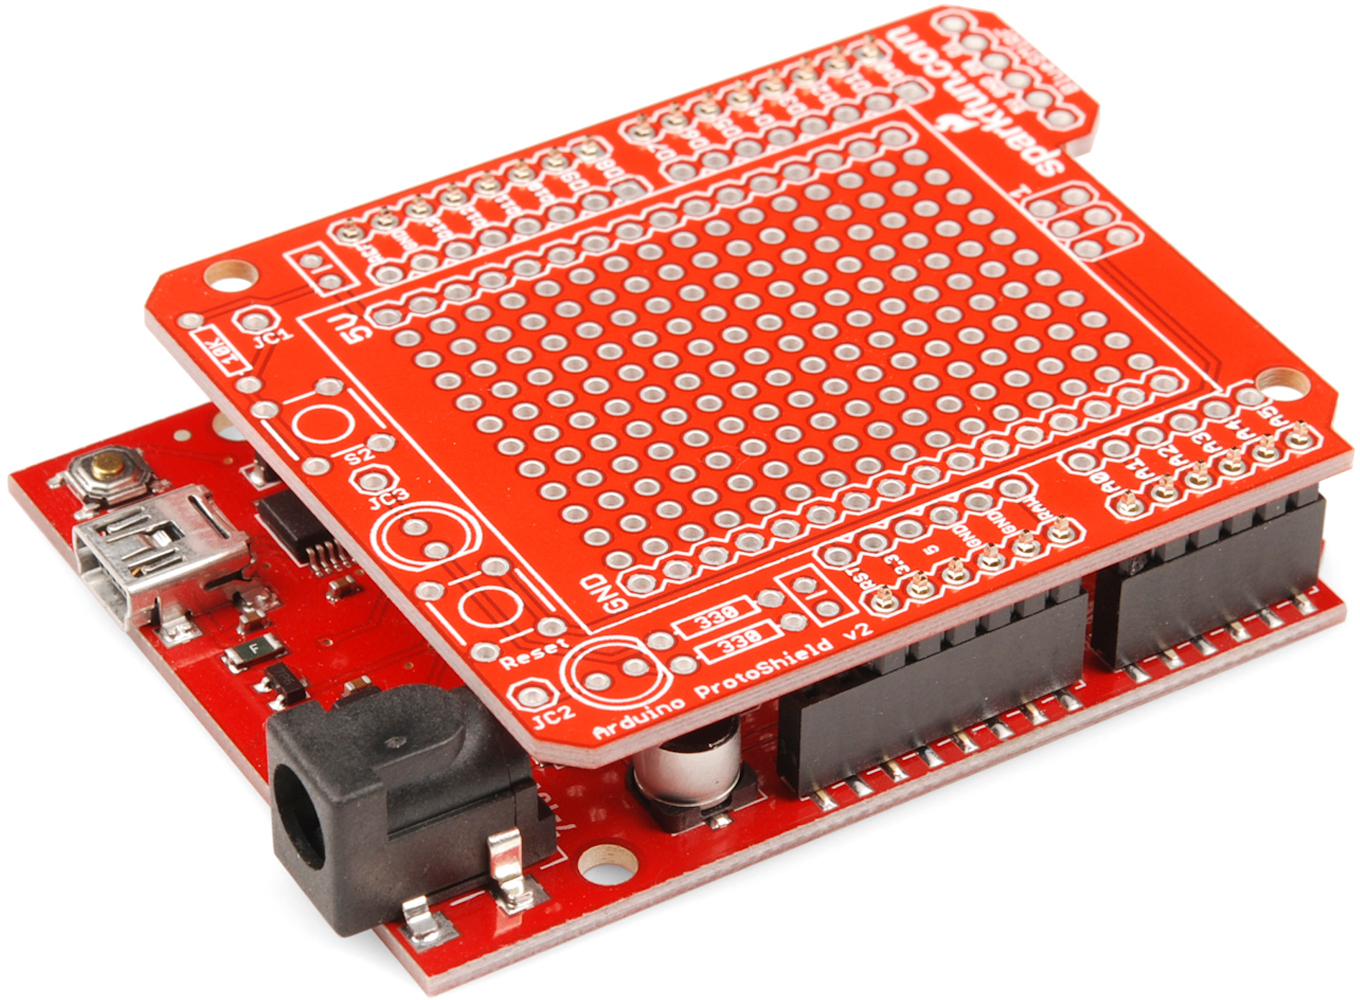
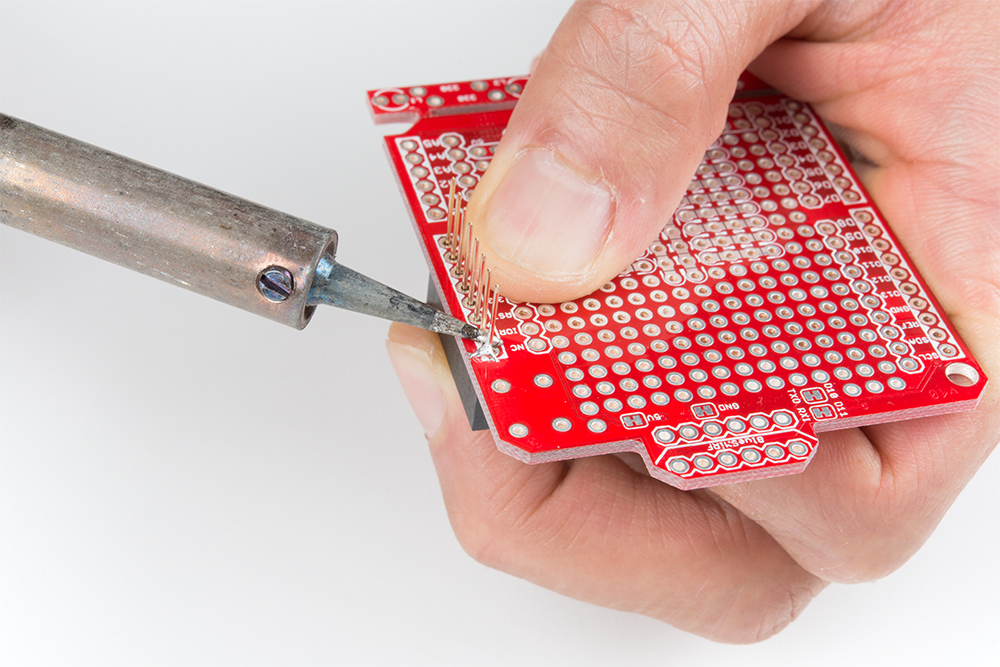
Don't have an extra shield around or your development board does not have any header pins soldered on yet? For those that have the dexterity, you can install a row of headers by holding the pins against the board! You can even try to use tape and sticky tack. Below is an example of installing female headers on the ProtoShield. However, you can follow along with male headers or use this technique to solder headers on development boards as well.
Grab a female stackable header and slide it from the top side of a shield. With your soldering hand, pull the header with your index finger and thumb toward the edge of the board. Using your other hand, push against the header using your index finger and grip the board with your thumb. Hold the header down with your middle finger. Make sure to avoid touching any header pins where the soldering iron will touch.
 |
 |
Grab the soldering iron with your soldering hand and tack on one pin. Repeat for each header. After tacking one pin for each header, you will want to ensure that the pins are straight and perpendicular to your board. If they are not, you can try to reheat the header pin and adjust the header's alignment.
If the headers are aligned, you can solder the rest of the header pins on the board to finish installing the headers on the shield!
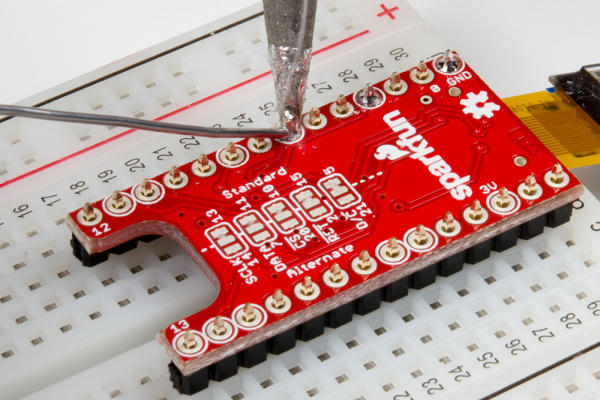
Installing Headers on Other Shields with a Breadboard
If you are using a shield that does not use the R3 form factor, you may be able to use a breadboard to help solder headers. Below is an example with male headers being soldered on the TeensyView shield for a Teensy and MiniGen shield for a Pro Mini. The Teensy and Pro Mini form factors use breadboard compatible pins on the edge of the board without the weird 0.5" spacing.
 |
 |
| Installing male headers on TeensyView shield for the Teensy with a breadboard. | Installing long male headers on the MiniGen shield for the Pro Mini with a mini-breadboard. |
When using a breadboard, you will also want to be careful soldering the pins to the shield. If you leave the iron on the pins for too long, you will also run the risk of melting the plastic breadboard holding the metal rails as well.