Arduino Shields v2
Introduction
What is a Shield?
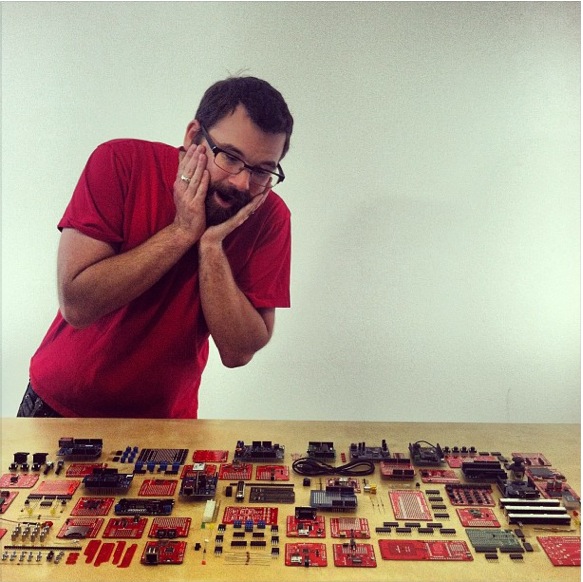
Shields[1] are modular circuit boards that piggyback onto your Arduino to instill it with extra functionality. Want to connect your Arduino to the Internet and post to Twitter? There's a shield for that. Want to make your Arduino an autonomous rover? There are shields for that. There are a LOT of shields out there, all of which can add all sorts of customizations to enhance your Arduino's functionality.
Many Arduino shields are stackable. You can connect multiple shields together to create a stack of Arduino modules. You could, for example, combine a SparkFun RedBoard with a Weather Shield and a WiFi Shield - ESP8266 to create a wireless weather station similar to this Weather Station project.
Shields are often supplied with either an example sketch, or a library. So, not only do they just simply plug into your Arduino, but all you usually need to do to make them work is upload up some example code to the Arduino.
