Adding a Timed Button to a Project
 Sarah Al-Mutlaq
Getting Started and Uploading Code
Since the project to which I am adding a timer uses DC (direct current), I could have easily added the timer to regulate the DC voltage using just a simple DC relay switch. Most projects in your home will be running off power from the wall, so this tutorial will focus more on how to regulate the AC voltage and current.
We will start with uploading the code. For this project, I have chosen a 5V Pro Mini. To Program a Pro Mini, you'll need a 5V FTDI Breakout. If your system is using 3.3V instead of 5V, we also have a 3.3V Pro Mini, and 3.3V FTDI Breakout to match.
To connect the Pro Mini to the FTDI Breakout, all you need to do is solder some right-angle male headers onto the FTDI inputs on the Pro Mini.
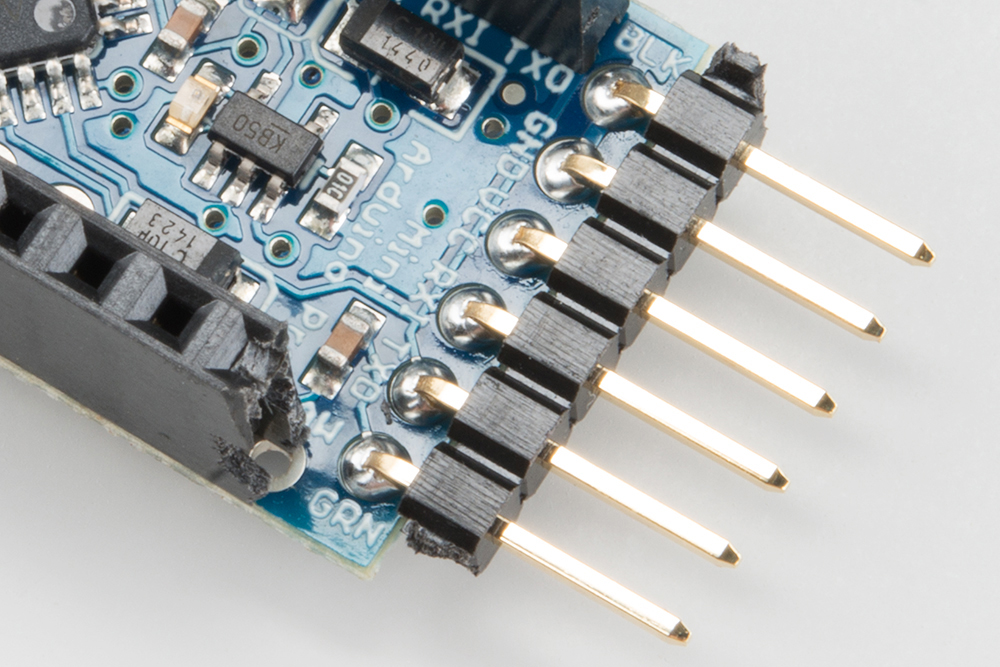
Once you have the FTDI breakout plugged into the Pro Mini, you can use a USB to Mini-B Cable to plug it right into your computer.
Open up the Arduino IDE, and upload the example code to your Pro Mini (for specific info on what the code is doing take a look at the comments in the code):
language:c
 /*
SparkFun simple code for running an On timer
for power from a button push
By: Sarah Al-Mutlaq
7/9/15
*/

int startButton = 13; //pin recieving info from start button
int controlPin = 4;   //pin we will use to contol power

unsigned long timerCount = 0; // variable to hold our timer info


void setup()
{
  pinMode(startButton, INPUT); //set pin as recieving info
  pinMode(controlPin, OUTPUT); //set pin as giving info
  digitalWrite(controlPin, LOW); //starting the control to project power as off
}

void loop()
{
  if (digitalRead(startButton) == HIGH)
    { //if the start button has be pushed
     timerCount = 5 * 60 * 10; //set timer to approximately 5 mins
     //(5 mins *  60 sec * 10 * 1 deciseconds)
     //this is set up to restart the timer whenever the start
     //button is pushed
     //not extremely exact since that is not what I needed for this project
     //if you are looking for something more exact, look into
     //SimpleTimer() Arduino funtions and libraries:
     //http://playground.arduino.cc/Code/SimpleTimer#F_restartTimer
    }
  if (timerCount != 0)
   { //if the count down timer is still running
     digitalWrite(controlPin, HIGH);
     //tell the control pin to provide power to the project
     timerCount = timerCount - 1;
     //count down of a decisecond (0.1 sec)
     delay(100);
     //delay for timercCount refrence of a decisecond
   }
   else { //if the timer has run out
     digitalWrite(controlPin, LOW);
     //tell the control pin to stop power to the project
   }
}