Contributors:
 bboyho
 Introduction
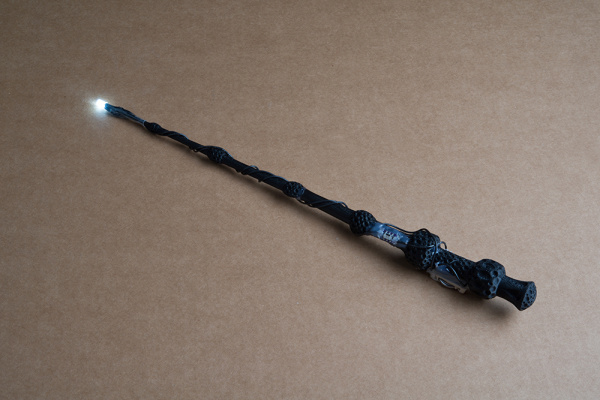
In this tutorial, we will learn about how to create a theatrical prop for a performance by 3D printing a wand and adding an LED.
Required Materials
To follow along with this project tutorial, you will need the following materials. You may not need everything though depending on what you have. Add it to your cart, read through the guide, and adjust the cart as necessary.
COM-10969
Nothing stops a project dead in its tracks faster than not having the right resistor. These components are arguably the most …
PRT-00338
CR2032 Lithium metal 3V 250mAh button cell battery. Great for powering low power processors or blink an LED for weeks at a ti…
PRT-09353
We love heat shrink! We use it for all sorts of handy projects. Use it to reinforce connections, protect devices, and electri…
PRT-08022
Standard 22 AWG solid Black hook up wire. Use this with your bread board or any project in which you need sturdy wire. Comes …
DEV-09350
This is a simple slide switch for the LilyPad. Use it as a simple ON/OFF switch, or to control LEDs, buzzers, sensors, etc. T…
DEV-08822
This is a coin cell holder for the common CR2032 type battery. The holder has a neat pop-in, pop-out feature that makes chang…
COM-09850
We all know that you can never get too many LEDs. Don't worry, we've got you covered. This is a pack of 25 LEDs all convenien…
Retired
Tools
You will need a soldering tools, a 3D printer, and ABS filament. A heat gun or hot air rework station is optional for applying heat to heat shrink or if you want to smooth out the edges of hot glue.
TOL-14456
This adjustable-temperature soldering iron is a great tool for when you don't want to break the bank but need a reliable iron…
TOL-10326
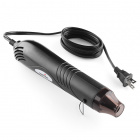
The Heaterizer XL-3000 Heat Gun is great for heat-shrink, melting things, and even very basic low temp rework.
TOL-09163
This is your basic tube of unleaded (Pb-free) solder with a no clean, water soluble resin core. 0.031" gauge and 15 grams
TOL-12954
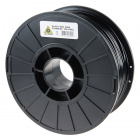
This is a 1kg (2.2lb) reel of 3mm black ABS (acrylonitrile butadiene styrene) plastic filament for 3D printing. ABS is a grea…
Retired
TOL-13880
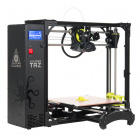
The LulzBot® TAZ 6 is the most reliable, easiest-to-use desktop 3D printer ever, featuring innovative self-leveling and self…
Retired
TOL-14763
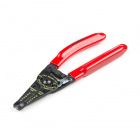
These are high grade wire strippers from Techni-Tool with a curved grip making them an affordable option if you need to remov…
Retired
You will also need:
- Scissors
- Hot Glue Gun and Glue Sticks
- Sand Paper or Filer
Suggested Reading
If you aren't familiar with the following concepts, we recommend checking out these tutorials before continuing. The flashlight kit is a good beginning kit to start with if you have not soldered before!
Flashlight Kit
This is an assembly guide for the SparkFun Flashlight Kit, a basic learn to solder kit.
