Using the SparkFun PicoBoard and Scratch
 bri_huang
Using Additional Sensors (PicoBoard Add-on / LabPack)
The PicoBoard LabPack comes with several add-ons to attach the the auxiliary ports.
How to Add Sensors to the PicoBoard
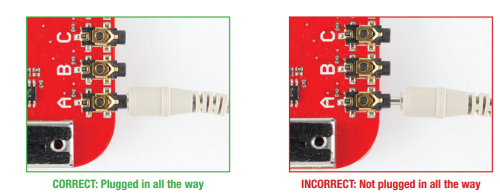
The four additional ports (A-D) allow the PicoBoard to be connected to a number of other additional sensors. The PicoBoard measures the resistance across the two alligator clips. When plugging in the PicoBoard connectors, make sure that you push the connector all the way in.
- Plug an alligator clip into one of the PicoBoard end connectors. There are four end connectors. They are A, B, C, or D.
The PicoBoard measures the resistance between the two alligator clips of the auxiliary ports. You can use any resistive sensor with these clips. We've created an add-on kit of parts that you might find useful to play with. In the add-on kit, we have:
Button / Switches (Digital Sensors)
The most basic "sensor" is a simple switch. Switches allow us to electrically connect or disconnect a path for electricity between two metal connections. The PicoBoard senses whether or not the two alligator clips are connected.
In the Add-on kit, we include two arcade switches.
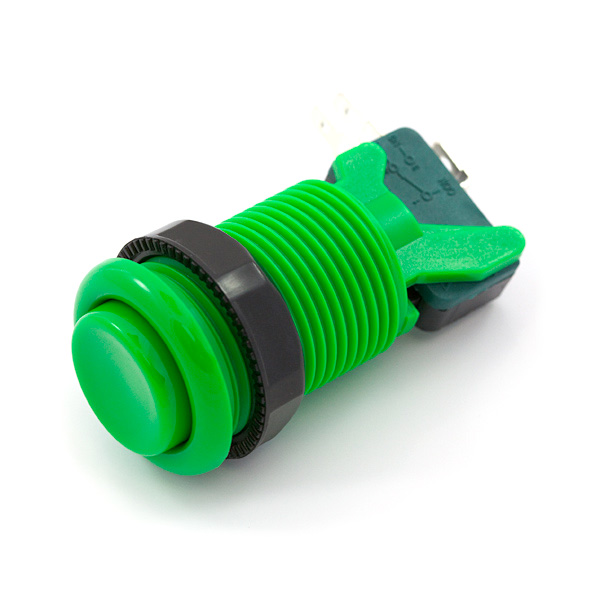
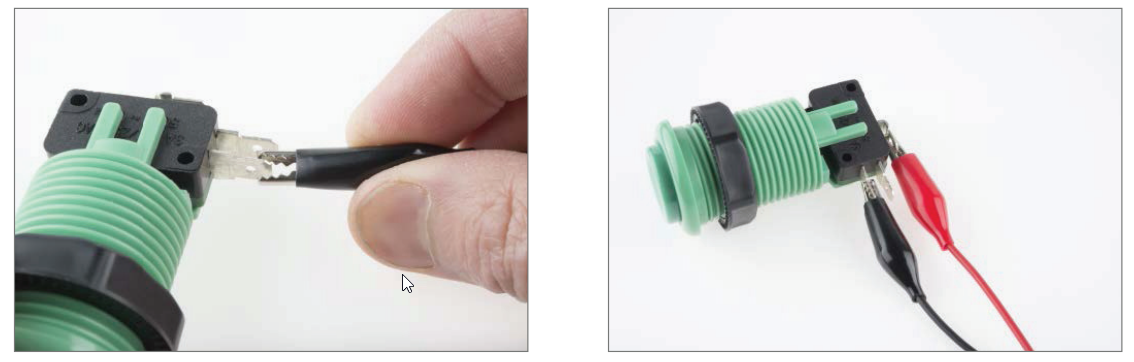
These switches are pretty neat. They use a momentary limit switch that has three connections to it. Connect one of the alligator clips to the inner-most tab. Connect the second alligator clip to the outer-most connection tab.
The switches can be triggered in Scratch using the boolean sensor block:
These blocks can be used with control blocks such as:
Analog Sensors
All other resistive sensors are considered "analog" sensors. The PicoBoard will measure the resistance of the sensor and report a value that ranges from 0 to 100 in Scratch. These values can be accessed using any of these blocks for the auxiliary sensors on A, B, C, or D.
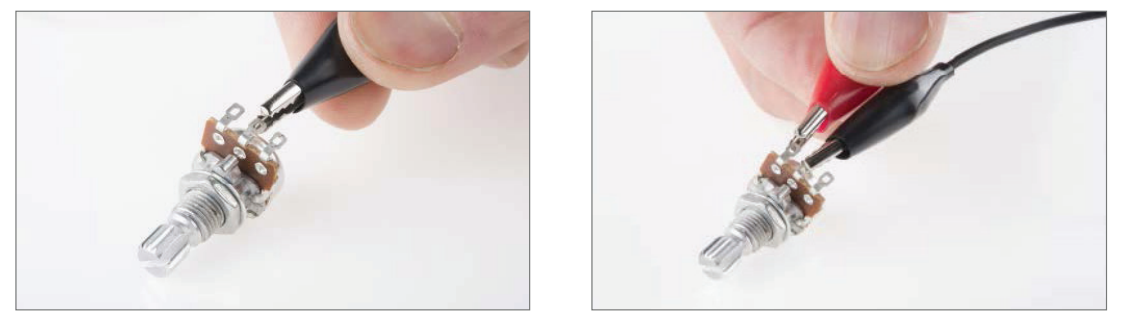
Turn / Rotary Potentiometer
A rotary potentiometer is basically the same as the slider -- however, instead of moving the slider back and forth, you simply turn the knob on the potentiometer. Connect one of the alligator clips to the center tab and the second alligator clip to either one of the outside tabs. Note: The limits of this sensor will only vary from 0 to 50 (instead of 0 to 100).
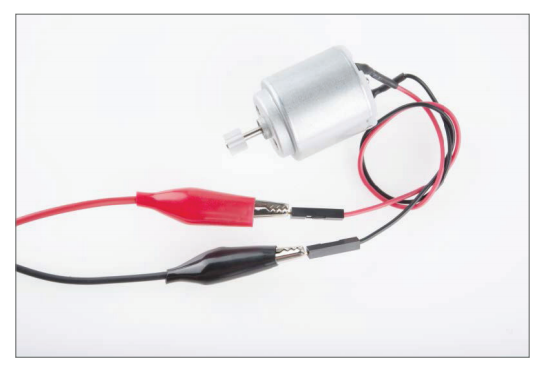
Motor
Traditionally, a motor is an output device, but when connected to the PicoBoard, you can use the motor as a generator. Spin the motor and see what happens to your input values. Simply connect the two wires of the motor to the two alligator clips.
Force Sensitive Resistor
This square sensor senses pressure applied to the surface. As you press down on the square, the resistance changes.
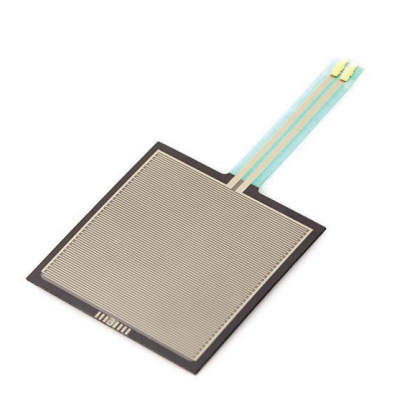
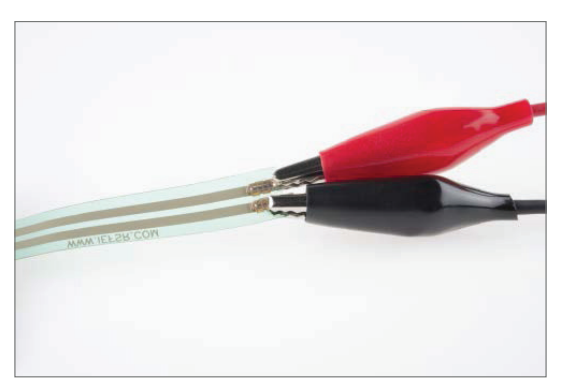
Attach the alligator clip extensions (regular alligator clip wires) onto the two metal prongs on the end of the Force Sensitive Resistor.

When clipping, make sure that the metal clips are fully seated and touching the metal part of the sensor. Also, make certain that the alligator clips do not touch each other.
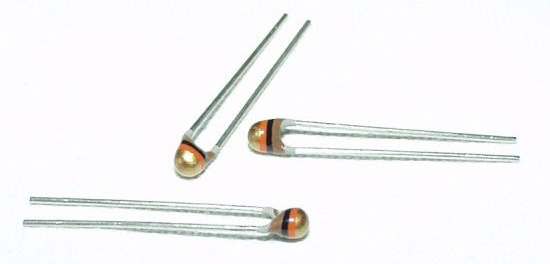
Thermistor
A thermistor is a special type of resistor whose resistance varies significantly with temperature. As the temperature increases, the resistance of a thermistor decreases. Technically, the thermistor requires the use of the Steinhart-hart equation to convert from the PicoBoard sensor values to a real temperature but, you can simply connect the thermistor up using the alligator clips.
If you're interested in a guide to calibrating a thermistor in Scratch, check out our blog post on using a standard turkey thermometer in Scratch.