Using AT&T's M2X With the CC3000
This Tutorial is Retired!
This tutorial covers concepts or technologies that are no longer current. It's still here for you to read and enjoy, but may not be as useful as our newest tutorials.
 Shawn Hymel
M2X Setup
In order to use the M2X streams, we need to set up an AT&T M2X account.
Navigate to m2x.att.com.
Click on the "Sign Up" button.
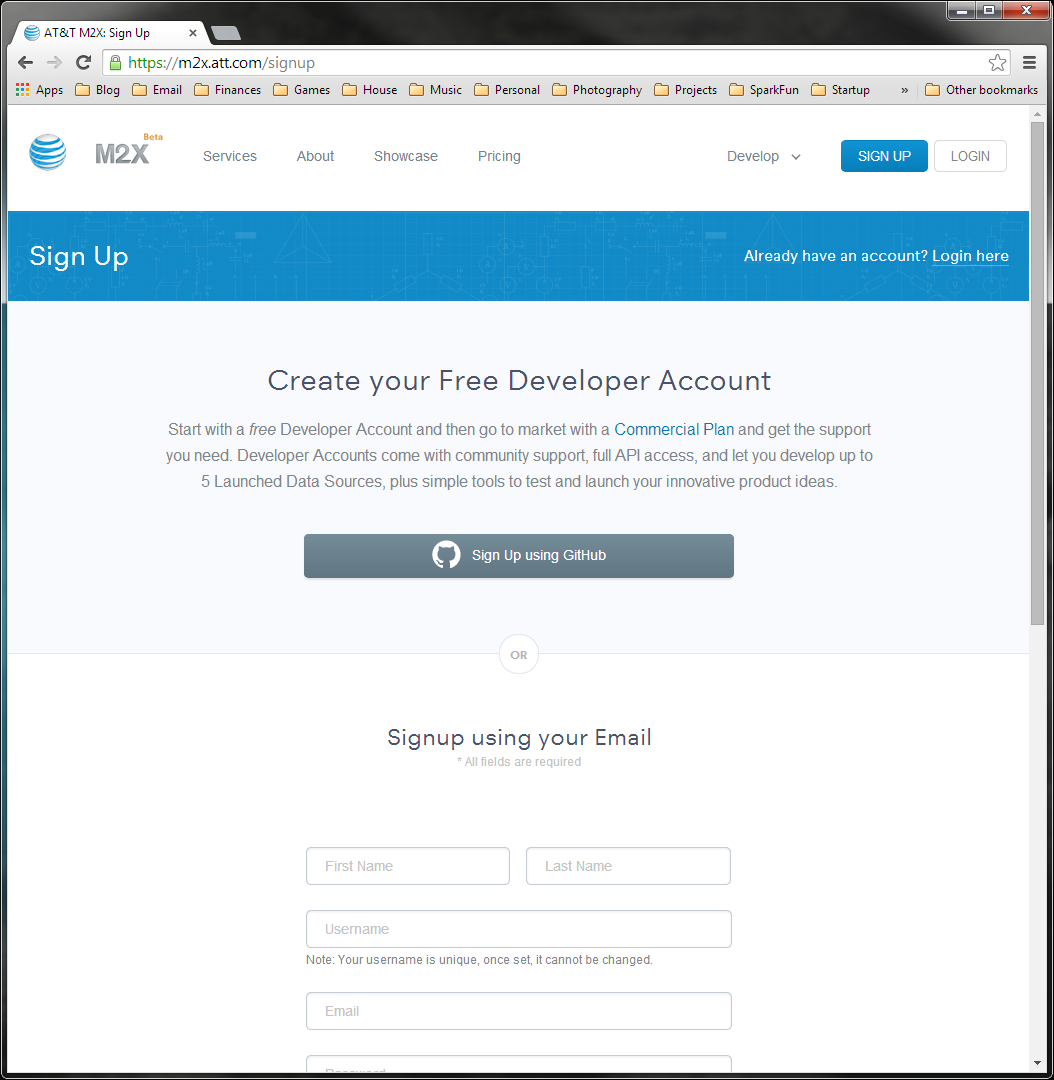
Follow the instructions on the screen to sign up for an account using your GitHub or email. If you use your email, you will need to verify your account through a link in an email from the M2X site.
Once you click on the link, you will be presented with your dashboard and a "Welcome to M2X" pop-up. Feel free to read the welcome messages or click "Skip."
After you are done with the welcome screen, you will see your dashboard.
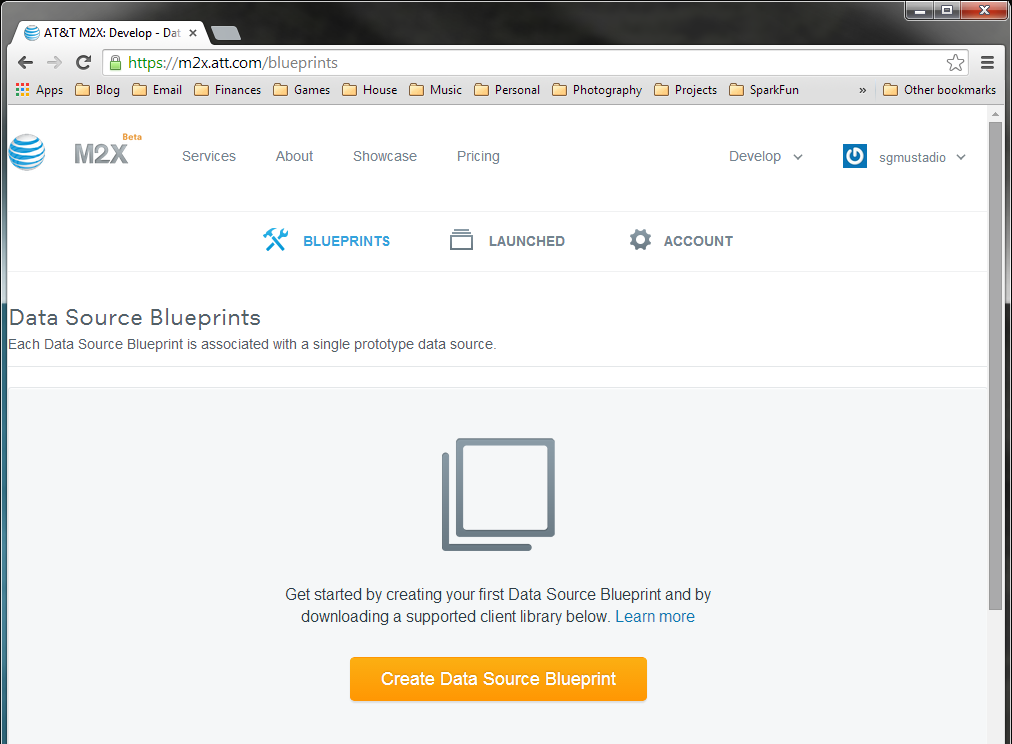
Click "Create Data Source Blueprint." Blueprints are a collection of data sources (streams) that can be multiplied and scaled to handle production data (known as a "batch").
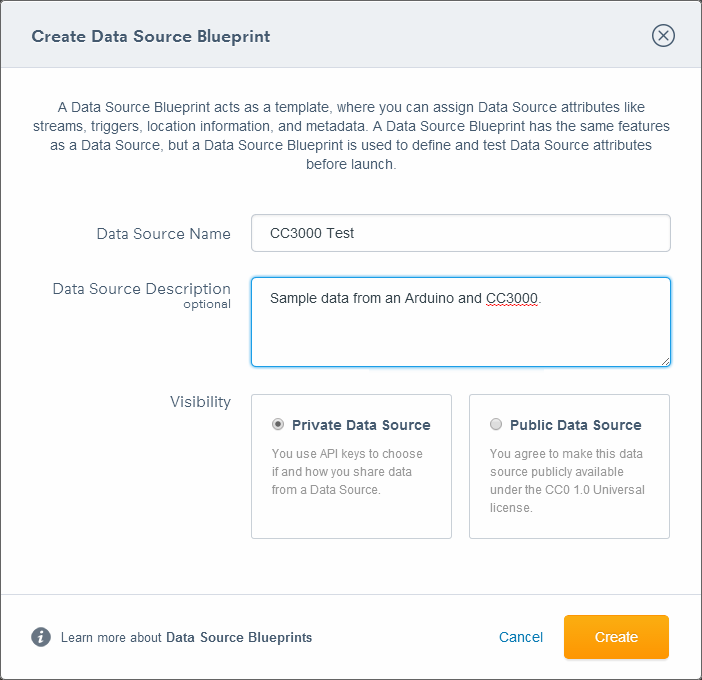
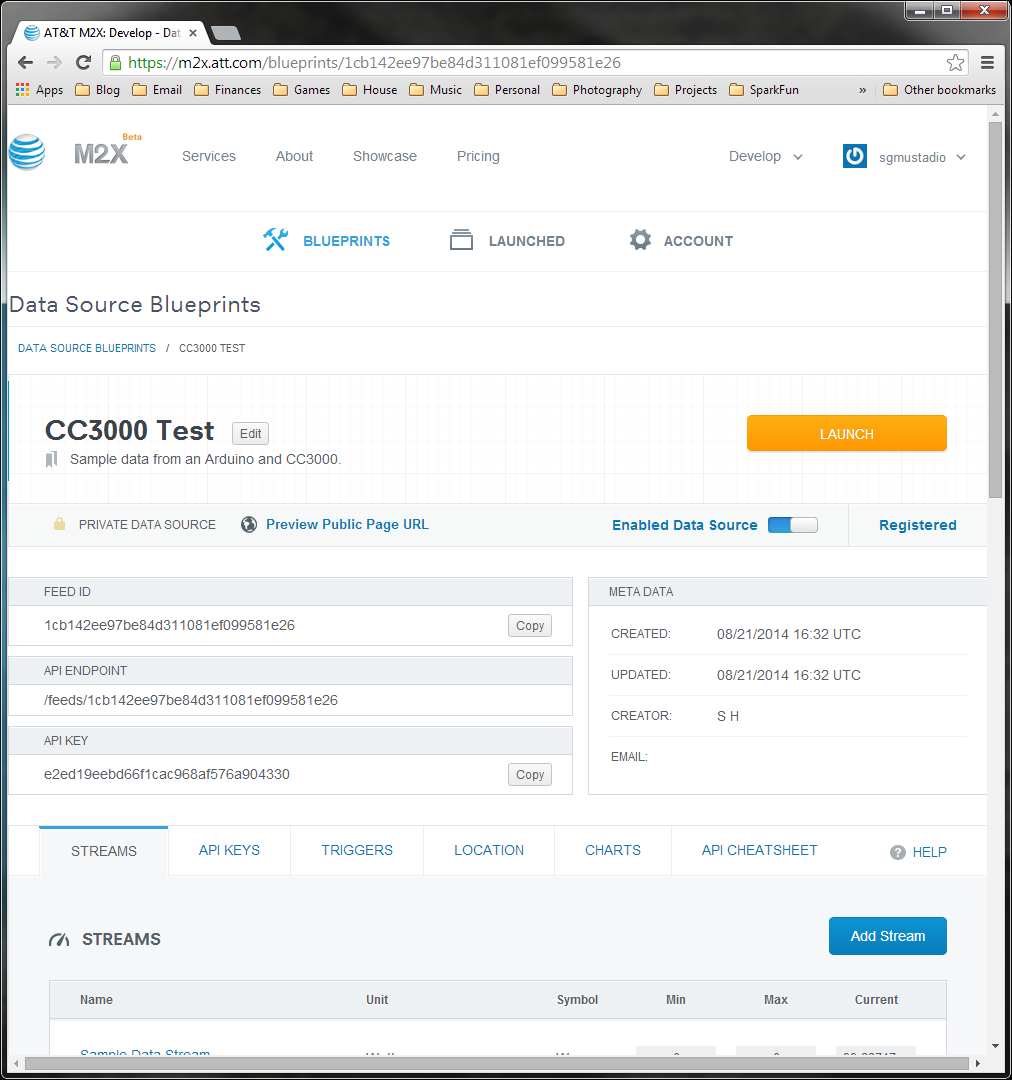
You will be asked to give your Blueprint some information. Fill out whatever you like in the Name and Description fields. For now, leave the Visibility at "Private." Click "Create." You will be presented with the dashboard for your Blueprint.
And that's it! We created a blueprint, which will hold our data streams for the tutorials. Before we can add data, we need to install a few Arduino libraries.