Contributors:
 QCPete
 Introduction
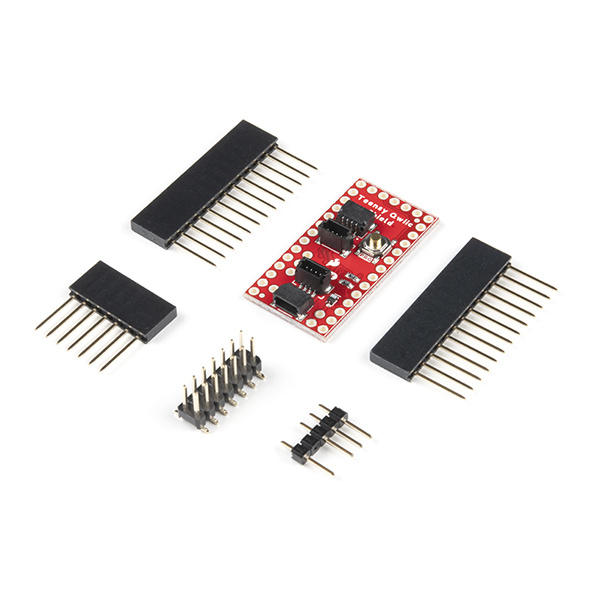
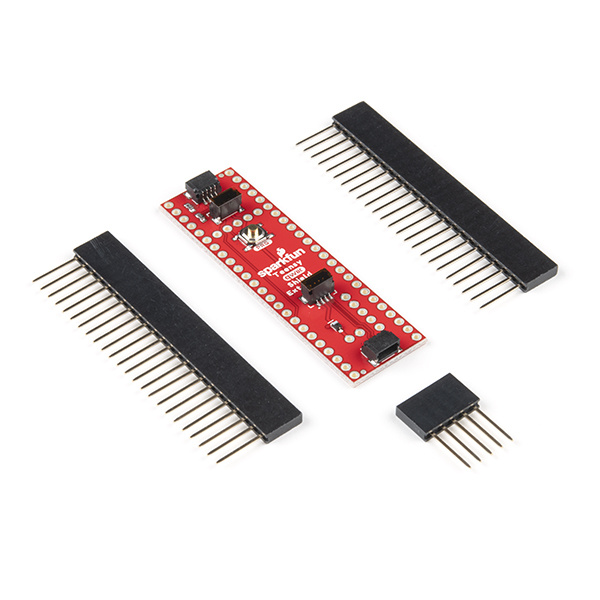
The SparkFun Qwiic Shield for Teensy and SparkFun Qwiic Shield for Teensy Extended provide an easy-to-assemble way to add the SparkFun Qwiic ecosystem to Teensy development boards. Both of these shields connect the I2C bus (GND, 3.3V, SDA, and SCL) on your Teensy to four SparkFun Qwiic connectors. The Qwiic ecosystem allows for easy daisy chaining so, as long as your devices are on different addresses, you can connect as many Qwiic devices as you'd like.
DEV-17119
This shield provides an easy way to SparkFun's Qwiic ecosystem with your Teensy 4.0, 3.2, or LC board footprint.
DEV-17156
This shield provides an easy way to SparkFun's Qwiic ecosystem with your Teensy 4.1.
Required Materials
To follow along with this tutorial, you will need a Teensy development board with either the "standard" or "extended" form factor. Here are is a collection of the compatible boards. Note, some of them come with headers pre-populated, so keep that in mind when considering which headers to populate on your shield.
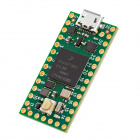
DEV-16771
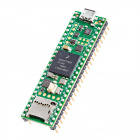
The Teensy 4.1 features an ARM Cortex-M7 processor at 600MHz, four times larger flash memory than the 4.0, and optional locat…
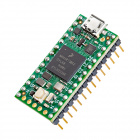
DEV-16996
The Teensy 4.1 with Headers features an ARM Cortex-M7 processor at 600MHz, 4x larger flash memory than the 4.0, and optional …
DEV-15583
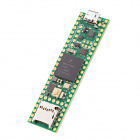
Teensy 4.0 is the latest Teensy, offering the fastest microcontroller and powerful peripherals in the Teensy 1.4 by 0.7 inch …
DEV-16997
Teensy 4.0 with Headers offers the fastest microcontroller and powerful peripherals in the Teensy 1.4 by 0.7 inch form factor…
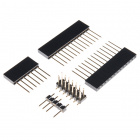
The Qwiic Shield includes a set of stackable headers to fit the Teensy footprint but you may also need some headers to solder to your Teensy. Or if you would prefer to use another header type for your shield assembly we've listed a few options below:
PRT-00116
A row of headers - break to fit. 40 pins that can be cut to any size. Used with custom PCBs or general custom headers.
PRT-00115
Single row of 40-holes, female header. Can be cut to size with a pair of wire-cutters. Standard .1" spacing. We use them exte…
PRT-13925
Each kit of headers makes your Teensy 4.0, 3.2, and LC breadboard compatible and will allow for stacking a Teensy and Teensy-…
Now you probably would not want the Qwiic Shield for Teensy if you didn't have any Qwiic products to use with it, right? Well, if you don't have any Qwiic products, the following might not be a bad place to start:
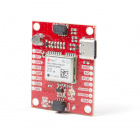
GPS-15712
The SparkFun NEO-M9N GPS Breakout is a high quality GPS board with equally impressive configuration options.
LCD-16397
The SparkFun Qwiic SerLCD is a serial enabled LCD that provides a simple and cost effective solution for adding a 16x2 RGB on…
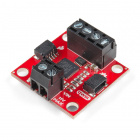
ROB-15451
The SparkFun Qwiic Motor Driver takes all the features of the Serial Controlled Motor Driver and miniaturizes them, adding Qw…
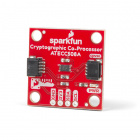
DEV-15573
The SparkFun ATECC508A Crypto Co-processor Breakout allows you to add strong authentication security to your IoT node, edge d…
You will need some of our Qwiic cables to connect your devices to the shield. Below are a few options:
PRT-14426
This is a 50mm long 4-conductor cable with 1mm JST termination. It’s designed to connect Qwiic enabled components together …
Retired
PRT-14427
This is a 100mm long 4-conductor cable with 1mm JST termination. It’s designed to connect Qwiic enabled components together…
Retired
PRT-14428
This is a 200mm long 4-conductor cable with 1mm JST termination. It’s designed to connect Qwiic enabled components together…
Retired
PRT-14429
This is a 500mm long 4-conductor cable with 1mm JST termination. It’s designed to connect Qwiic enabled components together…
Retired
Lastly, if you want to use a non-Qwiic I2C device, these adapters help to convert it to a Qwiic connector:
DEV-14495
The SparkFun Qwiic Adapter provides the perfect means to make any old I2C board into a Qwiic enabled board.
PRT-14425
This is a jumper adapter cable that comes pre-terminated with a female Qwiic JST connector on one end and a breadboard hookup…
Retired
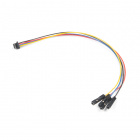
CAB-14988
This is a jumper adapter cable that comes pre-terminated with a female Qwiic JST connector on one end and female connectors o…
Retired
Required Tools
You will need a soldering iron, solder, and general soldering accessories to solder the header pins to the Qwiic shields:
TOL-09163
This is your basic tube of unleaded (Pb-free) solder with a no clean, water soluble resin core. 0.031" gauge and 15 grams
TOL-09507
This is a very simple fixed temp, quick heating, 30W 110/120 VAC soldering iron. We really enjoy using the more expensive iro…
Suggested Reading
If you aren't familiar with the Qwiic system, we recommend reading here for an overview:
We would also recommend taking a look at the following tutorials if you aren't familiar with them:
I2C
An introduction to I2C, one of the main embedded communications protocols in use today.
Arduino Shields v2
An update to our classic Arduino Shields Tutorial! All things Arduino shields. What they are and how to assemble them.


