SparkFun Qwiic Shield for Teensy Hookup Guide
 QCPete
Hardware Assembly
To get started using the Qwiic Shield for Teensy, solder the headers onto your Teensy board and your Qwiic Shield. You may choose to use the included stackable header kit or any combination of male/female breakaway headers. Below we show a couple options using standard breakaway headers. Note, for best access to the program button on the shield and the two vertical Qwiic connectors, it is best to have it be the top of your stack.

|

|
| Teensy 4.0 and shield with M/F headers soldered into place. | Teensy 4.1 and extended shield with M/F headers soldered into place. |
Once you have soldered headers to your shield and connected it to your Teensy, it's time to start connecting Qwiic devices! Below you can see an example of each shield connected to the appropriate Teensy (4.0 or 4.1). Here we used our standard breakaway headers along with a couple of Qwiic Devices chained to it.

|

|
| Teensy Example Hookup | Teensy Extended Example Hookup |
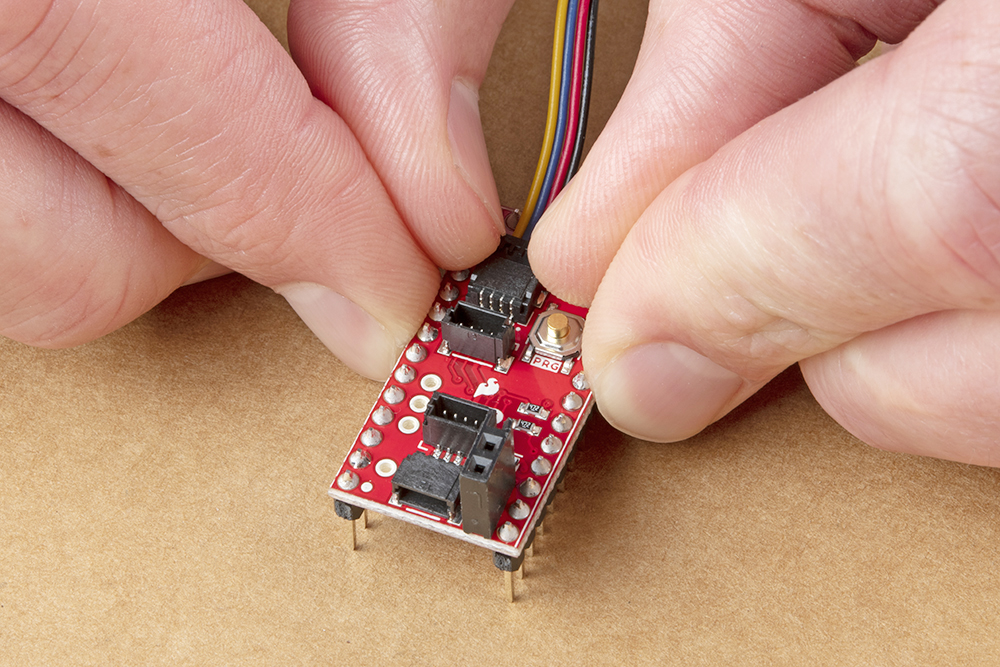
If you are using the upper-most qwiic connector on the Qwiic Shield for Teensy, please check out the following tips. It helps to bend/curl your Qwiic cable a bit before inserting it into the right-angle connector on the sheild.
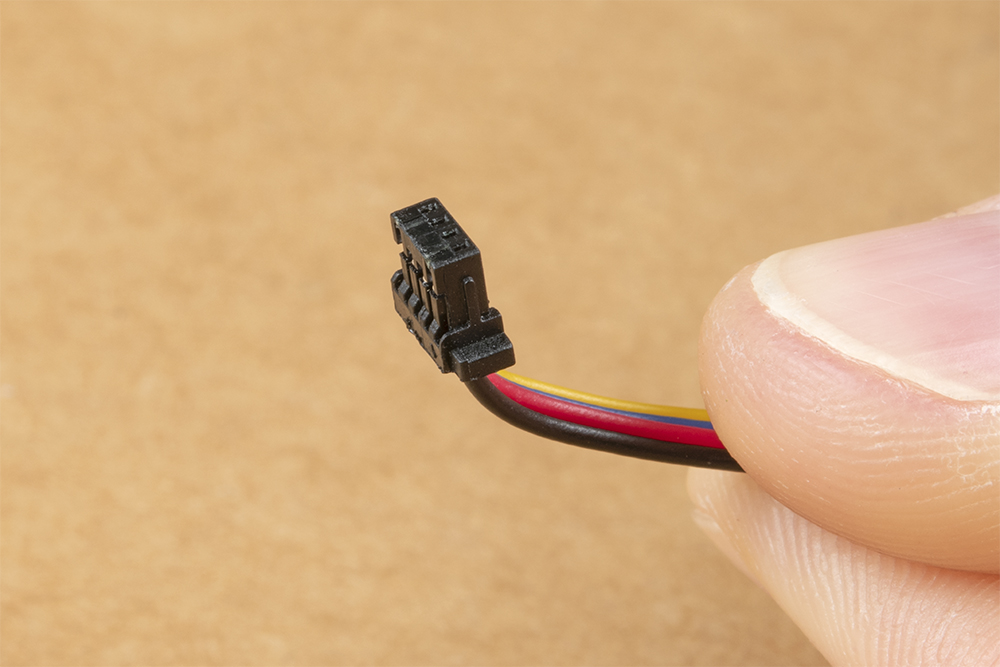
With the bend in place, you can better align it before inserting it all the way.
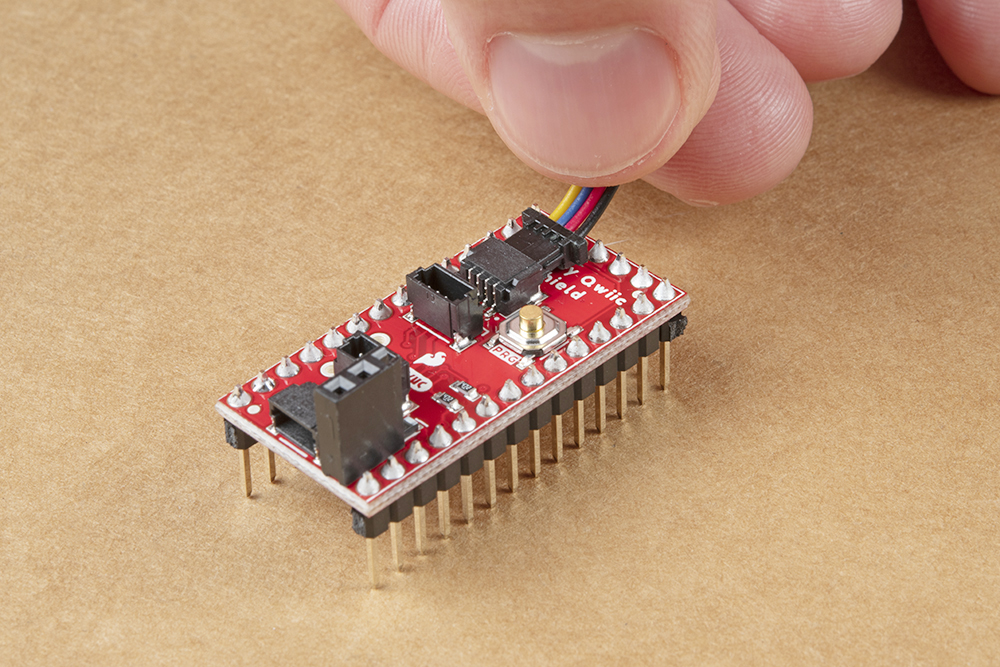
To avoid stressing the cable wires, it is best to push the Qwiic connector using your fingernails on the sides of the connector plastic. Tweezers can also do the trick.