SparkFun Qwiic Quad Solid State Relay Kit Hookup Guide
Arduino Examples
The examples included with the SparkFun Qwiic Relay Arduino Library work with all Qwiic Relay boards with one exception. Example 7 - Slow PWM was added specifically for the Quad Solid State Relay Kit to demonstrate how to use the setSlowPWM(uint8_t relay, uint8_t pwmValue); function. As mentioned in the previous section, this function will only work on the SSR boards and not the EMR boards. In this section we'll explore this example and explain how it works and how to modify it.
Example 7 - Slow PWM
This example generates a Pulse Width Modulation (PWM) signal from the ATTiny84 on the board to quickly switch a selected relay on and off. Open the example in Arduino by navigating to File > Examples > SparkFun Qwiic Relay Arduino Library > Example7_Slow_PWM. Next, open the Tools menu and select your board (in our case, Arduino Uno) and the correct Port your board enumerated on.
Upload the code and open your serial monitor with the baud set to 115200. The code prints out whether or not the initialization of the Quad SSR Kit was successful and then prints the PWM value for each relay set using the setSlowPWM(); function. Let's take a closer look at the code:
First, in all code for the Quad SSR Kit, you will need to declare the I2C address:
language:c
Qwiic_Relay quadRelay(QUAD_SSR_DEFAULT_ADDRESS);
If you have altered the ADR jumper or changed the address using Example 6 - Change I2C Address you will need to adjust this to the correct value.
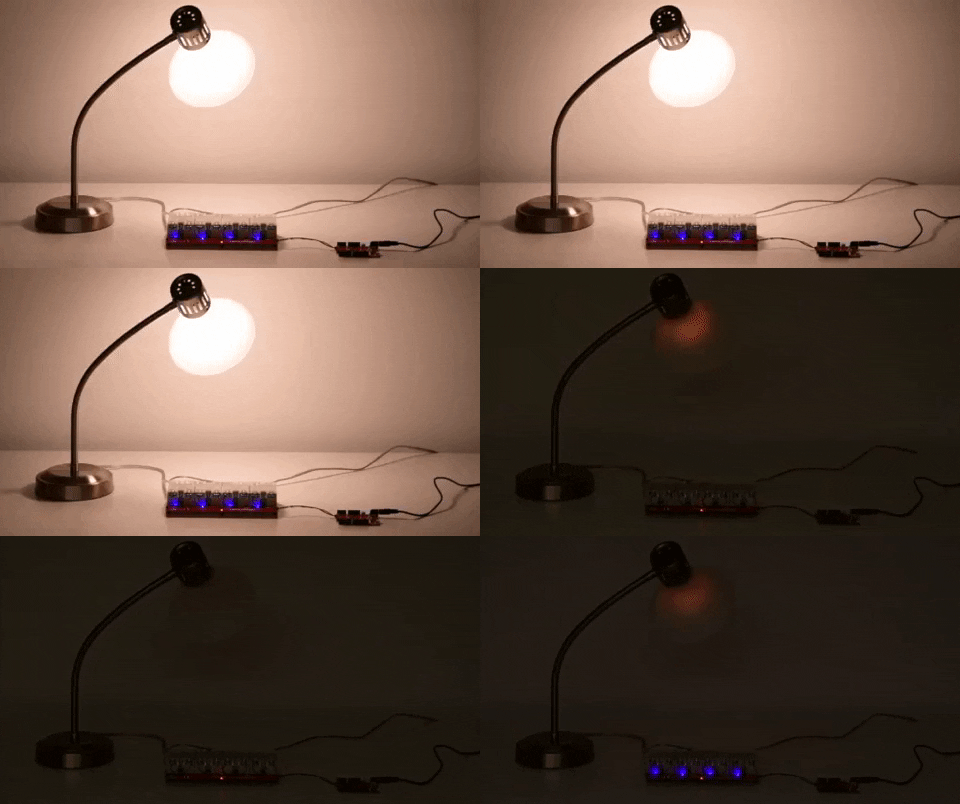
The code sets up each of the four relays to run at a PWM value of 75 (62.5% duty-cycle). Try playing around with the PWM values set in the setSlowPWM(); function for each relay to see how it affects the behavior of your load(s).
language:c
// To turn on a relay give the function the number you want to turn on (or
// off).
quadRelay.setSlowPWM(1, 75);
quadRelay.setSlowPWM(2, 75);
quadRelay.setSlowPWM(3, 75);
quadRelay.setSlowPWM(4, 75);
Note, as we mentioned in the previous section, the PWM resolution is capped at 120 since the relay cannot switch more times than that in one second on a 60Hz signal.
The code also demonstrates how to use the getSlowPWM(); function by printing out the PWM value set for each relay:
language:c
Serial.println(quadRelay.getSlowPWM(1));
Serial.println(quadRelay.getSlowPWM(2));
Serial.println(quadRelay.getSlowPWM(3));
Serial.println(quadRelay.getSlowPWM(4));
If Arduino isn't your jam, head on to the next section where we cover the Python package we wrote for this and our other Qwiic Relay boards.
