SparkFun Qwiic Button Hookup Guide
 El Duderino
Hardware Assembly
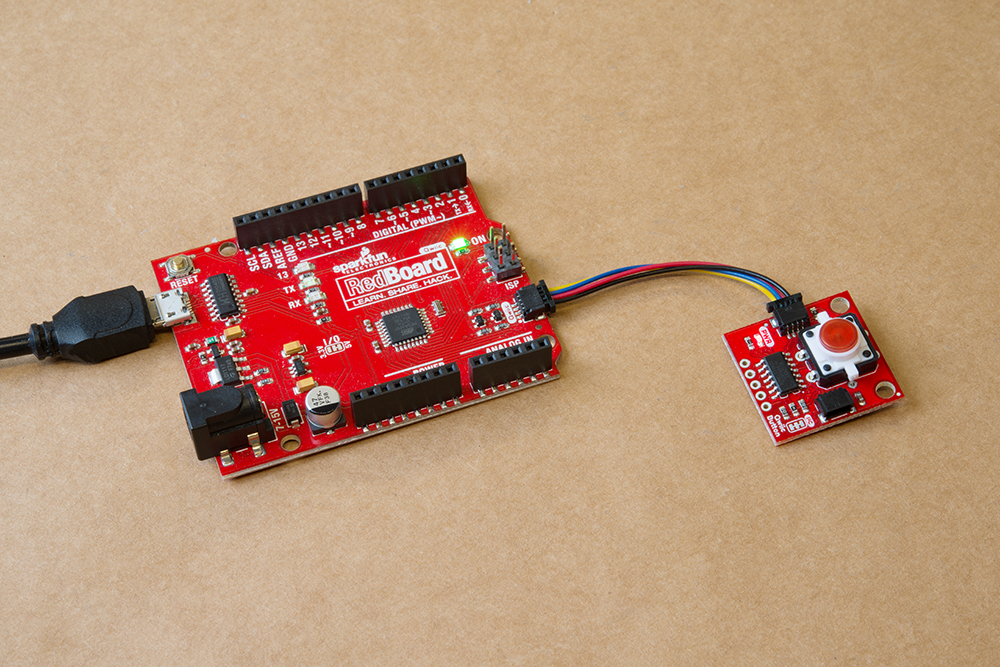
With the Qwiic connector system, assembling the hardware is simple. All you need to do is connect your Qwiic Button to Qwiic-enabled microcontroller with a Qwiic cable. Otherwise, you can use the I2C pins if you don't have a Qwiic connector on your microcontroller board. Just be aware of your input voltage and any logic level shifting you may need to do since the Qwiic system runs at 3.3V.
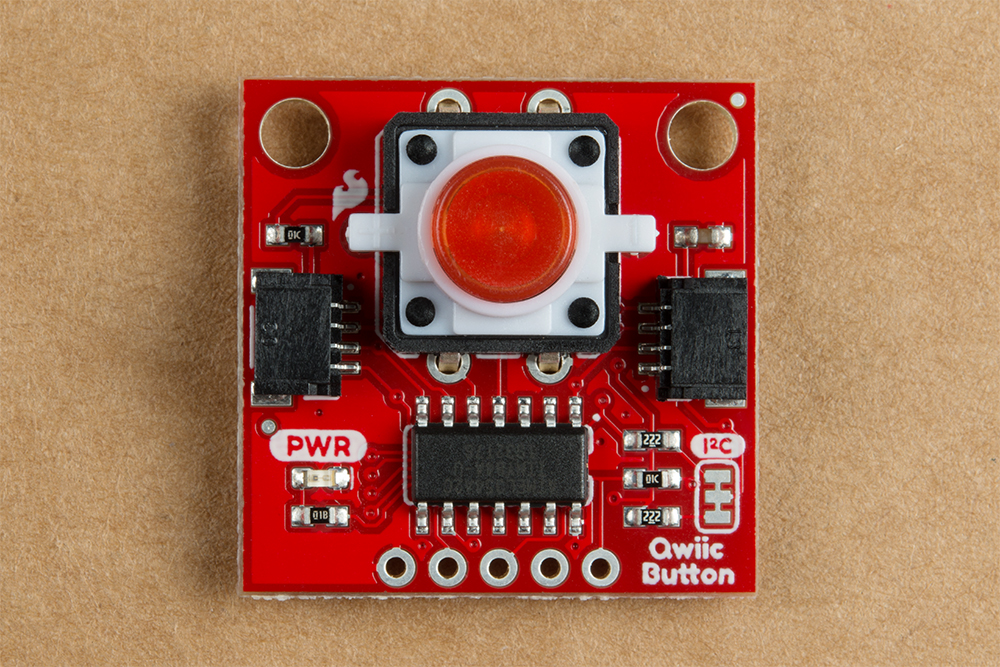
If you have the Qwiic Button Breakout, you will need to solder a button into place. If you are using a Tactile Button with an integrated LED, remember to pay close attention to the polarity marks on your button and match them to the markings on the top of the Qwiic Button Breakout. If you purchased a tactile button from SparkFun, the anode will be marked with a small "+" on the top of the button.
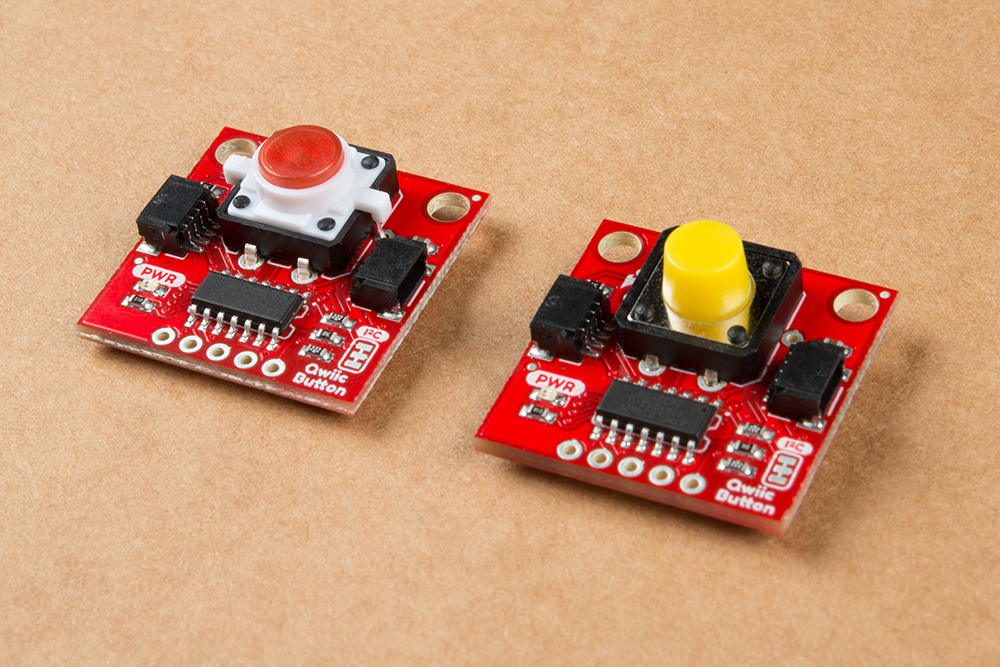
Once your button(s) are soldered into place and you're certain all pins are well connected, you're ready to go! The image below shows two of the several options for buttons on the Qwiic Button. One is the standard Red LED Tactile Button and the other is from our Multicolor Button 4-Pack: