SparkFun Pro nRF52840 Mini Hookup Guide
 jimblom
Hardware Assembly
Because the Pro nRF52840 Mini Breakout is a more advanced development platform, we'll leave most of the hardware hookup to you. Here are a few quick tips-and-tricks, though:
Soldering the Breakout
You will need to solder something to the I/O and/or power pins to connect them to other components. New to soldering? No worries! Check out our through-hole soldering tutorial.
How to Solder: Through-Hole Soldering
We recommend soldering in either male header pins or female header sockets, but what you solder into these pins ultimately depends on your application.

Each of the nRF52840's ground (GND) and I/O/power headers are 12-pins, with the exception of...
That Gap in the I/O Header...
We hope the addition of a qwiic connector provides easy access to a huge library of sensors, displays, and output-controllers, but, admittedly, the connector's placement does mess with the breakout's solder-ability.
If you have a 12-pin header that you'd like to solder into these breakout pins, either cut or "push-out" the 3rd, 4th, and 5th (1-indexed) pins of the header.
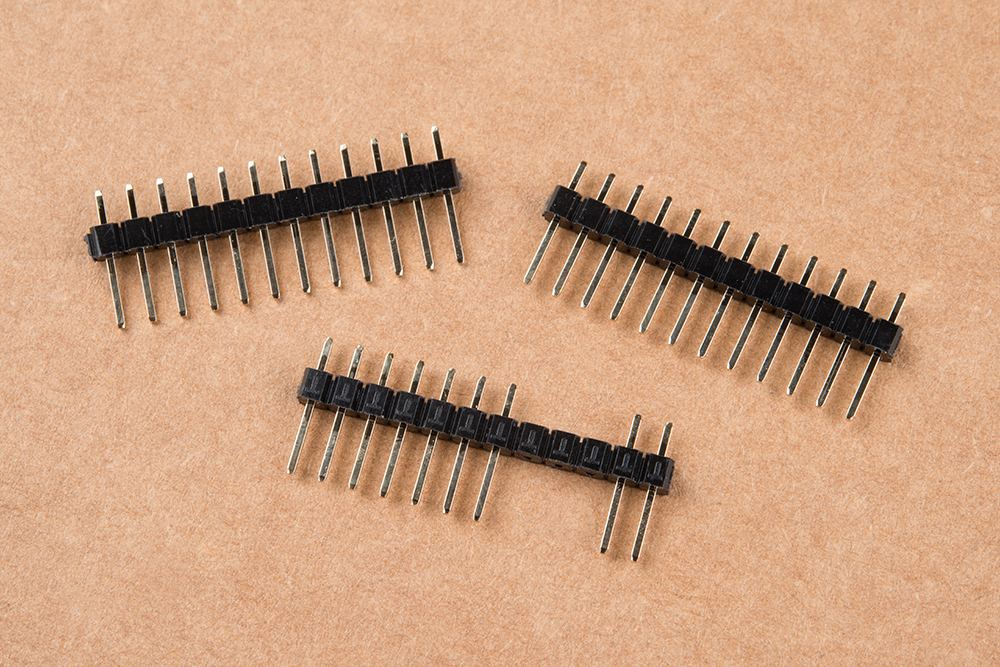
Otherwise you can cut two separate strips of 7- and 2-pin headers.