SparkFun NanoBeacon Board - IN100 Hookup Guide
Introduction
The SparkFun NanoBeacon Board - IN100 and SparkFun NanoBeacon Lite Board - IN100 offer a 2.4 GHz wireless low energy beacon breakout with exceptional low power consumption features and minimal programming required. The two versions allow for you to prototype with the Lite (Development) version and then employ the Standard (Production) version in large installations once your hardware and software design is complete. The board features the IN100 NanoBeacon™ from InPlay™. The NanoBeacon Config Tool allows for software-free programming of the modules removing any need to perform any tricky programming for advertising settings to send and receive packets.
While both versions of this board use the same design, there are a few minor differences between them. The Lite version of this breakout is intended for prototyping and includes a reset button and power LED. The standard version is designed with rapid implementation requiring minimal assembly and modification so it does not have the reset button or power LED populated and has male headers soldered to board's through-hole pins.
In this guide we'll take a look at the IN100 and other hardware present on these boards, how to assemble and configure them using the NanoBeacon Config Tool as well as an example demonstrating how to use these beacons with the Qwiic BMA400.
The Config Tool offers a testing "Run in RAM" mode for many settings but I2C is not available in the RAM testing mode. Users connecting I2C devices to the board should ensure their code works before clicking the "Burn/Program" button.
Required Materials
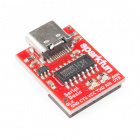
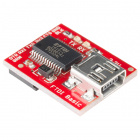
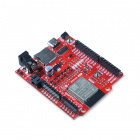
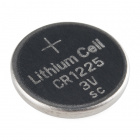
Along with either version of the beacon, you'll need a serial-to-UART converter for initial device configuration. After configuring the IN100 you'll want something to pair it with like a development board. The beacon also requires a coin cell battery for power.
Required Tools
Some soldering may be required if you're using the Lite version. In case you need some soldering tools or components, check out the products below:
Additional Materials
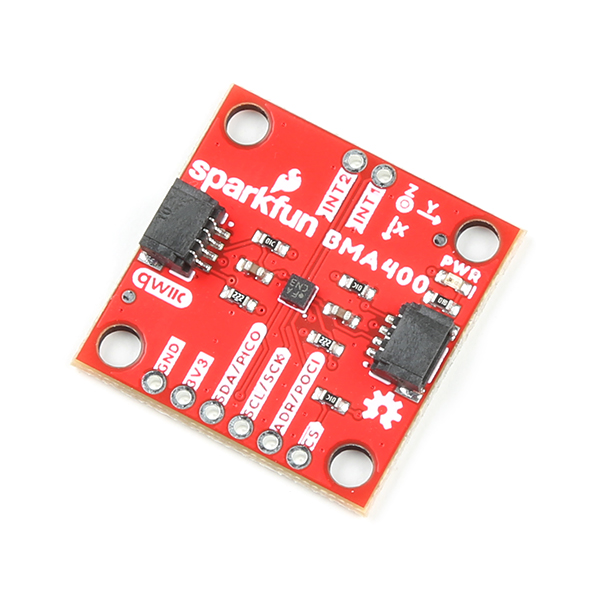
In the examples section of this guide we'll show how to send motion data recorded by the BMA400 on the SparkFun Triple Axis Accelerometer Breakout - BMA400 (Qwiic) to a SparkFun RedBoard IoT. If you want to follow along with this example, you'll want to pick one up:
Suggested Reading
This board features a Qwiic connector for use with our ever-expanding Qwiic ecosystem. If you're not familiar with Qwiic, we recommend you head over to this page for more information.
 |
You may also want to read through the tutorials below if you are not familiar with the concepts covered in them or would like a refresher:
