SparkFun AS3935 Lightning Detector Hookup Guide (v20)
 Elias The Sparkiest
Hardware Overview
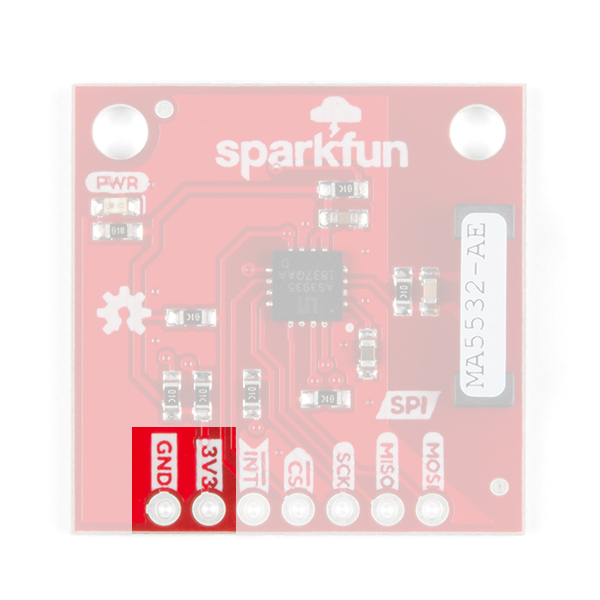
Power
You can provide 3.3V through the through hole labeled 3V3 on the header along the side of the product. When the board is powered, the on board red power LED will turn on.
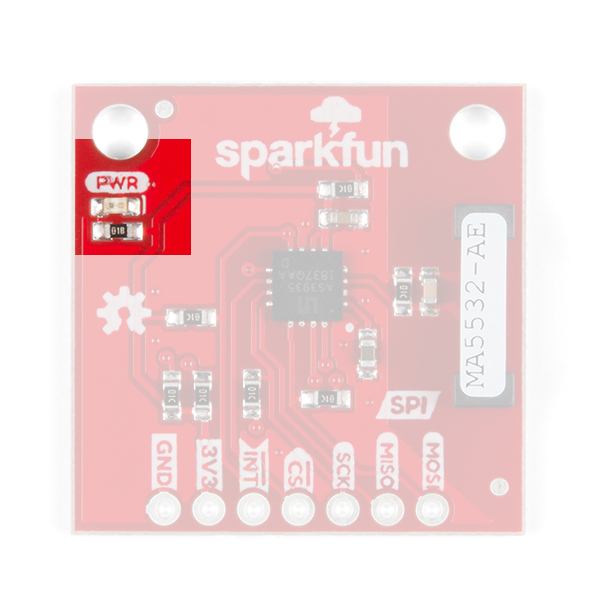
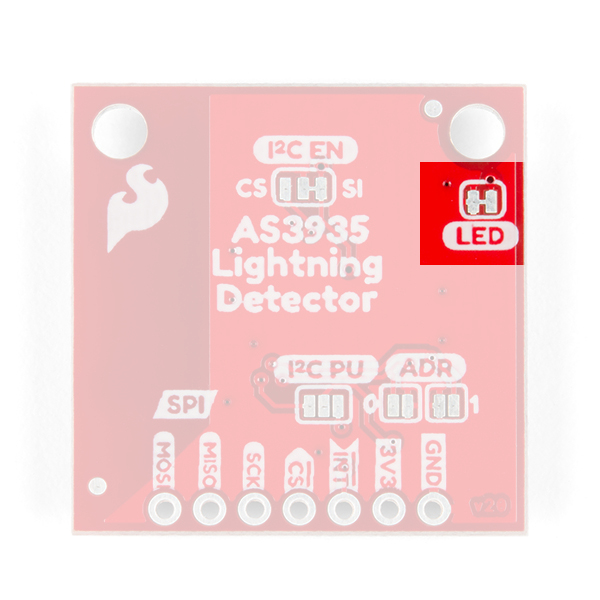
LED
There is one LED on the product and it will turn on when power is supplied to the board. You can disconnect this LED by cutting the jumper on the underside of the product labeled LED.
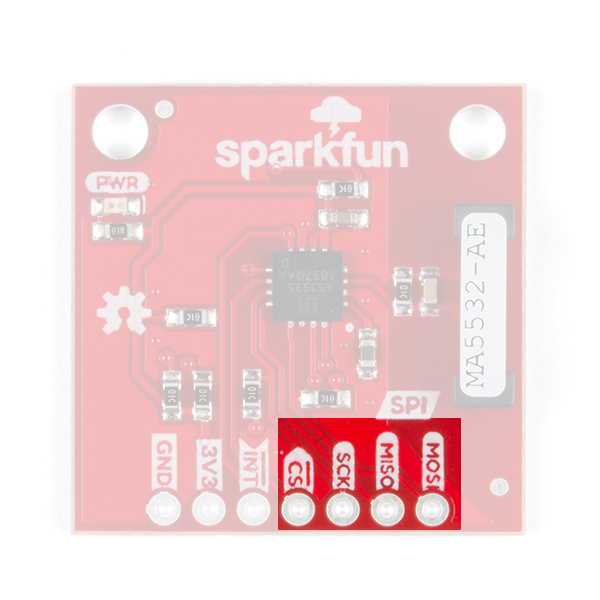
SPI
The SPI data pins on the header along the edge of the board are labeled with the respective functions necessary for using SPI: MOSI, MISO, CS, and SCK. We'll walk through how to use these pins in the example code below with Example 1-Lightning Basics.
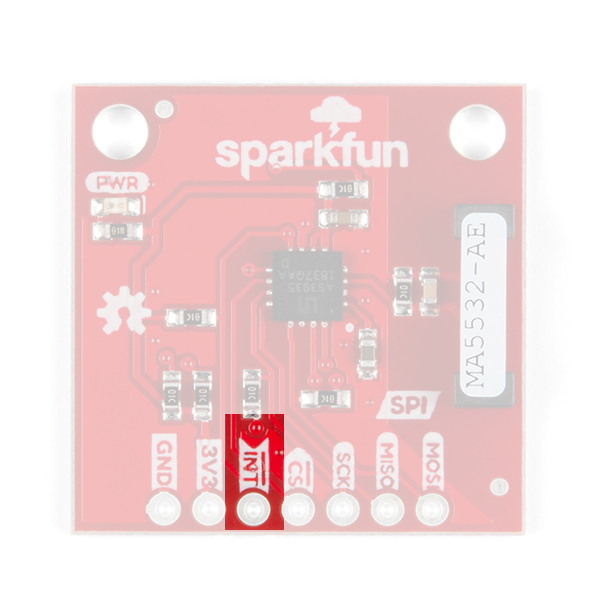
Interrupt Pin
The interrupt pin goes HIGH when the lightning detector has sensed an event, whether it's lightning, a disturber, or noise. Make sure to connect to this pin to check if there is an event detected.
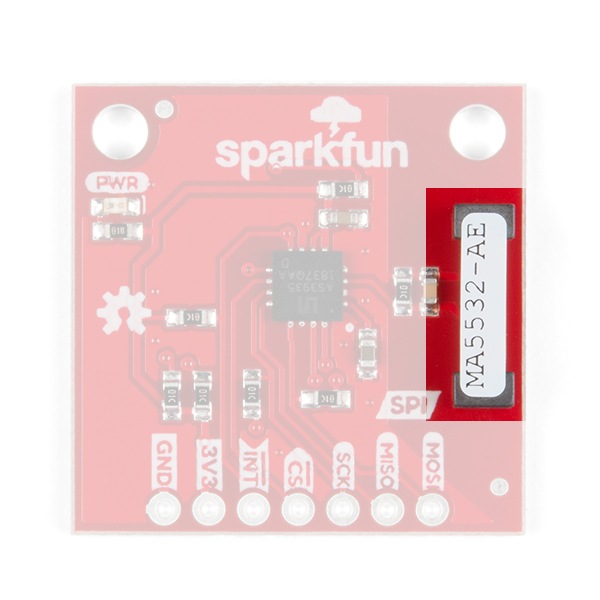
Antenna
The largest part on the SparkFun Lightning Detector is lightning antenna. Keep the area around the antenna free for optimal lightning detection.
Jumpers
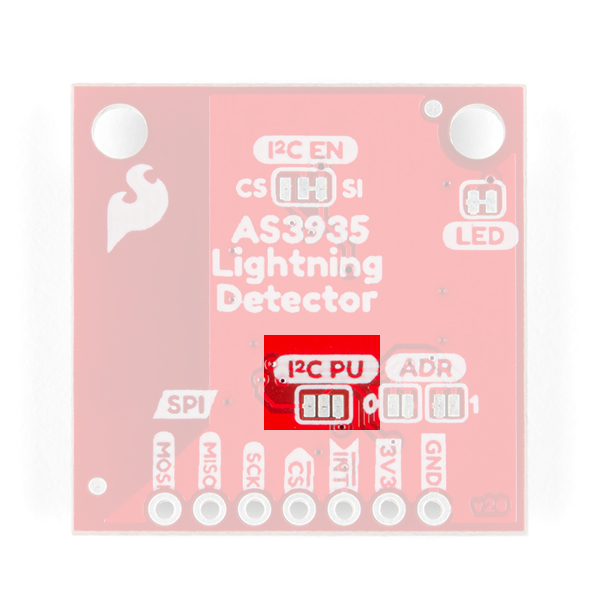
There are four jumpers on this product all on its underside. Starting at the lower left is the triple pull-up jumper labeled I2C PU, used for the I²C data lines (check section: A note on I²C below). If you have many I²C devices chained together, you will need to leave these jumpers open.
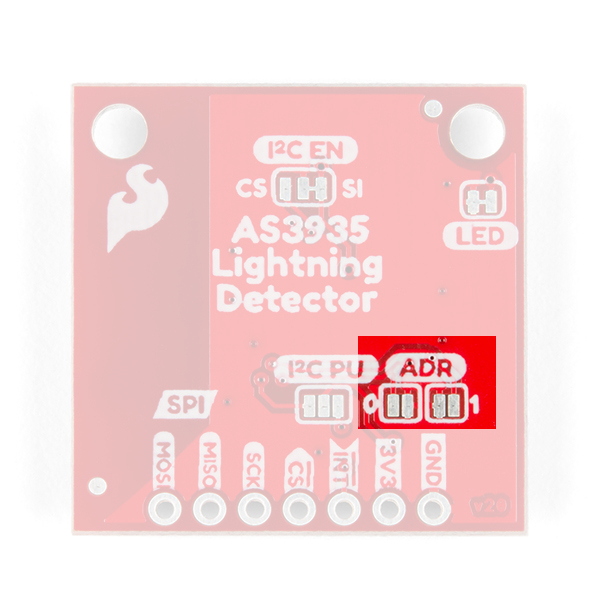
Next to the I2C PU jumper are two address jumpers labeled ADR that allow you to change the SparkFun Lightning Detector's I²C address. The default I²C address is 0x03 but it can be changed to two other addresses: 0x02, 0x01.
In the upper right is the power LED disconnect jumper; cut this to disconnect the red power LED.
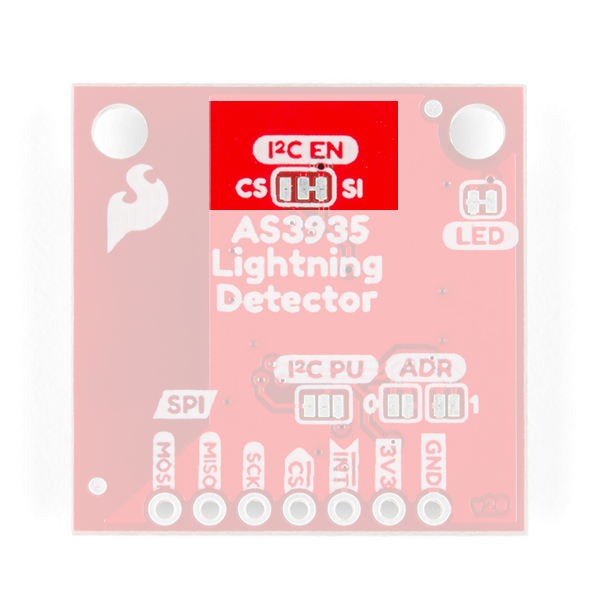
Finally towards the top is the I²C jumper which does two things: grounds the CS pin and enables I²C. SparkFun does not support I²C on this particular product (check section: A note on I²C below).
A Note on I²C
The SparkFun Lightning Detector's original design supported I²C but there were issues raised by a small percentage of customers who purchased this product with regards to its' reliability. This issue was followed up with an investigation by our engineers and unfortunately, we decided we could not support it officially. However, if you want to use it, all of the goods are there. Just know SparkFun won't be supporting problems that may arise with its' use.
To enable I²C: close the CS side of the I2C EN jumper and cut the SI side. Then close the right side of the I2C PU jumper. See jumpers above for pictures. You'll have to dig into the datasheet to see which lines are the I²C data lines. Happy Hacking!
False Positives and Noise
There are a number of sources that can cause false positives but the lightning detector itself can reliably filter these out by default. If not, there are a number of settings you can configure easily with SparFun's Lightning Detector library to increase the chip's robustness to noise and false positives (see Example2 More Lightning Features SPI). However, it can help to know some potential sources of noise: fluorescent lighting, microwave ovens, smartphone and smartwatch displays, DC-DC converters, refrigerators, and/or things that can switch large voltages in general.