Sound Reactive EL Wire Costume
 jenfoxbot
 Build It!
Test EL Sequencer with EL Wire.
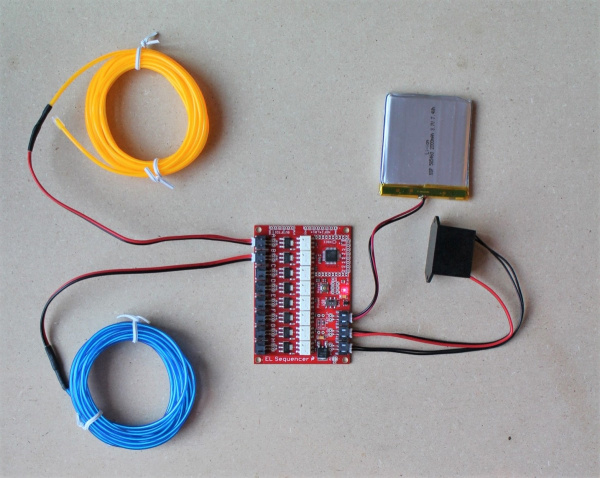
Connect the inverter, battery, and at least one strand of EL wire to the EL Sequencer. (Note that the two black wires of the inverter correspond to the AC side.)
Be sure that the EL Wire lights up and blinks when you power the EL Sequencer on battery mode.
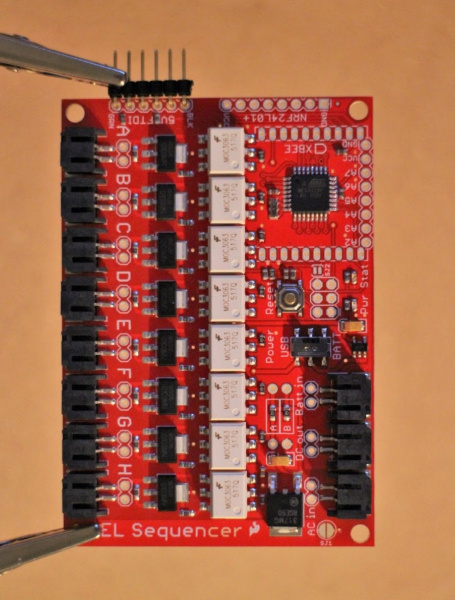
Solder header pins onto 5V FTDI pinholes on the EL Sequencer and onto the VCC, Ground, and A2 input pins.
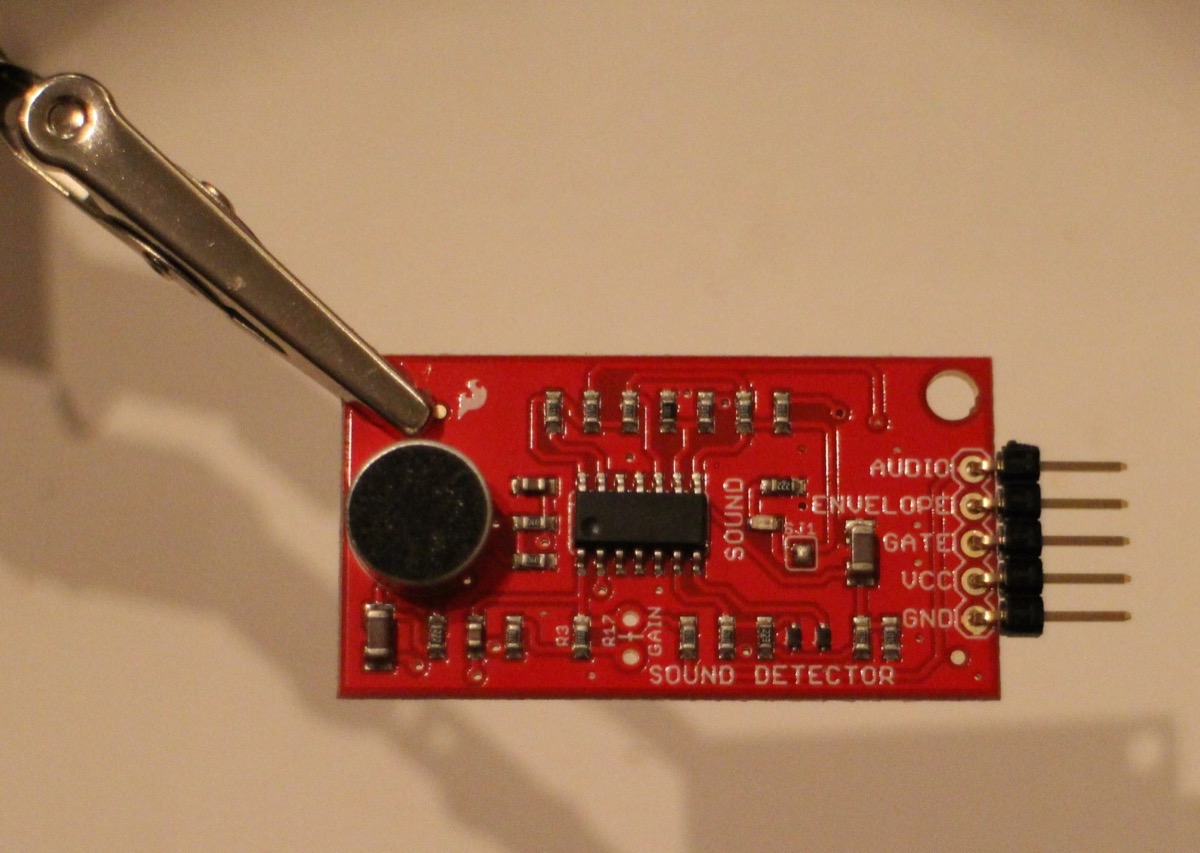
Solder header pins to the sound detector.

Connect sound detector to EL Sequencer via female-to-female jumper wires (you can also skip the header installation, and solder wire directly to the header pins).
Connect the sound detector VCC and Ground pins to the VCC and Ground pins on the EL Sequencer. Connect the sound detector Gate output to the A2 input pin on the EL Sequencer. If you are using the envelope and/or audio output signals, connect these to pins A3 and A4 on the EL Sequencer (more on this in the Program It! section below).
Make a protective casing for the sound detector using packing foam or styrofoam to prevent jostling or other physical vibrations (aka collisions) from triggering it.
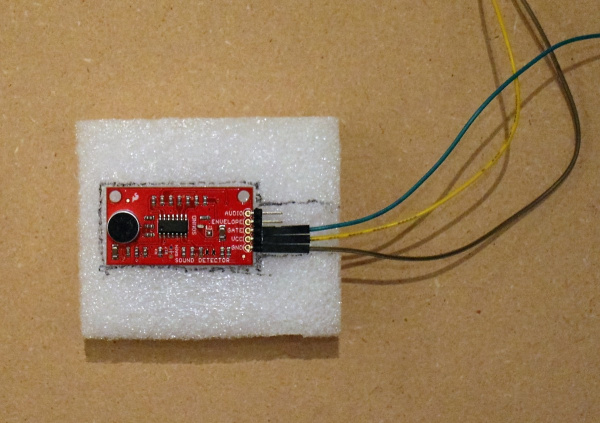
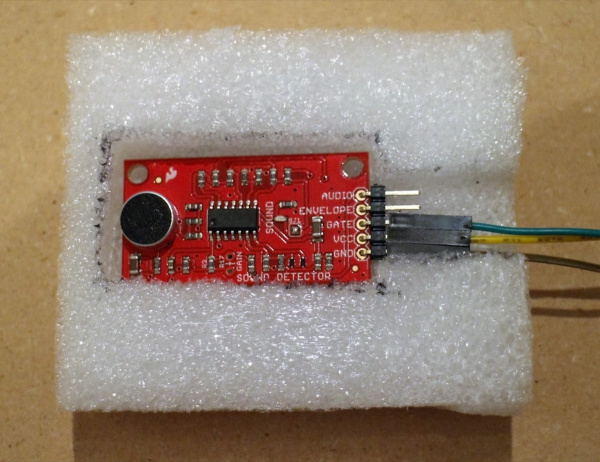
Place sound detector on top of foam, outline the board with a pen, and cut out a hole in the foam for the detector to fit snugly inside. It is also recommended that you epoxy the wires onto the foam (but not the sound detector board).
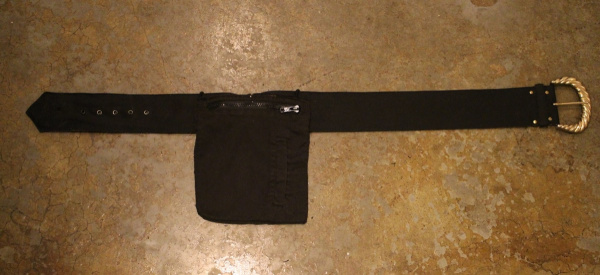
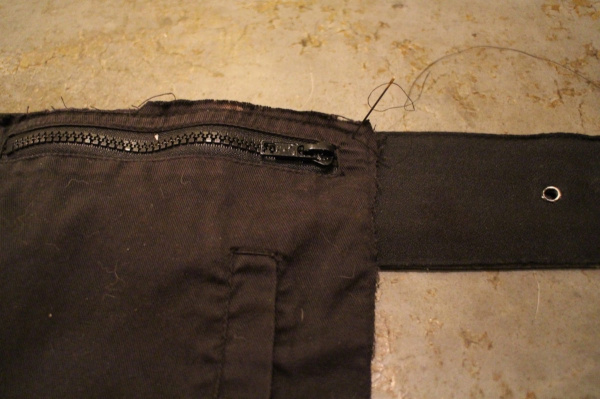
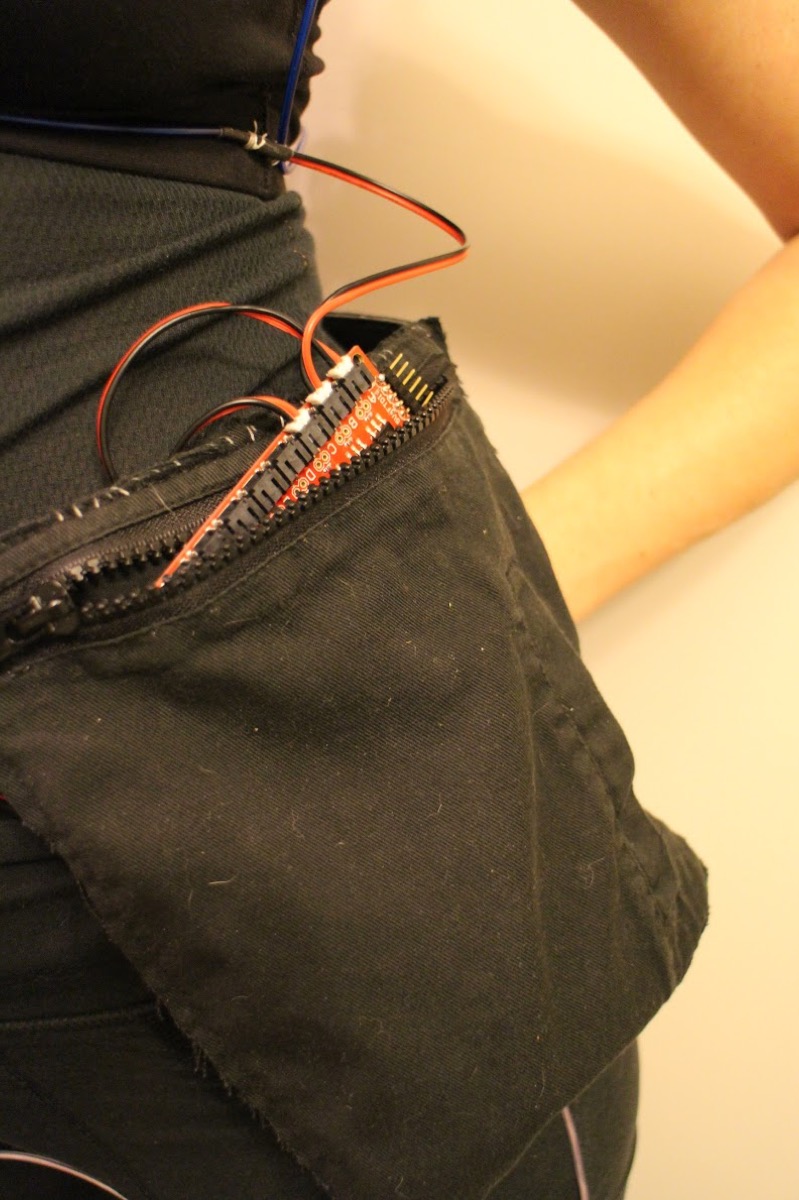
Cut out a pocket from the jacket, and sew onto the belt.
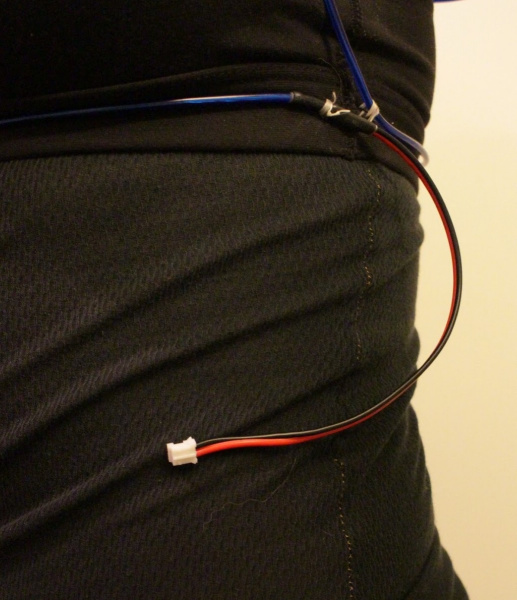
Put belt on, connect EL Wire to EL Sequencer, and place EL Sequencer in pocket pouch. Determine approximate placement of each EL wire strand based on location of electronics.

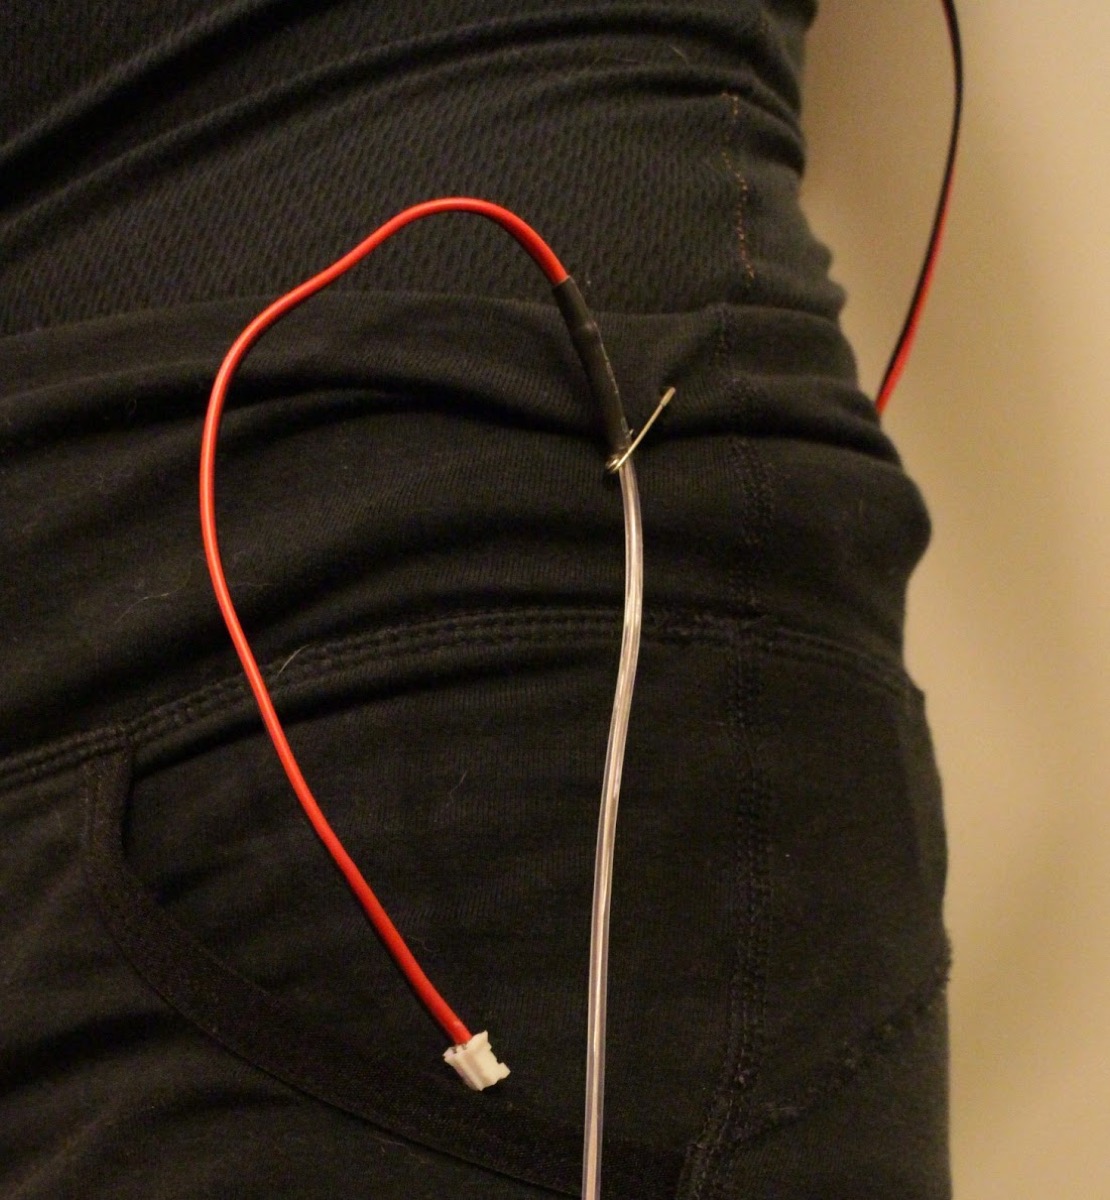
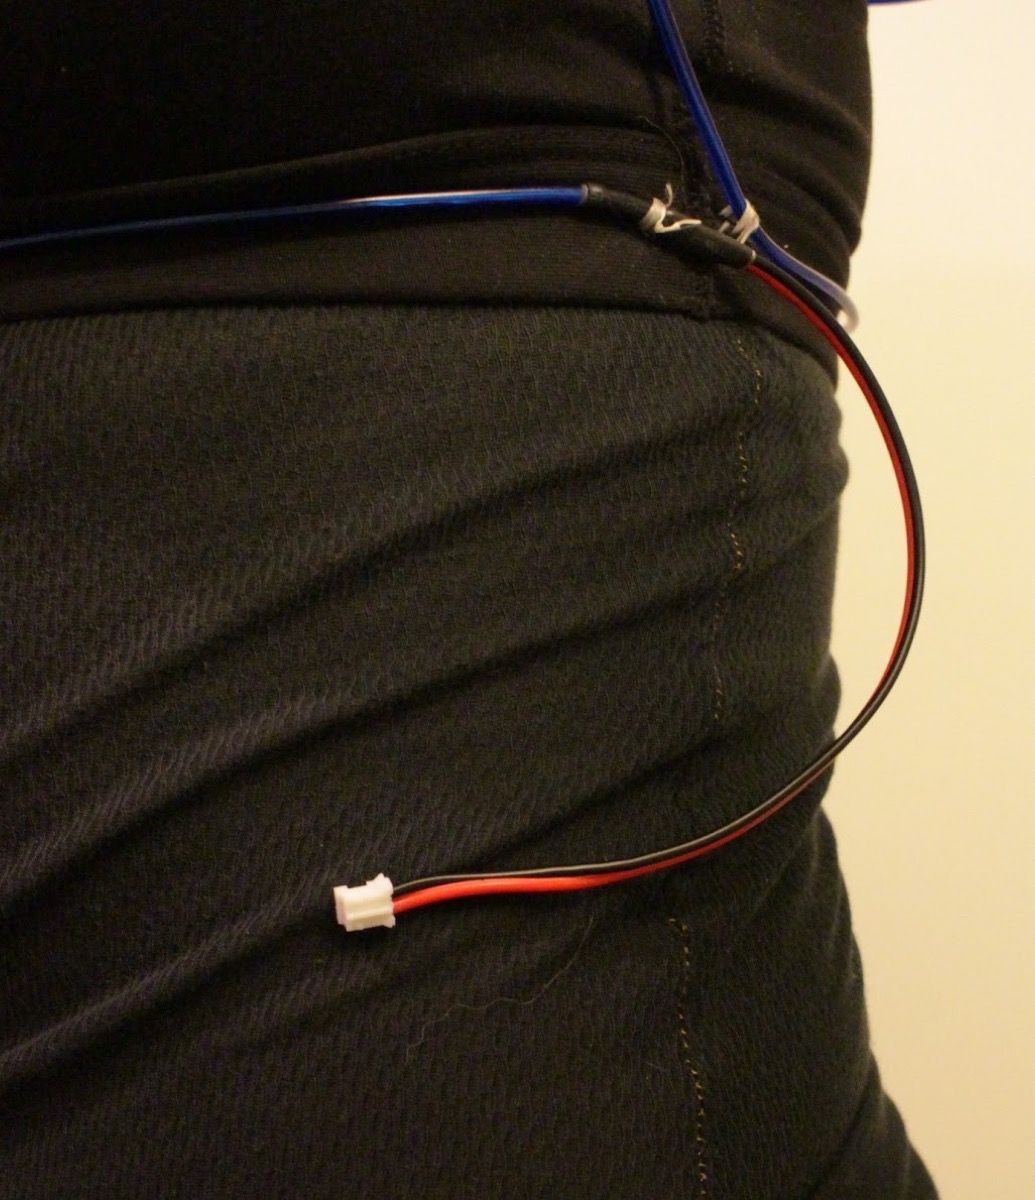
Mark and/or adhere the base of the EL wire JST connector onto clothing, allowing the full length of the connector to flex. Be sure that the JST connector can easily reach the EL Sequencer.

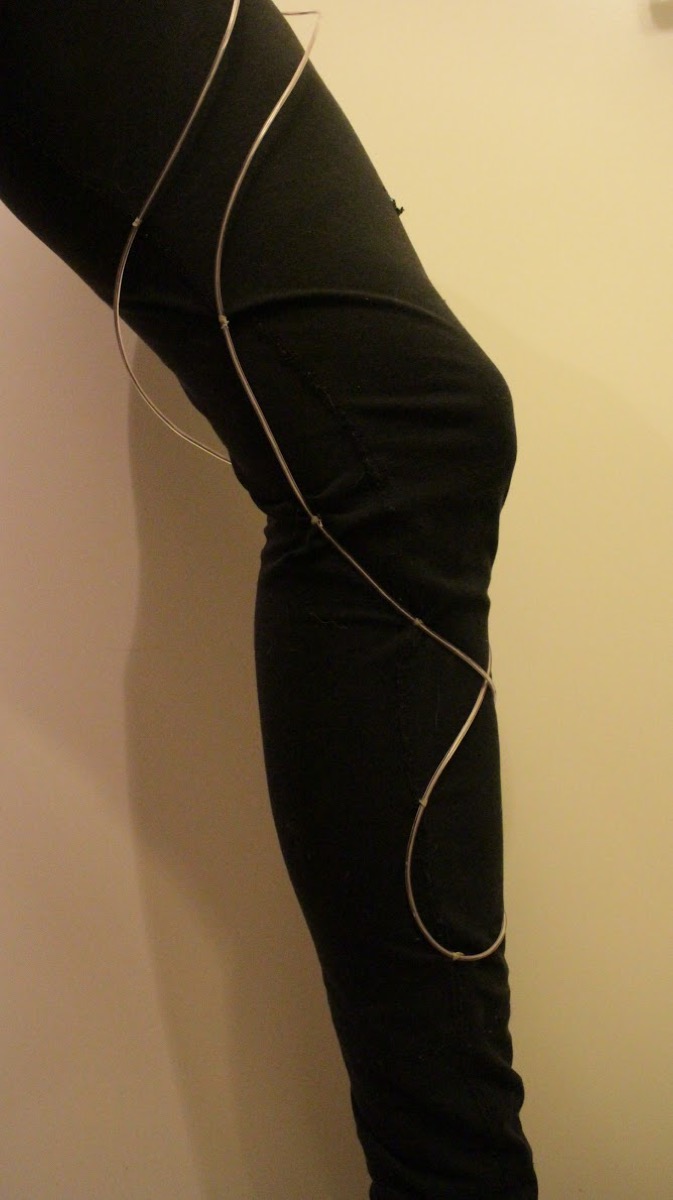
Starting at the base of the JST connector, attach EL wire strands to your chosen article of clothing.
Sew EL wire onto clothing using strong thread or dental floss, or use an appropriate fabric adhesive.

Prior to adhering the EL wire, it is recommended to use safety pins to determine placement of the EL wire on each article of clothing while you are wearing it. EL wire is flexible but not so stretchy, so give yourself some wiggle room.
It is also recommended to use separate EL wire strands on different articles of clothing to facilitate the process of taking it on/off.


