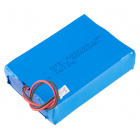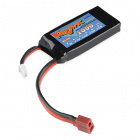
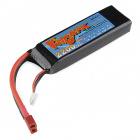
Lithium-Ion Polymer (LiPo) batteries are a favorite of ours. Very light weight and some of the highest energy densities available. We affectionately call this battery the 'car battery' because it's huge. Not physically (it's 110 grams!) but because this 6Ah LiPo in capable of outputting 6 Amps over the period of one hour! This is a very large amount of power in our low-power embedded world. Please don't confuse this with a real car battery!
To follow along with this tutorial, you will need the following materials at a minimum. You may not need everything though depending on what you have. Add it to your cart, read through the guide, and adjust the cart as necessary. Below is a wishlist of the parts that you need to get started if you were to charge a LiPo battery and then remove the connector.
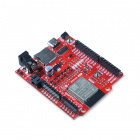
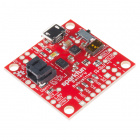
There are a variety of development boards and breakout boards with a dedicated single cell LiPo battery charge circuit. Below are a few examples from the SparkFun catalog that have the MCP73831. The charge IC used and charge rate will depend on the design.
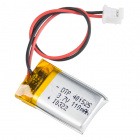
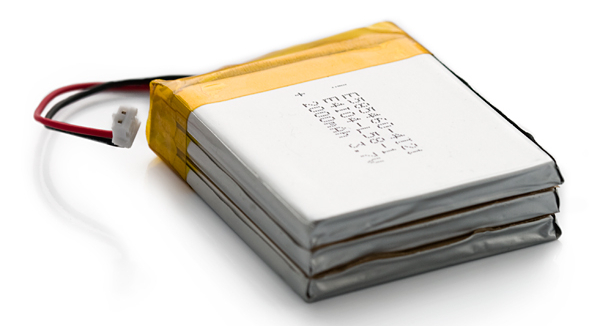
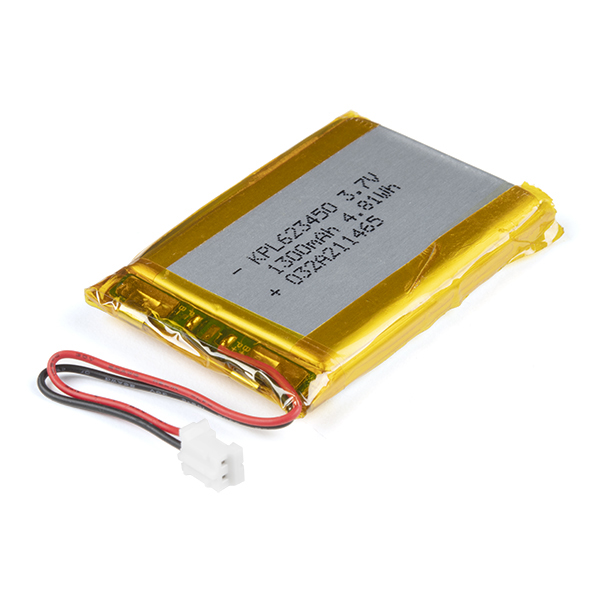
Of course, you will also need a single cell LiPo battery. Below are a few LiPo batteries to choose from in the SparkFun catalog.

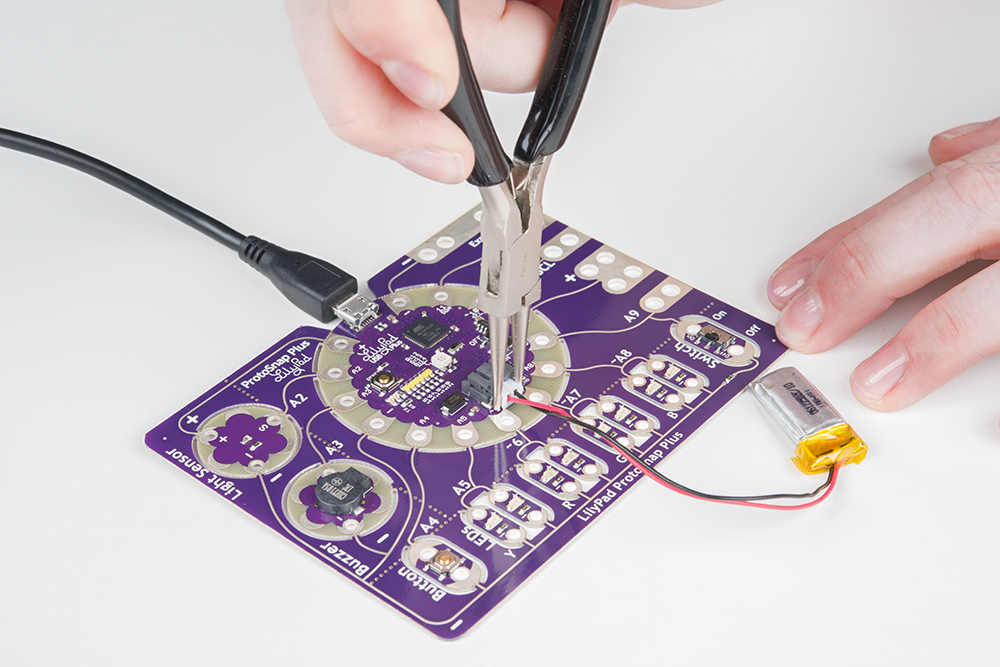
Need some help removing the single cell LiPo battery from the JST connector? Try grabbing a needle nose plier or diagonal cutters. Or you can use a hobby knife to whittle down the JST-PH's locking tabs.
For strain relief, you can use some electrical tape and scissors to secure the wires on the single cell LiPo battery. You may want a marker to label the battery.
If you aren’t familiar with the following concepts, we also recommend checking out a few of these tutorials before continuing
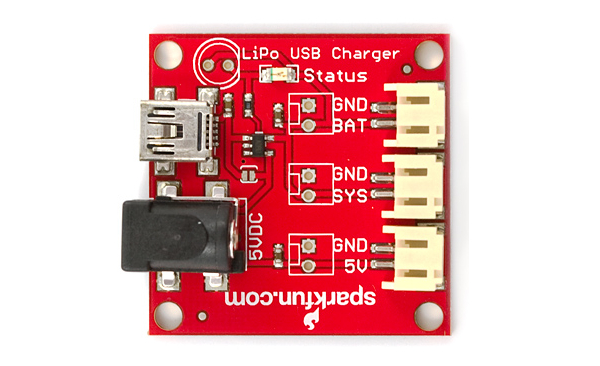
Back in the old days, there were only two chargers available in SparkFun's catalog. The standard charger based on the old MAX1555 IC and our faster charger based on the newer MCP73831 IC. You will notice the MAX1555 and MCP73831 populated as a 5-pin IC as shown in the images below. The MAX1555 was great but its limited charging current (300mA) and diminishing market availability way back when pushed us towards creating chargers based on the MCP73831 (500mA per hour charging rate).
 |
 |
| Retired USB Single Cell LiPo Charger with MAX1555 | USB Single Cell LiPo Charger with MCP73831 |
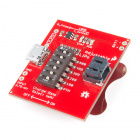
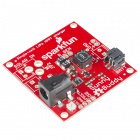
You will notice the MCP73831 populated on select development boards and a variety of breakout boards with different USB connectors. Below are a few examples with the MCP73831 populated on different boards found in the SparkFun catalog.
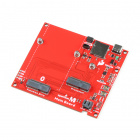
Other notable LiPo chargers in the SparkFun catalog is the BQ24075 populated on the Battery Babysitter - LiPo Battery Manager, and LT3652 populated on the Sunny Buddy - MPPT Solar Charger. Both can be used to charge a single cell LiPo battery through USB or a solar panel, respectively.
To avoid explosions (which are only very briefly fun), you should not charge these LiPos at a current over the battery's capacity, typically 1C for fast charging. To be safe [1], you should keep the charge current at or below 1C of your battery as indicated in the datasheets.
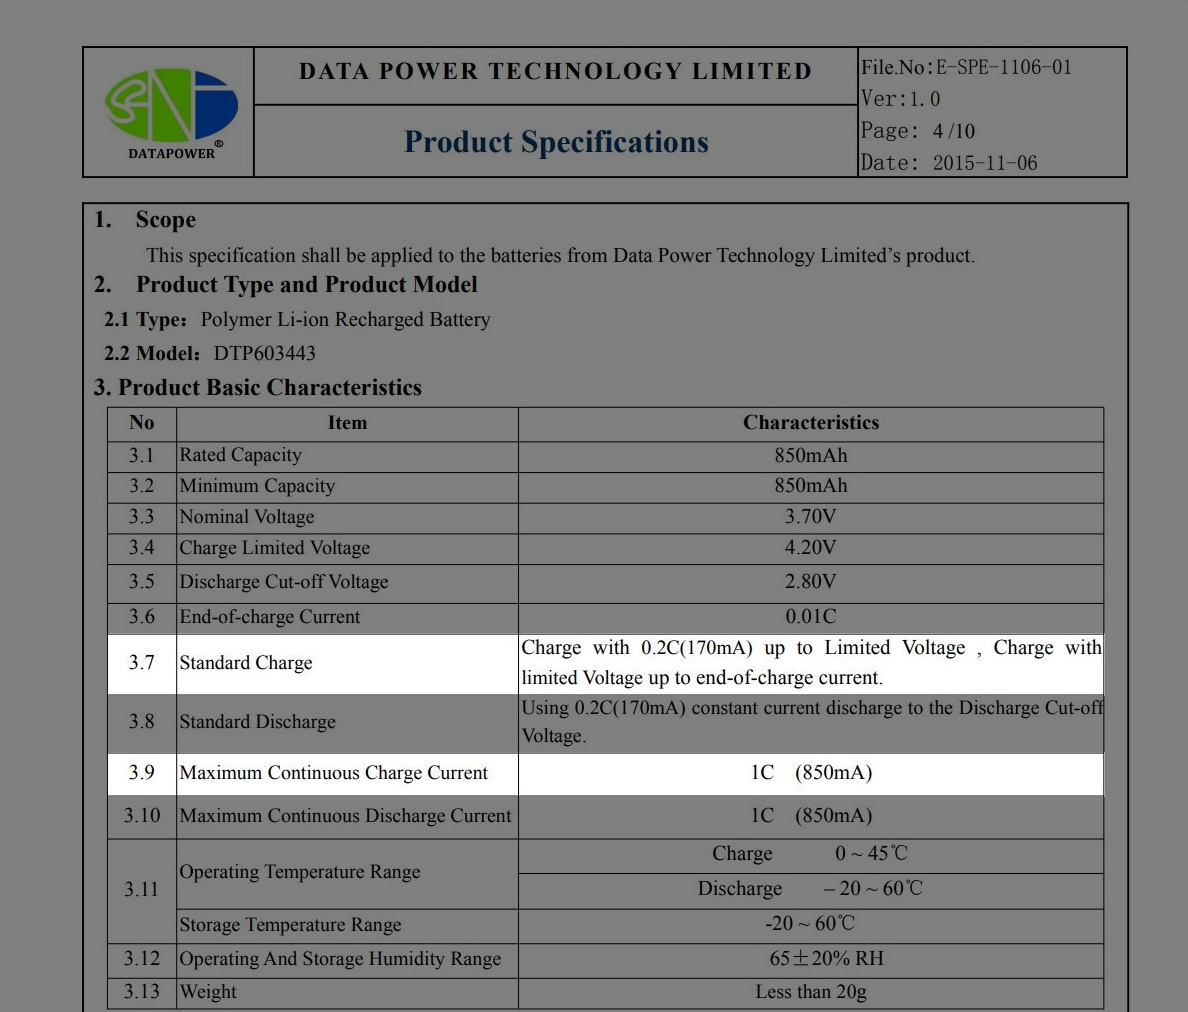
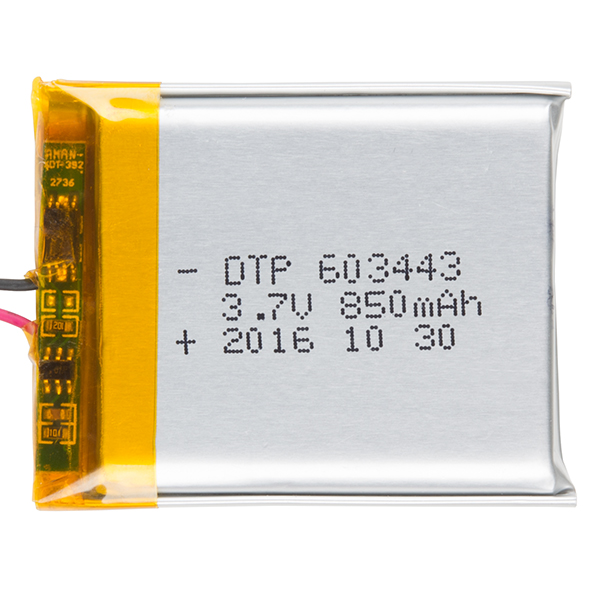
What does this mean? Well, lets take a look at the datasheet for the 850mAh LiPo battery. The image shown below highlights the recommended standard charge rate and maximum continuous charge current, where C is the capacity of the LiPo battery. For a standard charge rate of 0.2C, an 850mAh LiPo battery can be charged at a rate of 170mA. When charging at the maximum charge rate of 1C, an 850mAh LiPo battery can be charged at a rate of 850mA.
What does this mean with the LiPo chargers available? Well, if you have an 500mAh single cell LiPo battery, it should not be given a charge current over 500mA. You should use a charger that is able to charge the LiPo battery with a dedicated single cell LiPo charger set at or below 500mA. The minimum LiPo battery that SparkFun has available currently that is compatible at this rate that you can safely charge is 850mAh. Other larger single cell LiPo batteries can also be charged at this rate.

What about a 100mAh LiPo battery? Yeah, those should not be charged higher than 100mA. Make sure to find a single cell LiPo charger that is set at or below 100mA. The minimum LiPo battery that SparkFun has available currently that is compatible at this rate that you can safely charge is 110mAh. Other larger single cell LiPo batteries (like the 400mAh shown below or any of the ones shown earlier) can also be charged at this rate.
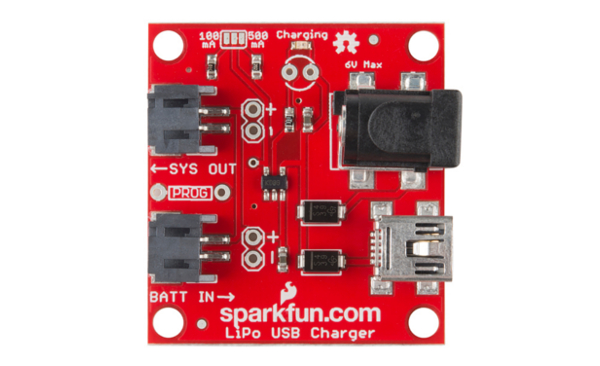
Depending on the designer, the charge rate can be set to a default rate of either 500mA or 100mA. Certain boards can have a 3-way jumper, switches, and/or PTH footprint to solder a resistor to adjust the charge rate. Below is a schematic of the USB LiPoly Charger. As you can see, this particular board is set at a default rate of 500mA with a 3-way jumper. Cutting the jumper and adding a solder blob between the center pad and the other jumper pad will set the charge rate to 100mA.

But what about that lone 40mAh LiPo Battery in SparkFun's catalog?! If you look closely at the schematic shown earlier, there is also a footprint (not currently highlighted but it is connected to the same net) that allows users to solder a PTH resistor. This allows a user to set the charge rate to a value other than 500mA or 100mA. There's not that a lot of development boards and breakout boards that have the footprint available. Make sure to be careful when connecting a USB cable to those boards when a 40mAh battery is attached. You will want to remove the battery and connect the LiPo battery to a separate LiPo Charger that is set at or below 40mA.
To calculate the resistor needed on a board with the MCP73831, you can use the following formula from its datasheet. Note that this equation is specific for the MCP73831 charge IC.

We'll just skip ahead of the calculations and tell you that the value to charge at a rate of 40mA is... 25kΩ! This is quite an odd number for a resistor value in SparkFun's catalog. You'll need to wire a few resistors wired in series and parallel to connect to the two PTHs (i.e. 10kΩ + 10kΩ + (10kΩ || 10kΩ) ). Or you could use resistor with a larger value like 47kΩ that is included in the resistor kit. However, the charge rate will be less: 21.28mA.
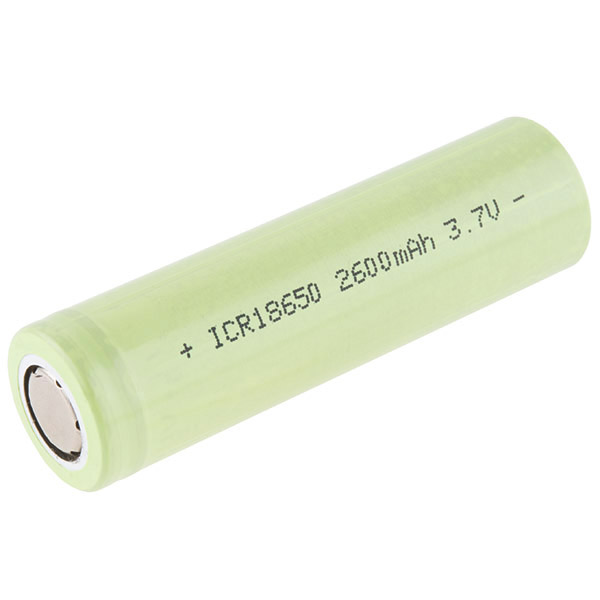
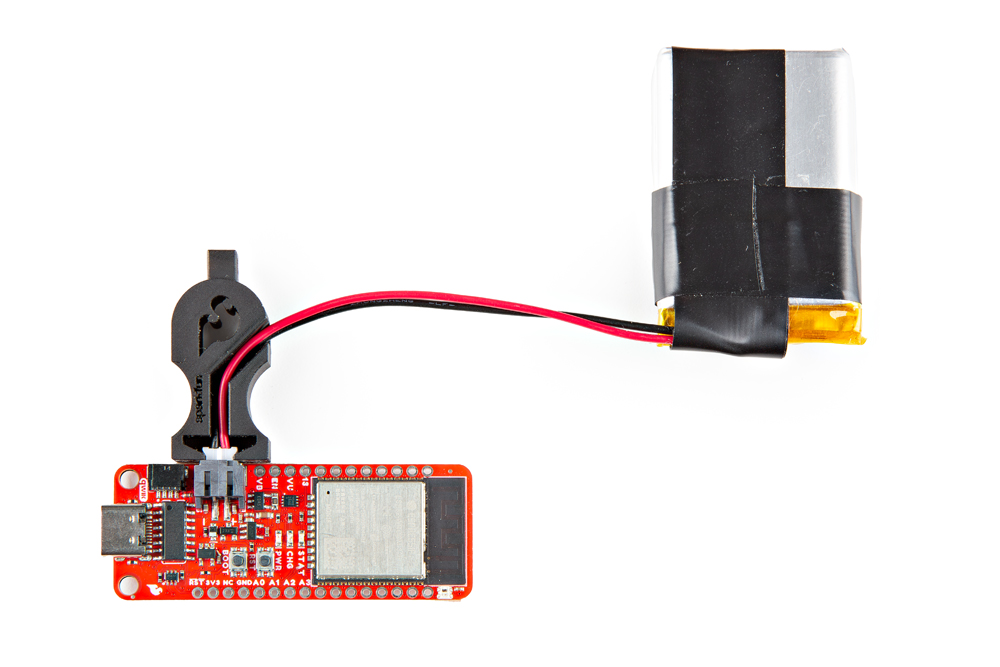
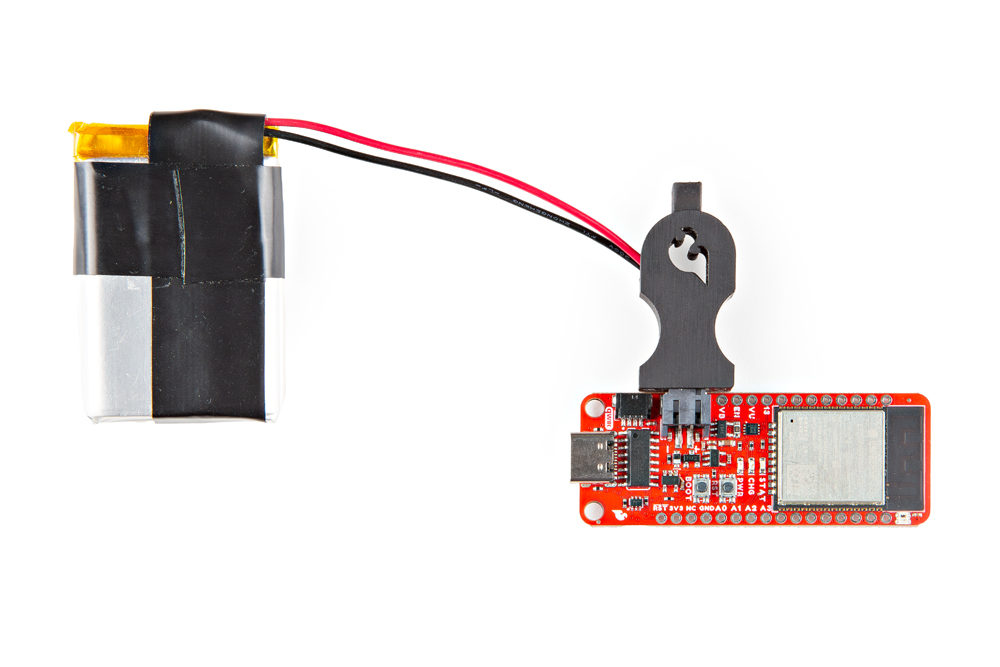
Depending on the manufacturer, there are different packages and connections for Lithium batteries. We will be going over how to connect and disconnect batteries with a JST-PH connector in this section. They will usually have a protection circuit under the yellow kapton tape, and a silver packaging (of course the exception is the 6Ah LiPo battery that is blue).
 |
 |
 |
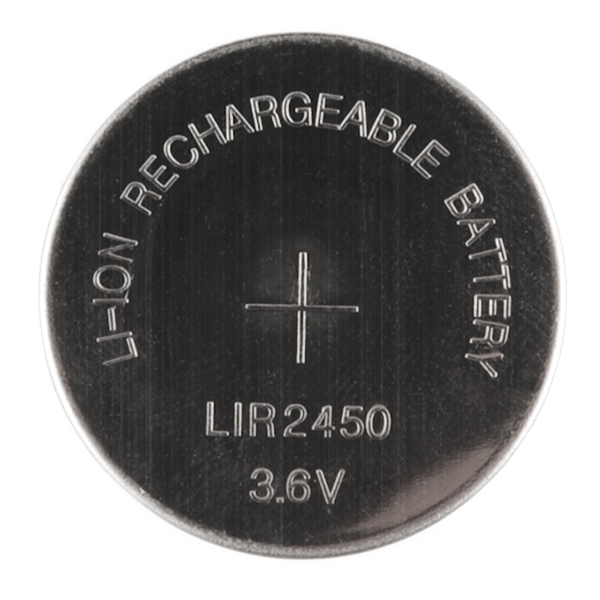 |
| 1250mAh LiPo battery with JST connector | 110mAh LiPo battery with Solder Tabs | 2600mAh Lithium Ion Battery 18650 Cell | 24.5mm CR2450 Coin Cell Lithium Ion Battery |
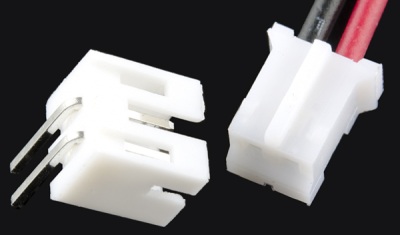
Typically, single cell LiPo batteries are terminated with a two pin JST-PH female connector. These are polarized connectors with pin 1 as +VBATT (red wire) and pin 2 connected to ground (black wire). These mate with the two pin JST-PH male connector (shroud).
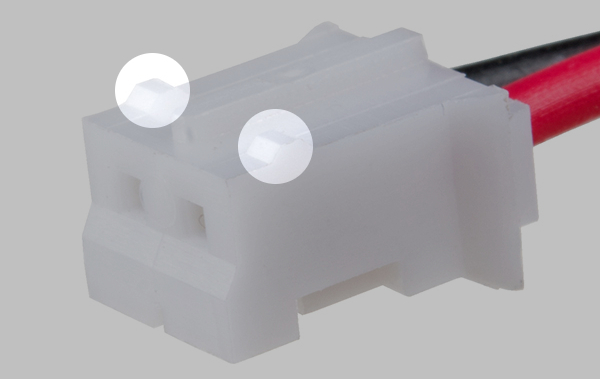
If you look closely at the JST female connector, there are two locking tabs on the top of the connector for a secure connection. However, this can make it hard for anyone that wants to unplug and replug the battery back into the board. After a few inserts and removals, the locking tabs on the JST connector will wear down slightly to the point that you will be able to remove the connector by hand.
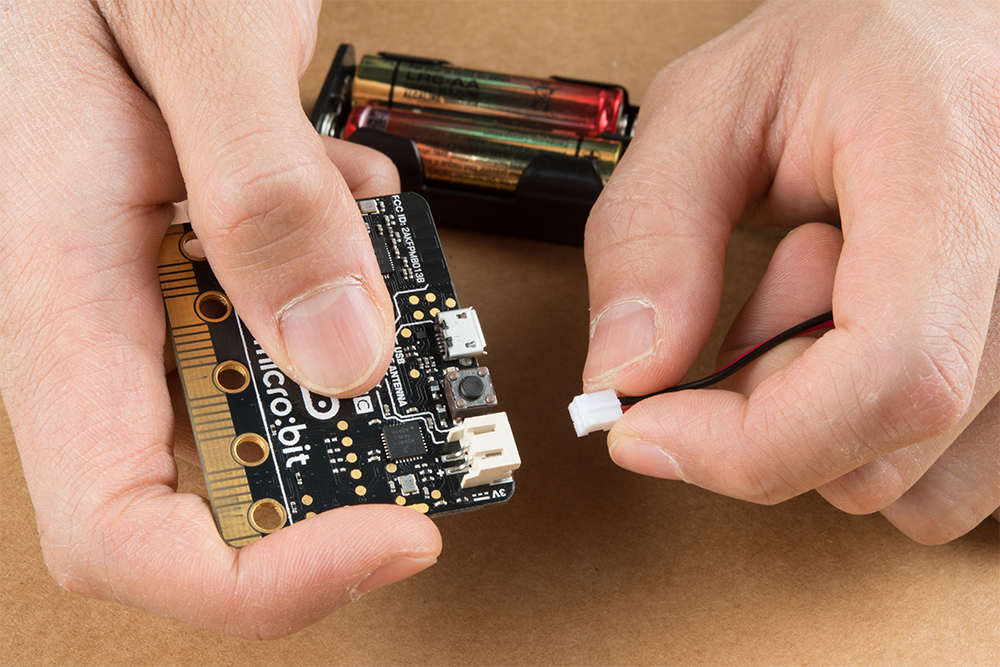
Inserting the LiPo battery's JST connector into it's mating connector is a breeze. Simply hold the JST female connector with your index finger and thumb. Then hold board in a similar fashion using your other hand. Align the two JST connectors together. Insert the JST connector into the socket.
Now disconnecting the LiPo battery is a different story. Earlier, we talked about some locking tabs on the side of the JST connector which can make it difficult to disconnect it from a female JST connector. Depending on the manufacturer, the material of the female JST connector can add an extra layer of difficulty if it is rigid. Below are a few options if you decide to disconnect the LiPo battery.
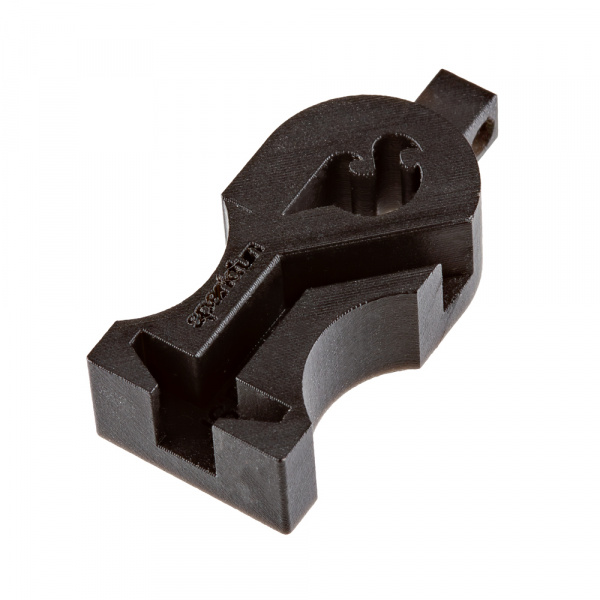
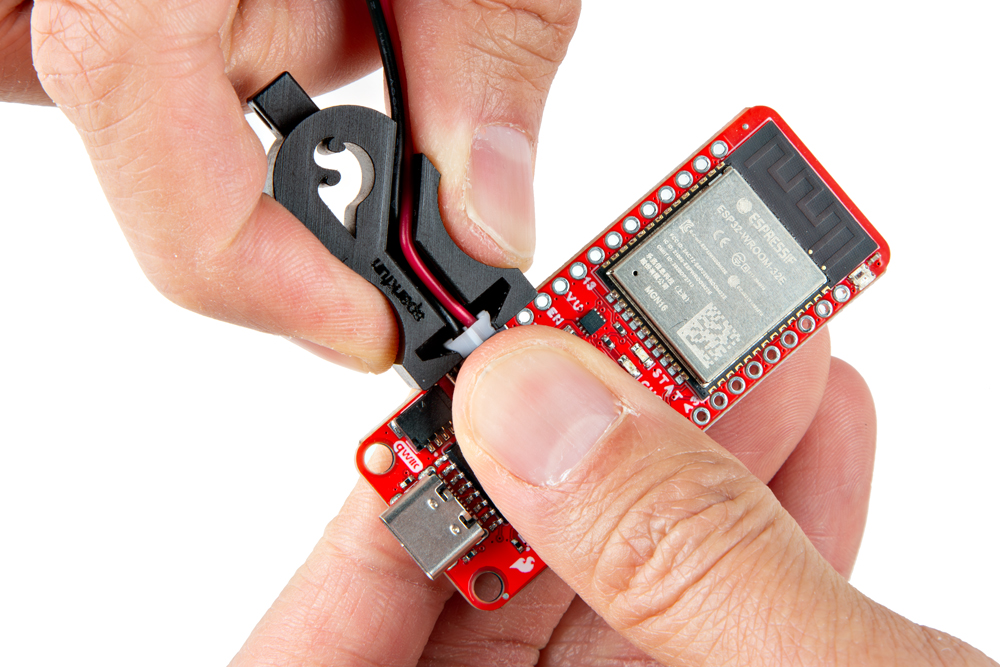
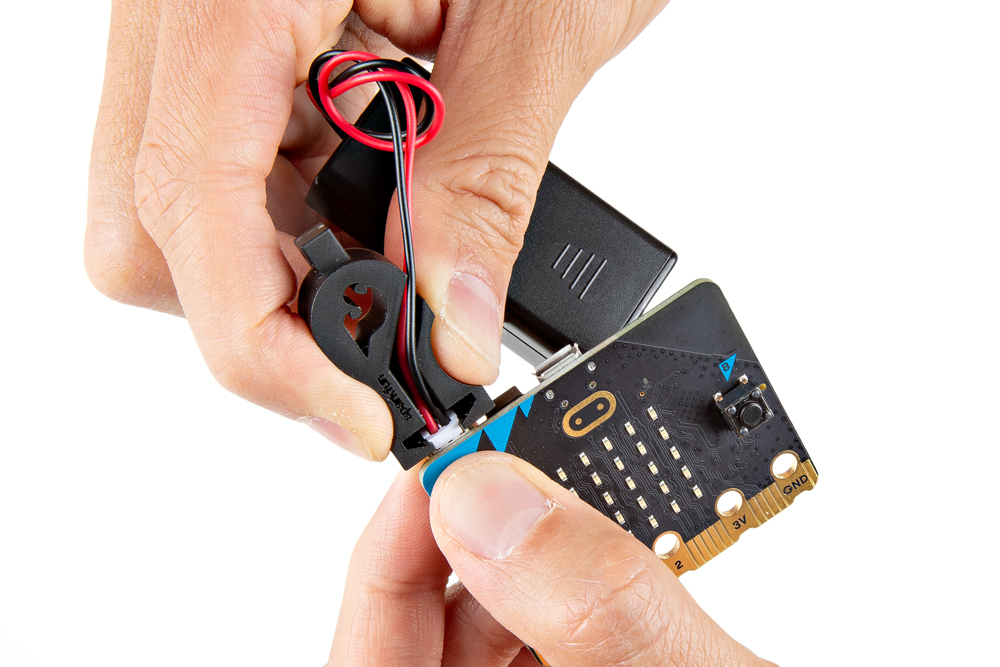
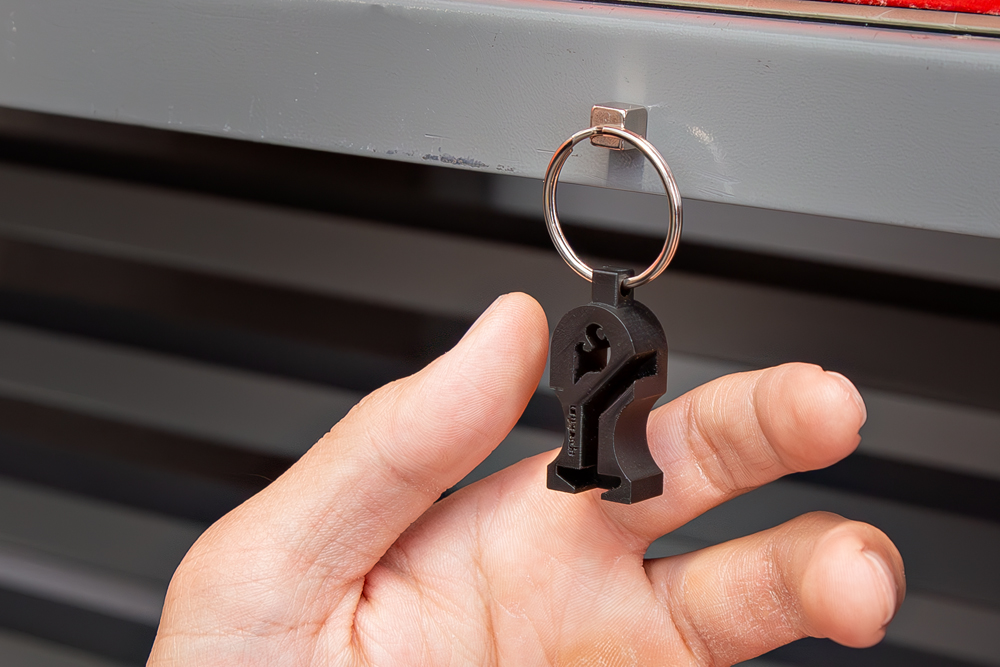
You can use a specialized 3D printer tool dedicated to disconnecting LiPo batteries with a JST-PH connector. We highly recommend ordering the SparkFun JST Battery Removal Tool like the one below.
Slide the tool between the JST female and male connector. You can slide the tool from the bottom or the top side as shown below.
 |
 |
| JST Battery Tool Inserted from Bottom | JST Battery Tool Inserted from Top |
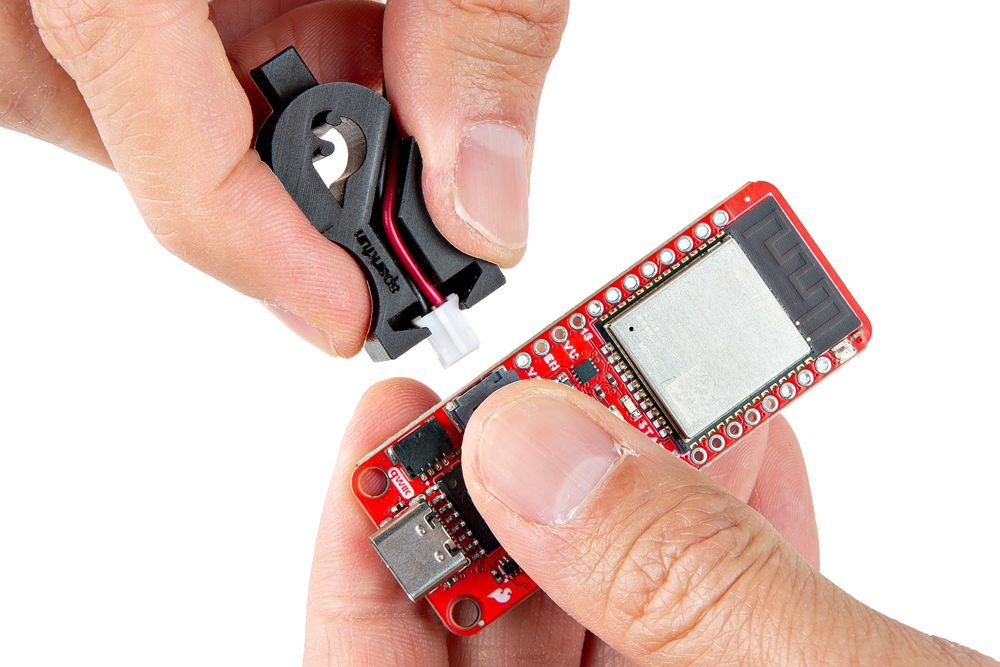
In this case, we chose to slide the JST Battery Removal Tool from the bottom side. With your other hand, hold down the JST male connector. If necessary, place the wires through wire channel.
Wiggle the JST female connector side to side while carefully pulling away the connector from the board.
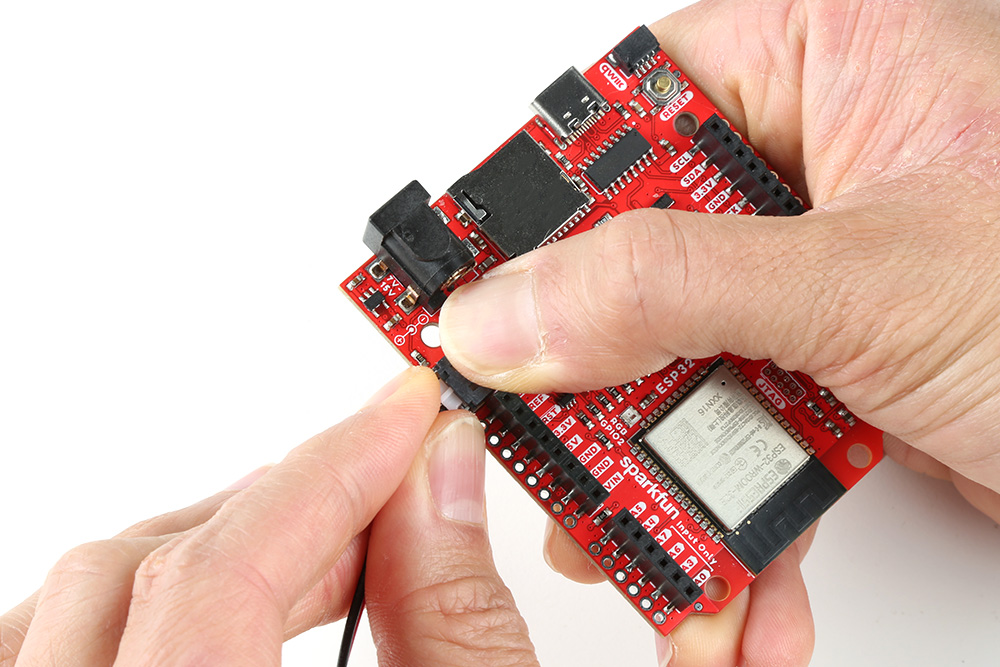
You will need to carefully remove the connector out by pinching the sides of the JST female connector with your index finger and thumb. With your other hand, hold down the JST male connector.
Wiggle the JST female connector side to side while carefully pulling away the connector from the board.
The JST connector will slide out of the socket. Congratulations! You have successfully disconnected the LiPo battery from your board.
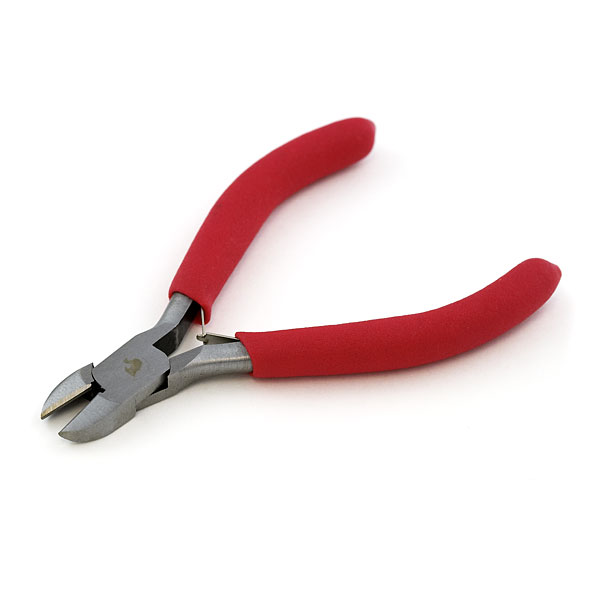
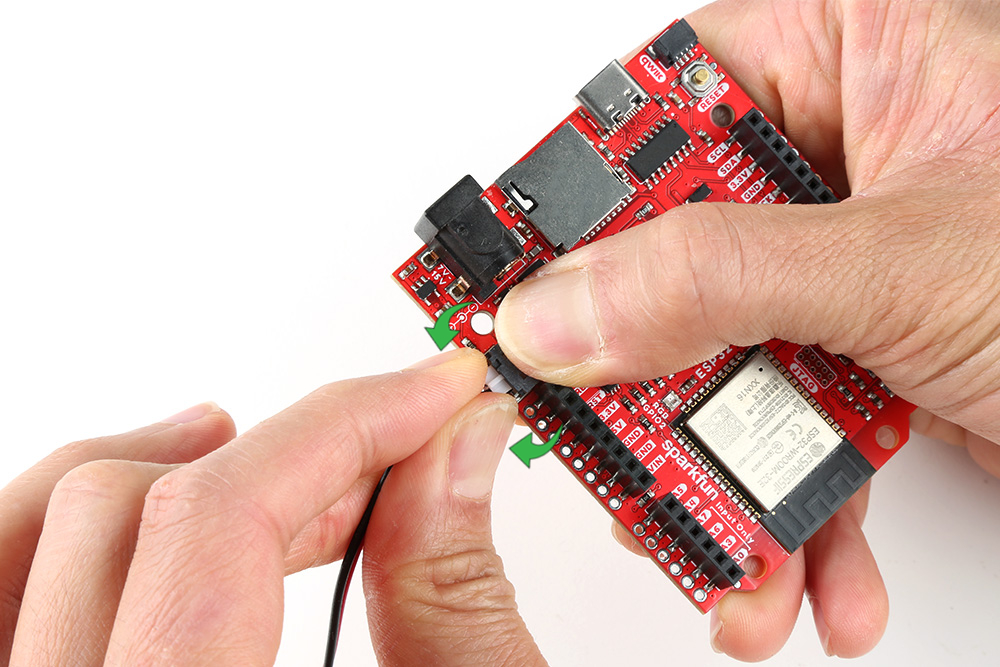
For those with long nails, you will want to use some needle nose pliers. We recommend using needle nose pliers with teeth like the one below:
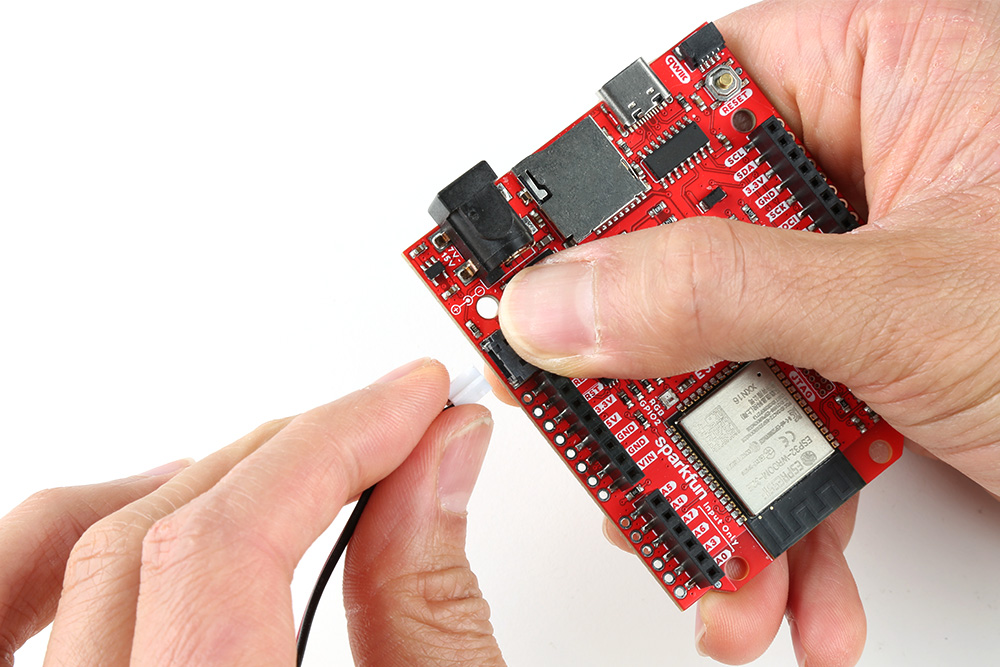
Grip the sides of the JST female connector using the needle nose pliers in one hand. With your other hand, hold down the JST male connector.
Wiggle the JST female connector side to side while carefully pulling away the connector from the board. Using needle nose pliers will make it easier to remove but make sure to not angle the tool too much as the pins can be damaged if you angle the connector at an extreme angle.
The JST connector will slide out of the socket. Congratulations! You have successfully disconnected the LiPo battery from your board.
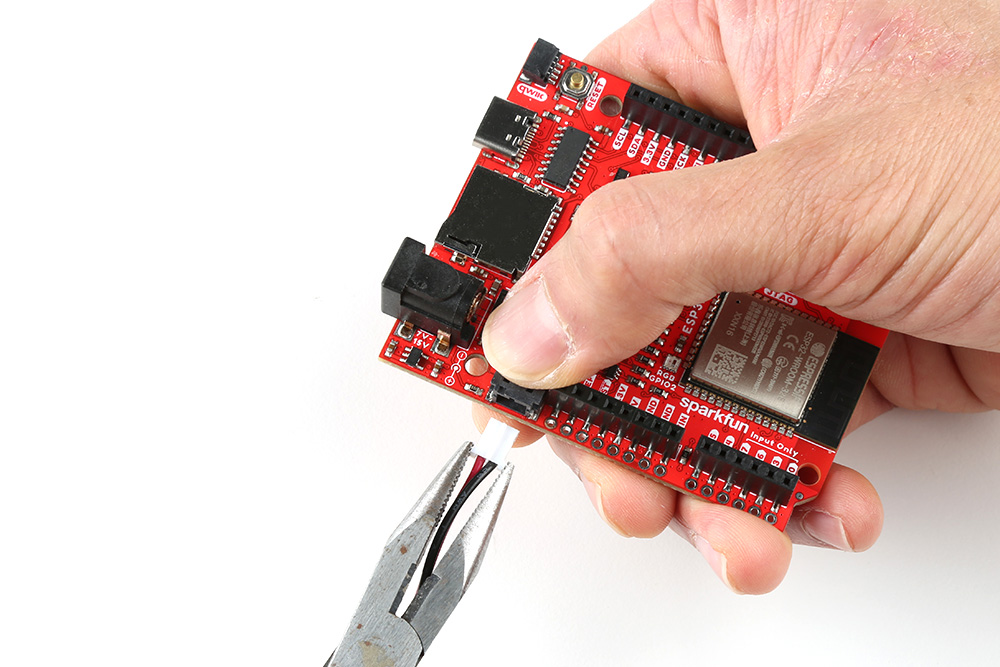
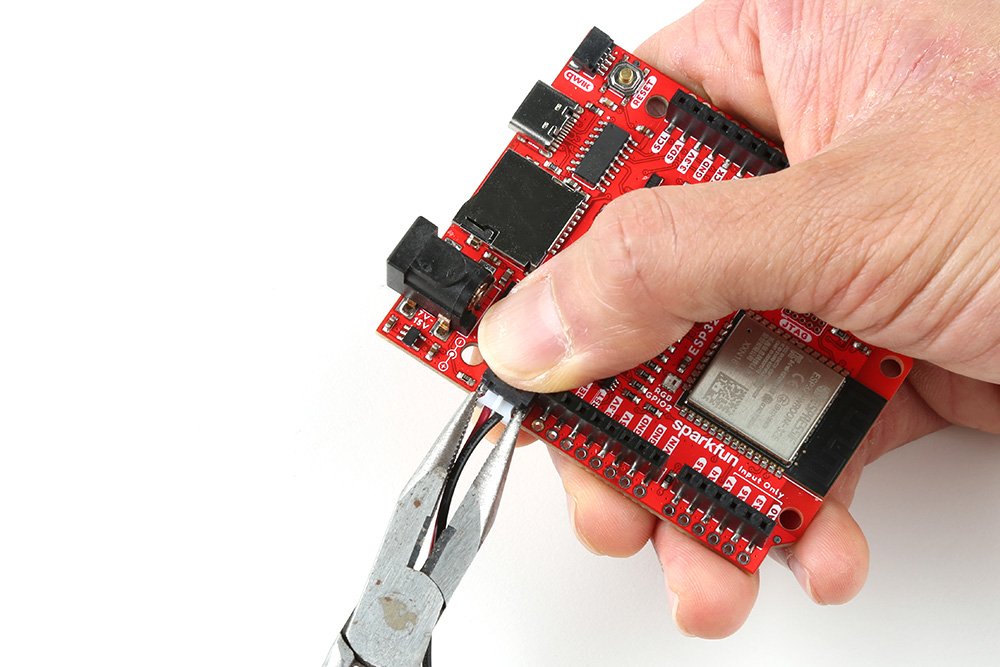
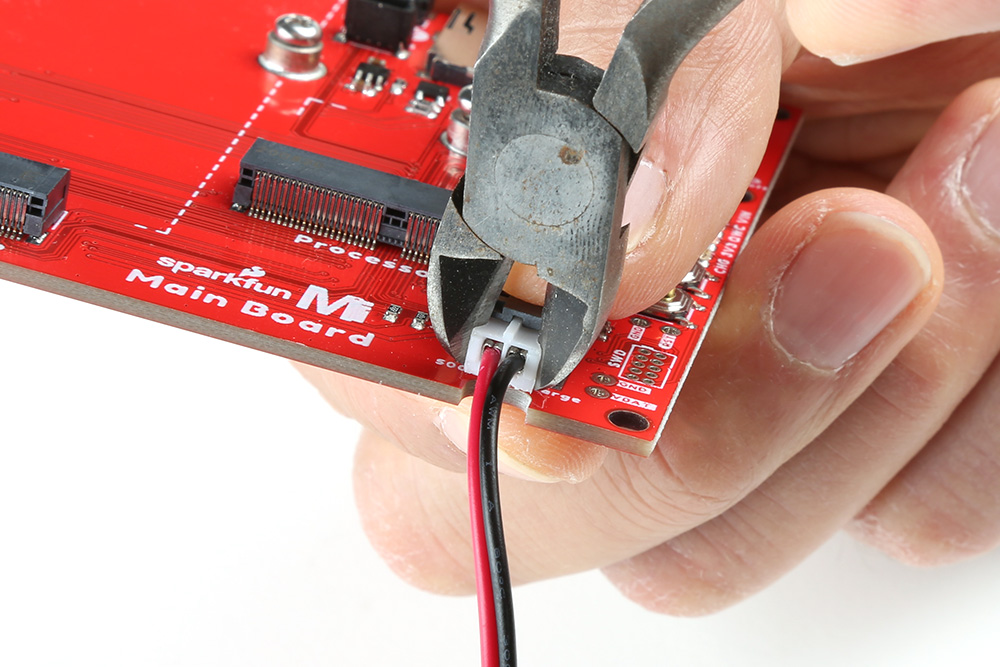
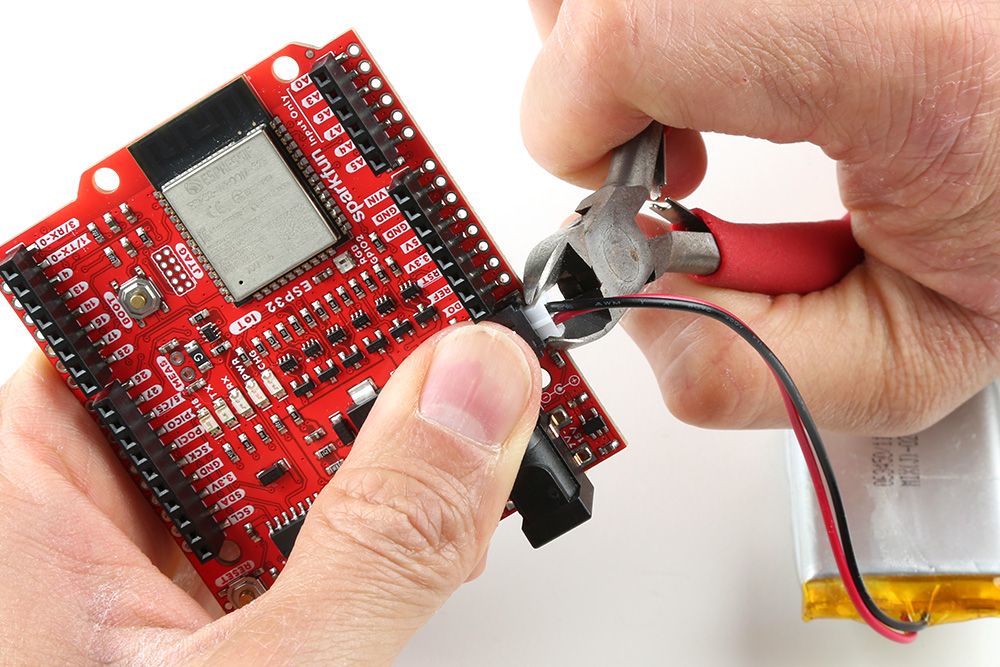
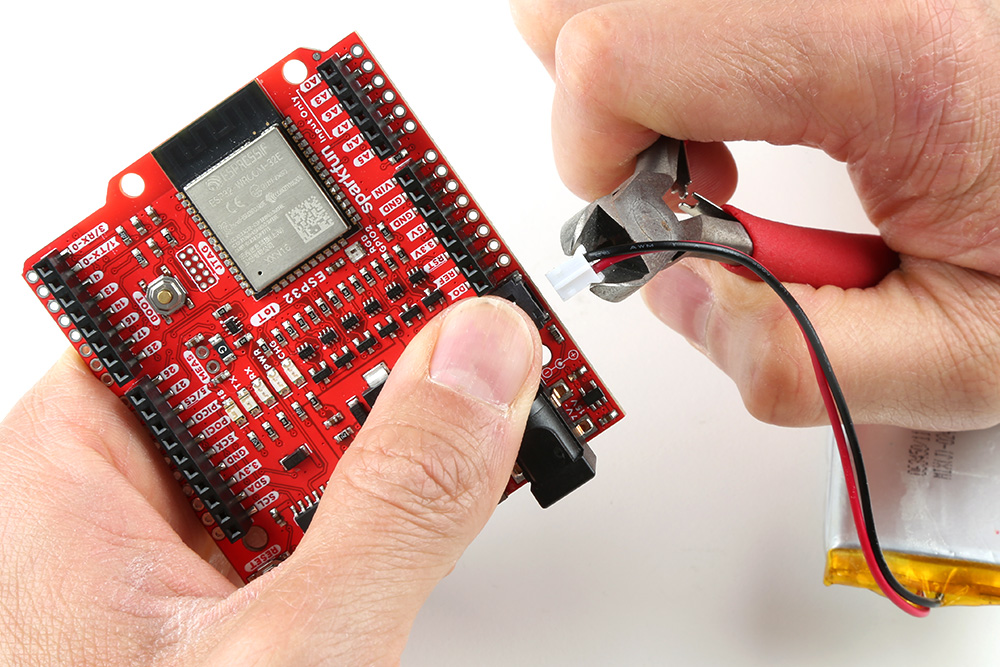
Of course you could also use some diagonal cutters as well. Wire cutters have thin jaws that allow you to grip the head of the connector. However, there is a risk of cutting the wires if the diagonal cutters slip.
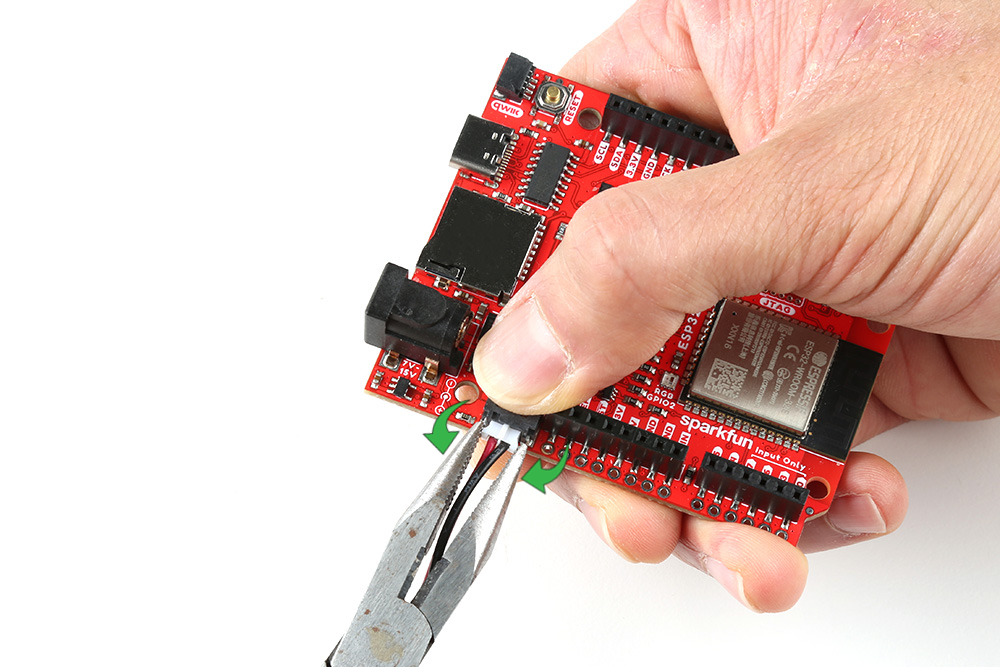
Depending on the design of the board, you may need to grip from the top or bottom of the JST connector. We'll show in the following images how to remove the connector from the bottom. Position the wire cutter between the between the JST female connector's flanges on the side and the JST male connector's socket. With your other hand, hold down the JST male connector. Don't go squeezing hard on the wire cutters either. They are simply there to grip the edge of the connector.
 |
 |
| Diagonal cutters holding JST connector from the top of a PCB | Diagonal cutters holding JST connector from the bottom of a PCB |
Use the edge of the PCB as a fulcrum point and lever out the connector. Pull the JST female connector away from the board by wiggling the connector sideways back and forth

The JST connector will slide out of the socket. Congratulations! You have successfully disconnected the LiPo battery from your board.
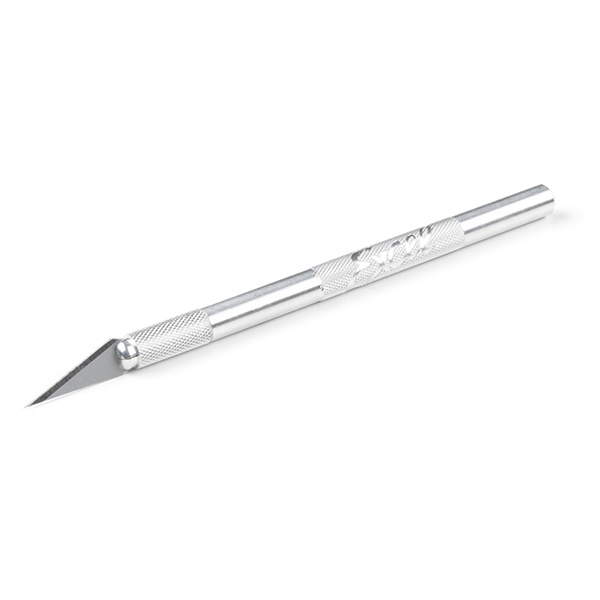
Another option is to removing the locking tabs using a hobby knife. Cutting the tabs will make it easier to remove by hand. While it will not be as secure as it was before, we have found that it still holds pretty well in the JST male connector socket.
Pinch the sides of the JST female connector with your index finger and thumb. With the hobby knife, slice the locking tabs off each side of the JST female connector until it is flush with the top of the connector. There's not a lot of space to work with so make sure to not cut your fingers and angle the hobby knife away from your finger tips!
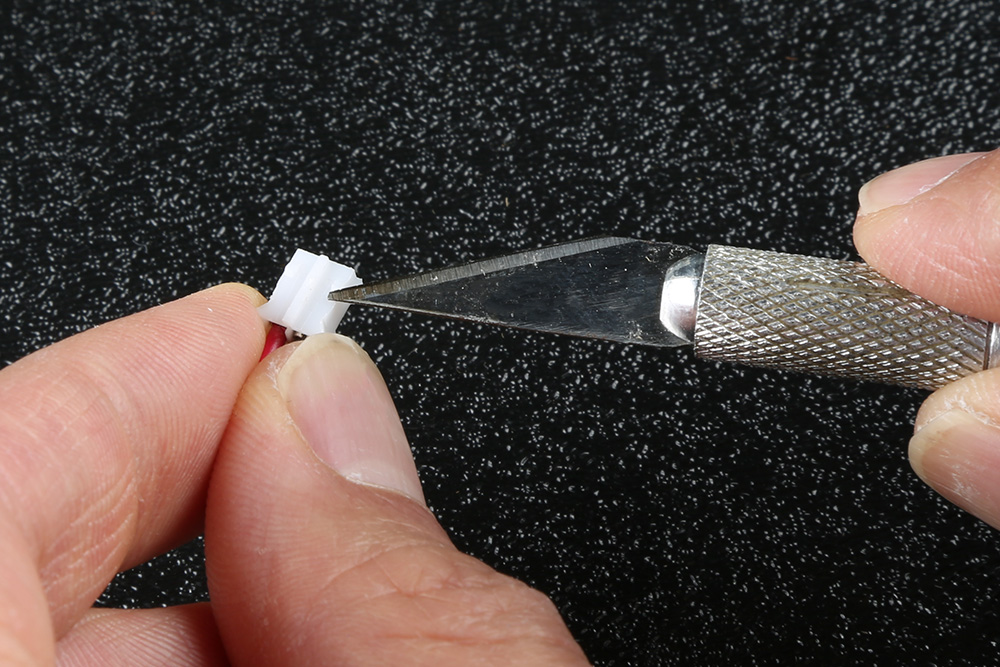
The JST connector on the left shows the locking tabs intact. The JST connector on the right shows the locking tabs removed after. If the connector is still too tight, you can also cut down part of the fin (the slot between the two locking tabs) on the top of the connector as well.

You might be asking yourself, how much power is left in my LiPo battery? This is useful to ensure that you have enough charge to power your project or storing the LiPo battery.
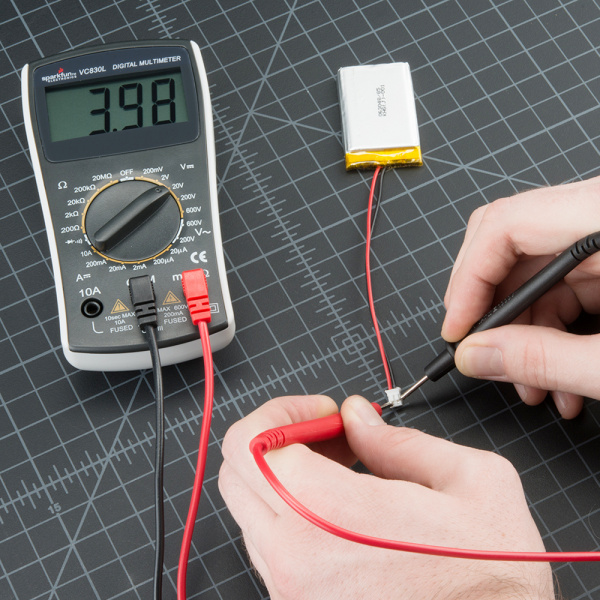
One way to check the voltage of a LiPo battery is using a multimeter. You can set a multimeter to measure the voltage and connect to the terminals of the JST connector. Of course, you can also connect to the +VBATT and GND pins on a PCB if the battery is connected to a board as well. Just be careful not to accidentally create a short between the two terminals when measuring with the probes.
Another method is using a dedicated LiPo Fuel Gauge to output the voltage and charge remaining on a display. You are less likely to short the battery terminal pins using a LiPo Fuel Gauge (assuming that you are connecting a LiPo battery to the LiPo Fuel Gauge's JST connector or have it soldered to the PTH) compared to using a multimeter. Below are a few LiPo Fuel Gauges that you could use.
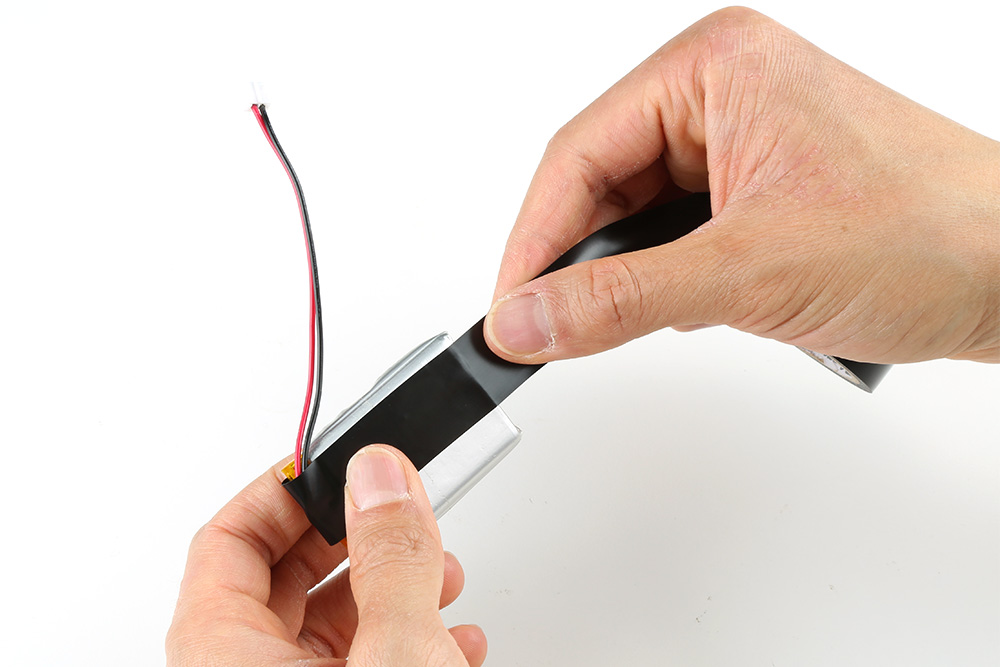
One of the down sides to using these LiPo batteries is their fragile power connections between the wires and protection circuit. These type of batteries are manufactured for a permanent install in devices, and not being removed often as can sometimes happen with projects. For users prototyping or frequently removing the battery from boards without ON/OFF switches, it can be easy to accidentally pull or break the power wires from the terminals on the protection circuit built into the battery. Luckily for us, a little electrical tape goes a long way!
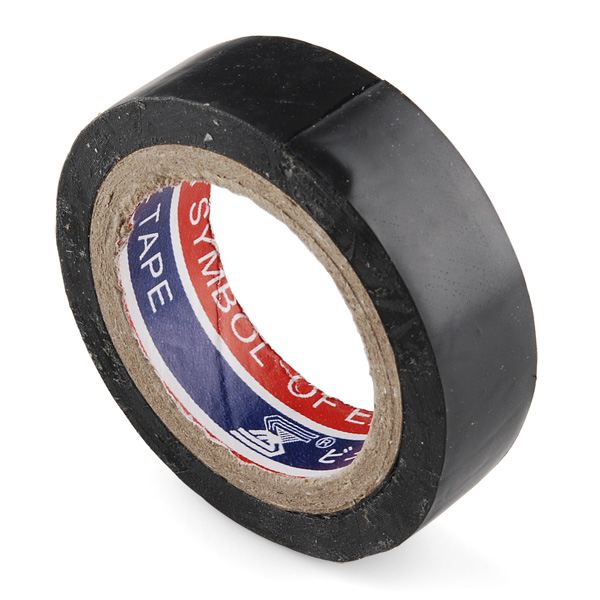
The red and black wires on a LiPo will tend to wear out and break off if you swing the battery around too much. This fix is so simple, but we find that many people don't realize what a little stress-relief can do. You can provide strain relief to the wires by placing them to the side and securing with electrical tape - this will help with strain on the connection to the battery.
On your LiPo battery, fold the red and black wires to the side. With electrical tape, start in the middle of the battery and tape over the top. Use a little bit of tension on the tape as you go over the top of the battery. I use one and a half full wraps around the battery.
Cut the tape with wire cutters or knife to make a clean cut. Tearing the tape can leave ugly ripples in the electrical tape.
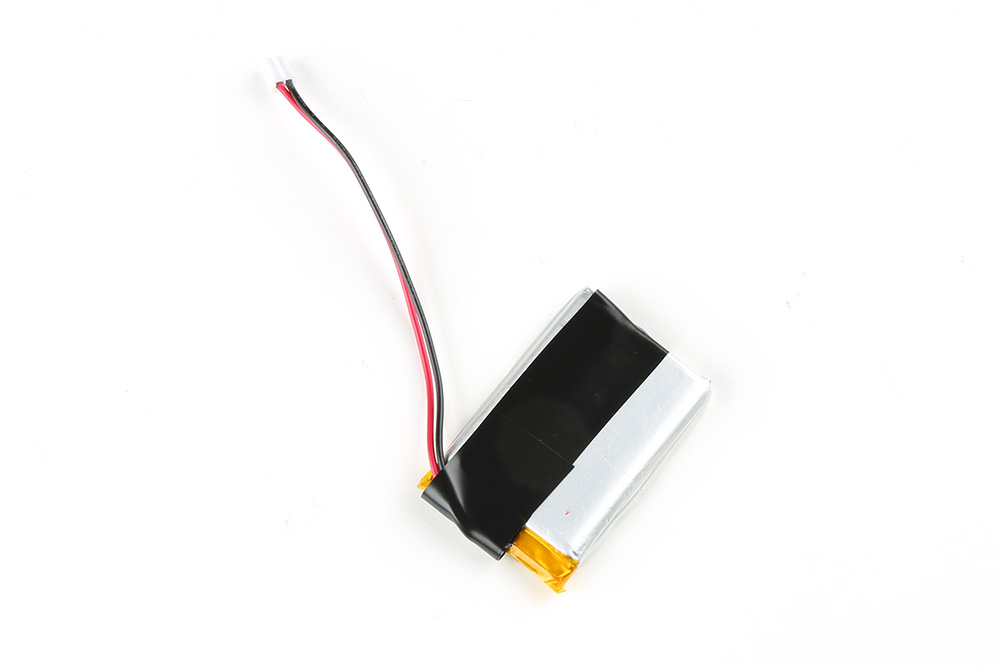
To make it even more secure, you can add another piece of tape across LiPo battery.
This one or two wraps around the battery serve as a simple stress relief. All the mechanical stress is transferred to the tape instead of to the soldered terminals inside the top of the battery. Now when you use (or mis-use) the battery, you won't have to worry about breaking the red and black wires from the top of the battery!
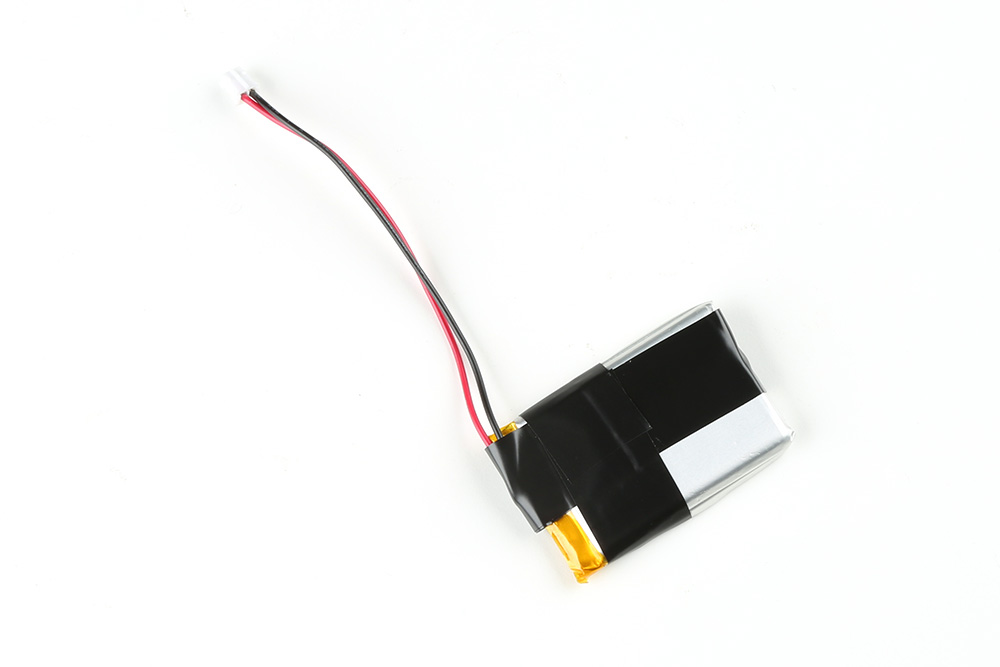
We've had a surprising collection of LiPos for various projects (they just seem to be replicating at this point!). A problem that came up was identifying the battery. What was I doing with this battery? What torture had I put it through? A Sharpie marker is perfect for marking your battery. A name such as 'heater' or 'costume' makes a world of difference. Dating the battery will let you know when you first used it. After a few years these batteries will start to lose some of their capacity. A date code helps to indicate that general health of a cell.

Remember, a protection circuit is usually built into yellow and silver pack that we sell. The protection circuit board is usually under the yellow Kapton tape where the wires are connected.
The protection circuit will prevent:
This protection circuit prevents most misuse of the battery and we have definitely misused some batteries. You can be re-assured the protection circuit will protect you and the battery.
While LiPo batteries are a great option for providing rechargeable power to your project, they do have some safety considerations. This section will cover a few tips for safe handling and use of LiPo batteries for your projects.
When not in use for long periods, it is recommended to discharge the LiPo battery to about 3.9V to 4.0V.
Always store your batteries in an enclosure free of sharp objects. When installing a battery in your project, take care to keep it away from parts of your project that could pinch, poke, or strain the battery.
Do not transport or store a LiPo battery with metal objects, such as hairpins, necklaces, or any other conductive object or material.
Keep or store the battery in a cool and dry place/environment while installed in a project or in storage. If you are not planning to use your project for a long time, remove the battery and store it separately.
Keep your LiPo battery away from environments that will damage it. Do not immerse a LiPo battery in liquids. Remove the battery from your project if it needs to be washed (such as e-textiles and wearable projects).
Do not use or store the battery near any source of heat. To secure a battery to your project, velcro is a temporary option or sew into a pouch or place in a plastic enclosure. Never iron or hot glue directly on or around a LiPo battery.
Short circuits or damage to LiPo batteries may not always be noticeable - check the battery for puffiness, heat, or other changes. If the battery looks damaged, remove immediately.
If the battery gives off an odor, generates heat, becomes discolored or deformed, or in any way appears abnormal during use, recharging, or storage, immediately remove it from your project or battery charger and stop using it. Make sure to dispose of your batteries properly - do not throw them in the trash! Contact your local e-waste disposal organization for details on how to discard batteries in your area.
Looking for more resources on LiPo batteries? Check out a few below. There are many websites available online with this information. While the articles linked refer to multi-cell LiPo batteries, the information is still relevant for general guidelines for handling LiPo batteries and storing.
Need some inspiration for your next project? Check out some of these related tutorials and articles.
Or check out some of these blog posts about batteries:
learn.sparkfun.com | CC BY-SA 3.0 | SparkFun Electronics | Niwot, Colorado