Simblee Breakout Board Hookup Guide
This Tutorial is Retired!
This tutorial covers concepts or technologies that are no longer current. It's still here for you to read and enjoy, but may not be as useful as our newest tutorials.
Contributors:
 SFUptownMaker
Hardware Overview
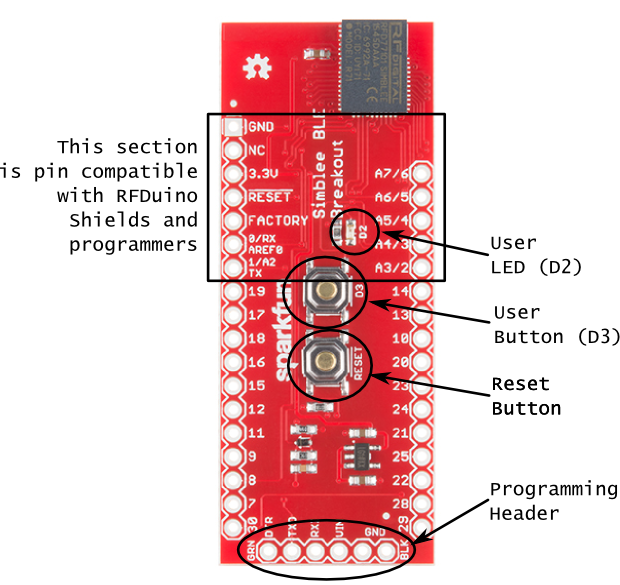
Here's a rundown of the features you'll find on the Simblee breakout board:
- RFDuino Compatible Pin Section -- The top section is compatible with the RFDuino shields and programmers.
- User LED -- We've provided a user controllable LED on pin D2. This allows you to get some feedback without any additional hardware at all.
- User Button -- Similarly, we've provided a button on pin D3. Don't forget to use
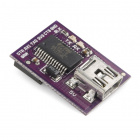
INPUT_PULLUPwhen setting the mode for that pin in the code! - Programming Header -- While you can use the RFduino programmer, we've provided a standard 6-pin FTDI breakout programming header as well. This allows the profile of the board to remain low unless necessary. We recommend using the either the LilyPad FTDI Basic or the 5V FTDI Basic for programming the Simblee. Do not use the 3.3V FTDI Basic.
USB-to-Serial Programmer
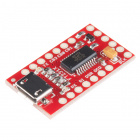
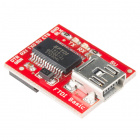
We recommend using the either the LilyPad FTDI Basic, the 5V FTDI Basic, or the 5V configured FT231X breakout for programming the Simblee. There is a 3.3V voltage regulator after VIN and a protection resistor on it so a 5V input on the RX line won’t damage the module
Do not use the 3.3V FTDI Basic, as it may not be able to source enough current from the 3.3V rail.
Do not use the 3.3V FTDI Basic, as it may not be able to source enough current from the 3.3V rail.
LilyPad FTDI Basic Breakout - 5V
DEV-10275Output Control w/ Transistors
Warning: If you've used Arduino boards before, you're probably used to connecting LEDs to the pins as output signals. A normal Arduino can light up many LEDs at once, and several per pin; for the Simblee, you shouldn't try more than ONE per pin, with an additional recommendation of don't try to turn on more than three at a time across all pins. The processor inside the Simblee module cannot drive enough current to light up more LEDs than this (pg 9 of the Datasheet).
If you decide to drive multiple LEDs, try using a transistor as a switch.
If you decide to drive multiple LEDs, try using a transistor as a switch.
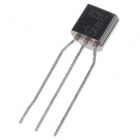
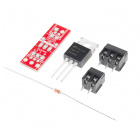
For controlling loads with the pins, try looking at some of these transistors:
