SIK Keyboard Instrument
Hardware Hookup
Prepare the Breadboard
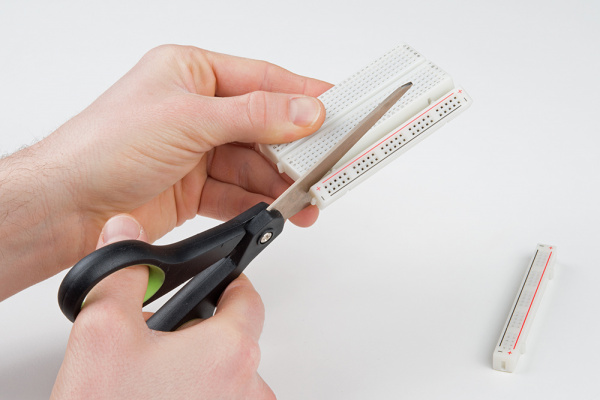
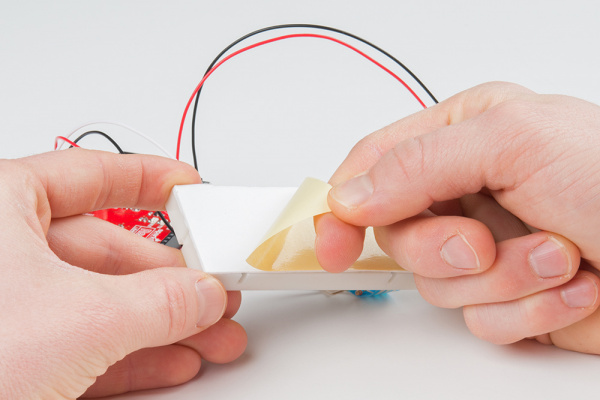
Before connecting anything, we recommend separating the breadboard into its three parts. Use a pair of scissors to cut the adhesive backing. This part is optional, but it helps the breadboard fit into the project enclosure later.
Connect the Components
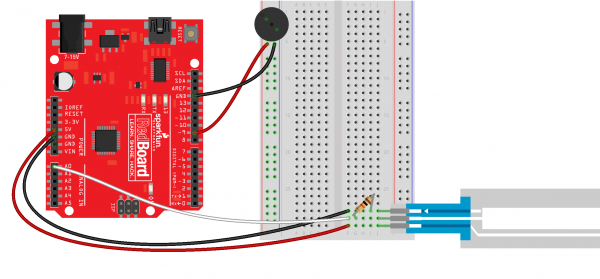
Once you are ready to connect the components, check out the Fritzing diagram below.
| Polarized Components | Pay special attention to the component’s markings indicating how to place it on the breadboard. Polarized components can only be connected to a circuit in one direction. |
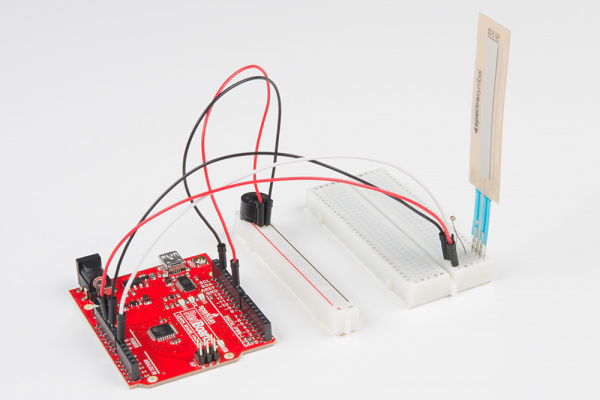
Once you are done, the soft pot should be sticking straight up from the breadboard.
Create the Keyboard
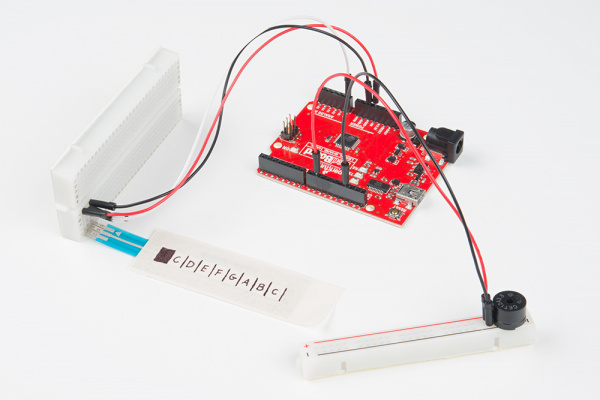
The "keyboard" is actually the soft potentiometer. We will divide up the soft pot into eight (8) segments, and the resistance we read with the Arduino from touching the soft pot will determine the key being pressed.
To create something that looks like a keyboard, place a piece of masking tape over the soft pot so it covers the entire length with some overhand (we will use the overhang to attach the soft pot to the box).
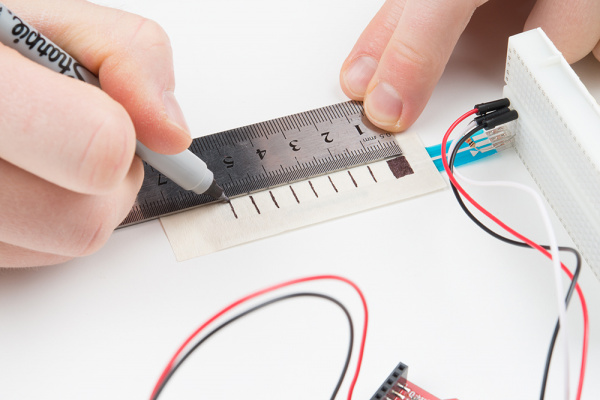
Place a ruler next to the touchable (silver) area on the soft pot. Starting from the breadboard end, mark every 6mm. Fill in or note that the first 6mm section is not to be used.
Starting from the breadboard side, write the note of each key in between the marks. We'll use C, D, E, F, G, A, B, C.
Make the Project Box
While we can play our keyboard on the breadboard, it might be more fun to have it in a project box to add a little stability.
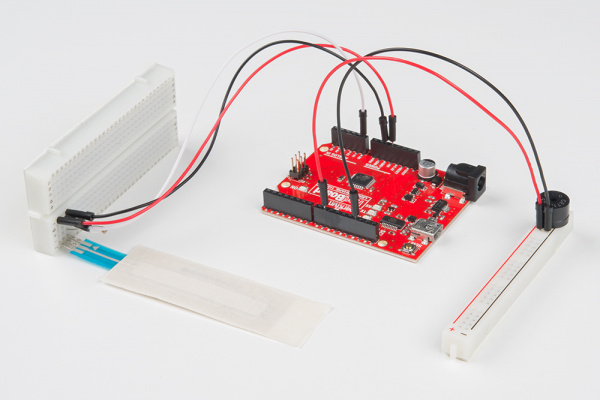
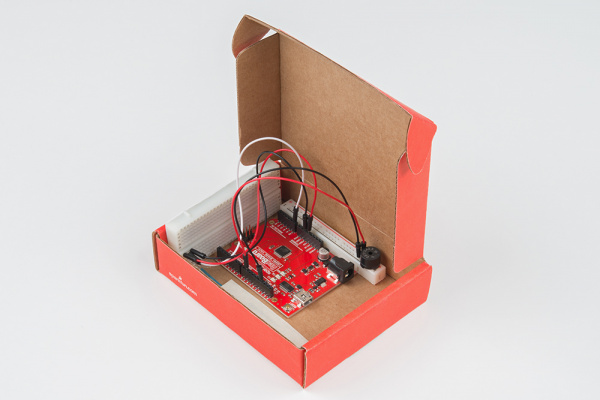
Peel the backing off the two pieces of the breadboard to which we attached components.
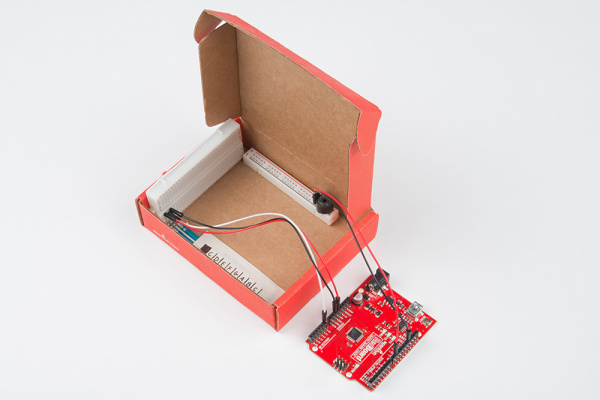
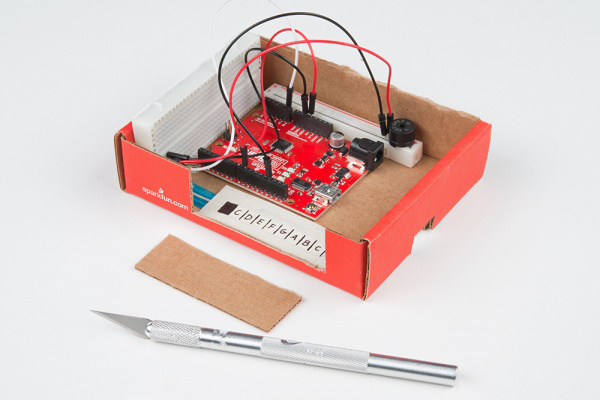
Attach the large breadboard piece to the side of the cardboard box with the soft pot lying flat on the box's floor. Stick the smaller breadboard piece (the one with the buzzer) to the box's floor opposite the soft pot. Stick the overhang tape on the soft pot to the floor of the box.
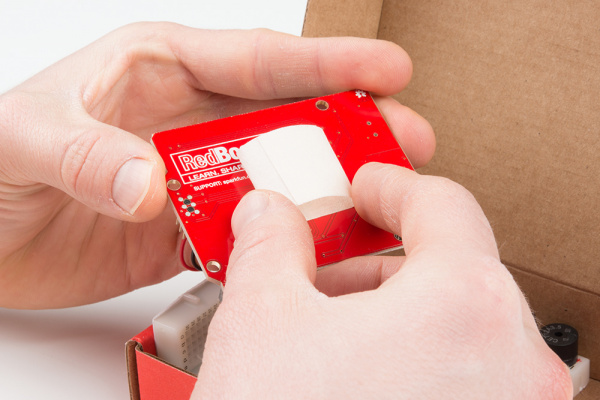
Fold a piece of tape over (into a loop), and stick it to the RedBoard.
Place the RedBoard in between the soft pot and top breadboard piece.
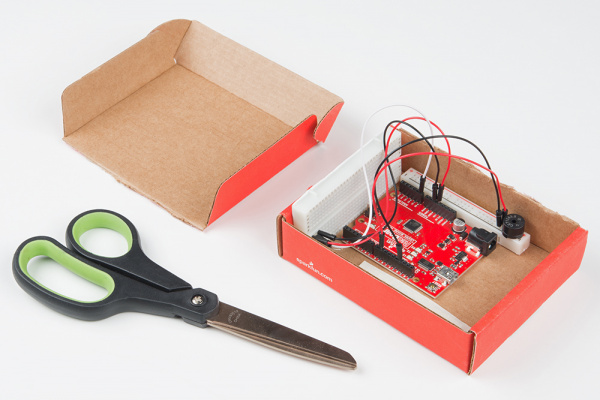
Use the scissors to remove the top of the box.
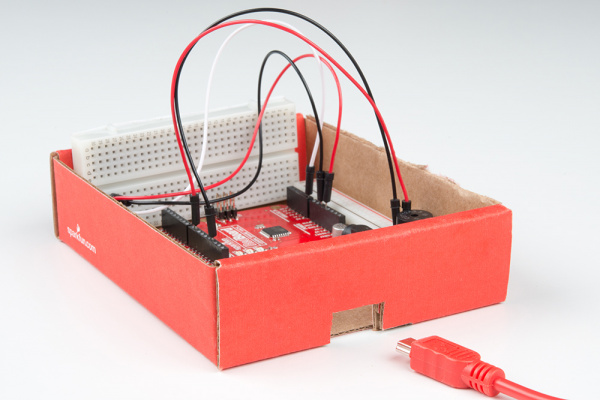
Use the hobby knife to cut a hole in the side of the box so you can pass the USB cable through for power.
Cut a large notch in the front of the box just above the keyboard. This allows for easier access to the keyboard.
