Shapeoko Assembly Guide
 MTaylor
 Finishing Touches
The cable carriers have been included in your kit to help with wire management, but it's up to you to decide what cables to carry and where you you would like them to be. They can go either way on an axis and don't need to be full length to get the job done.
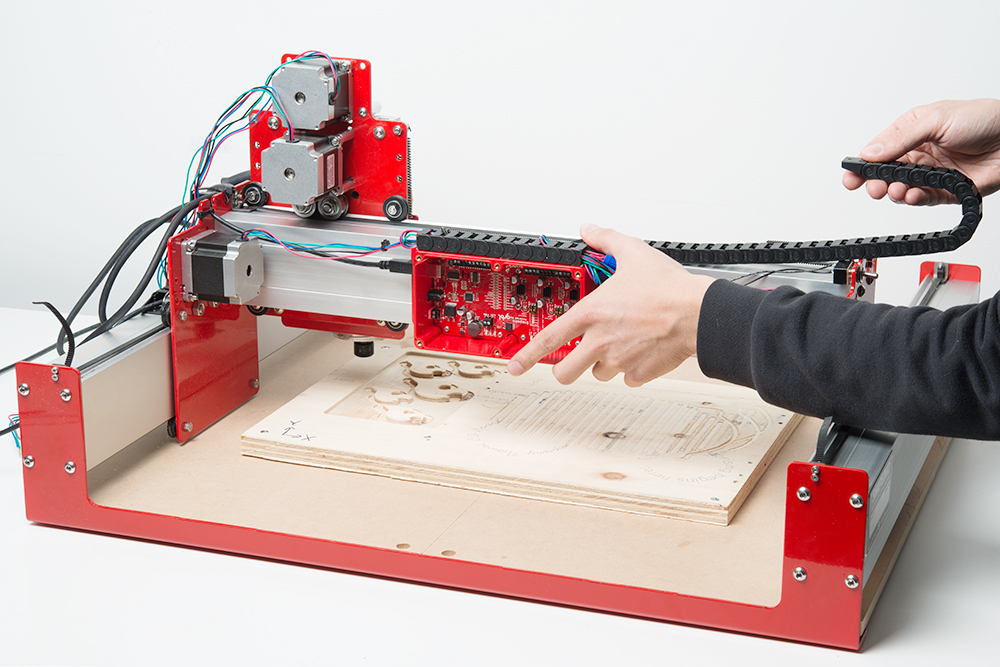
This section shows the installation of a cable carrier between the mill head and the cross-rail. The process is the same for any axis.
Start by finding the location and length of the cable carrier. Hold the fixed end of the carrier in where you think it should go, and move the mill head through the full range to make sure the cable carrier has unrestrained motion along the axis of movement. Alternately, mimic the motion of the mill to approximately check the motion. The cable carrier should be shortened if there's not enough play in the wires or if the loop hangs too far off the mill.
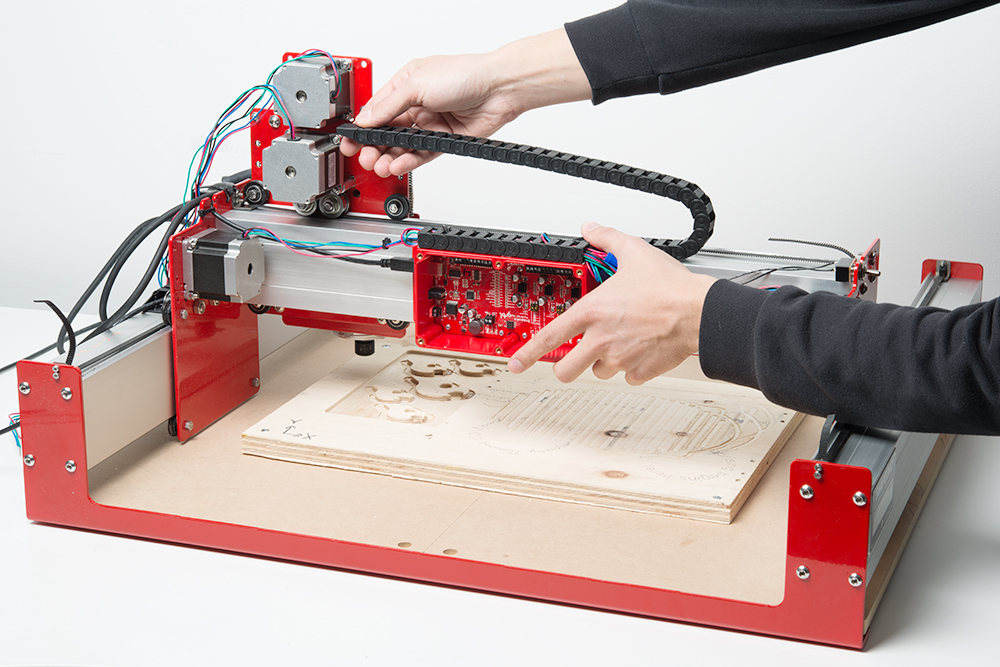
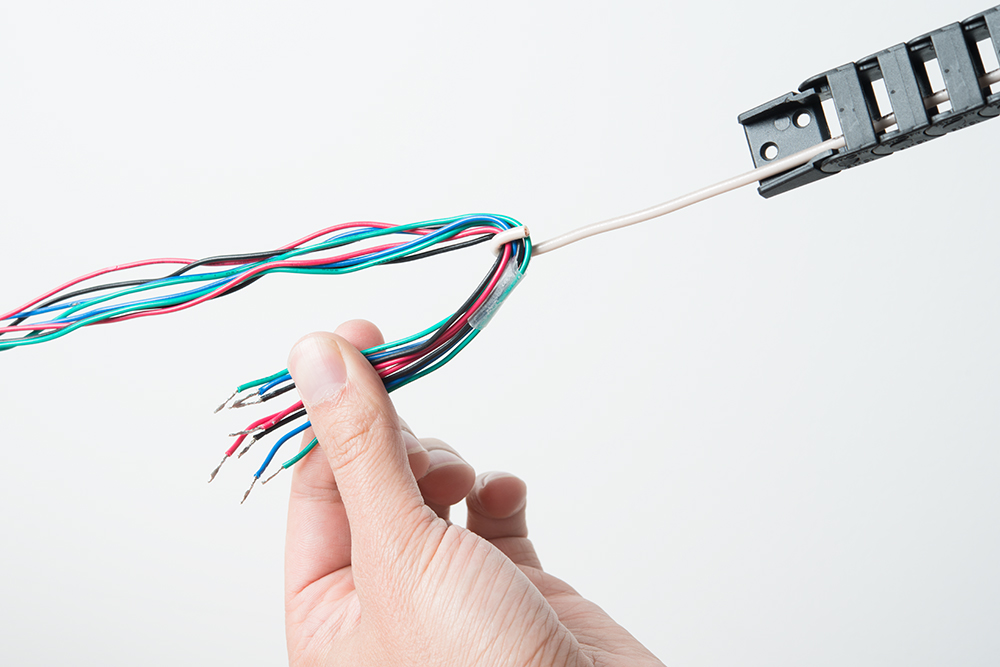
Mimic the motion of the axis to get a good idea where to mount the fixed end and how long the carrier needs to be. Pull the wires through the carrier. A hooked wire or tape on a straight wire helps. When running multiple groups of similar colors through, mark each set differently with sharpie or tape.
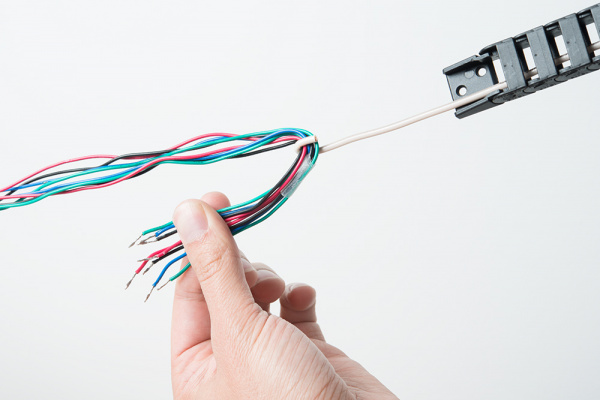
Use a helper wire to thread the cable carriers. Here, four of the eight wires have a tape wrap to indicate that they belong to the same motor 
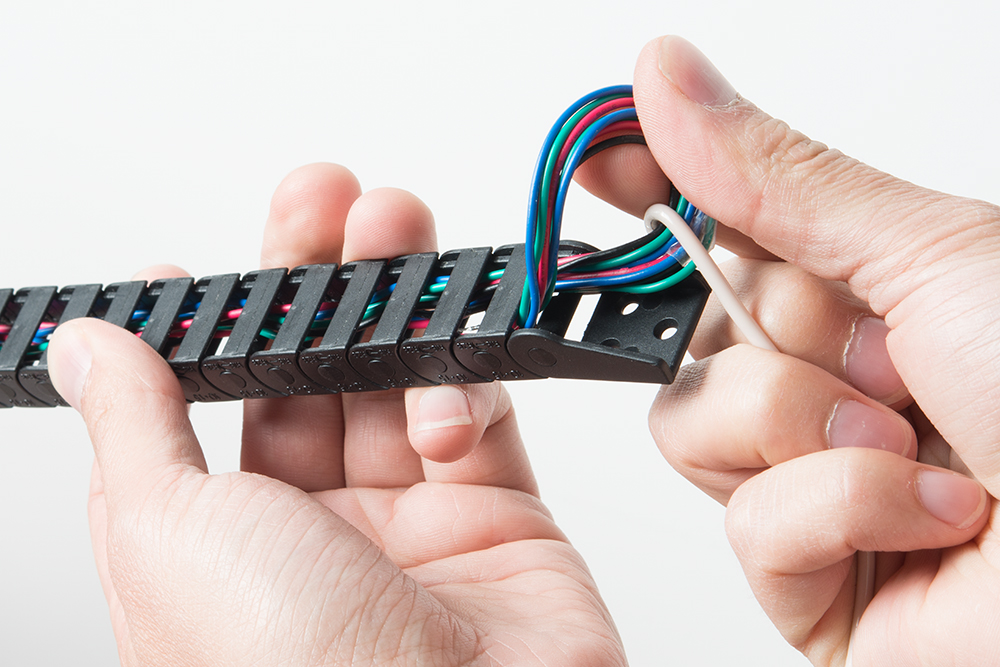
The wires are probably not long enough to pull through with a bend, so carefully work the ends free. After you've located where the fixed end will be, cut a small piece of double-sided tape, and firmly squish the carrier down. For these Shapeoko mills, make sure nothing crosses the center line in the extrusion.
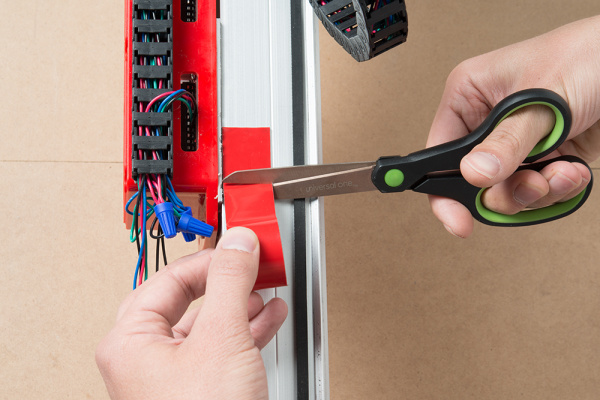
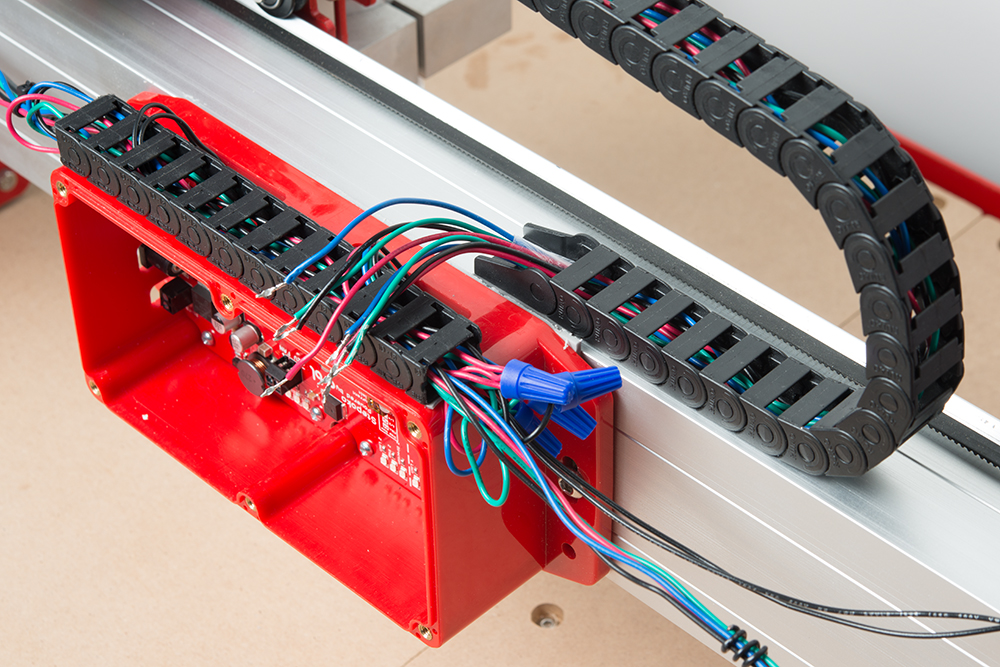
Here, the tape is being dispensed directly onto the location and cut right in place. Notice that it does not cross the center line. Check that the wires will reach the terminals, that the axis has a full range of motion, and that the roller bolt misses the cable carrier. Then connect the motor wires for the final time.
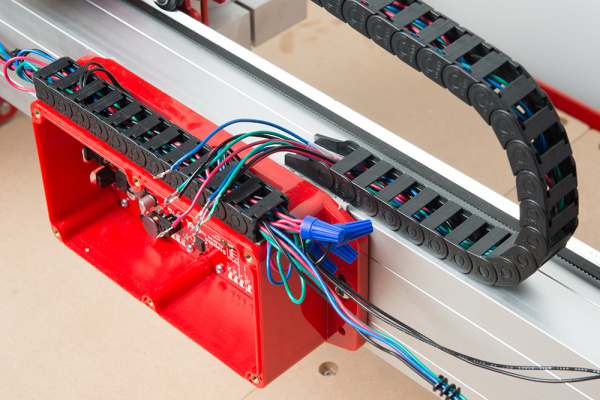
A view of the installed cable carrier. Also shown, the strip of cable carrier on the enclosure is a convenient place to stuff fixed wires -- just pull them in with your wire hook. This is made from extra bits of the other carriers from when they were shortened. 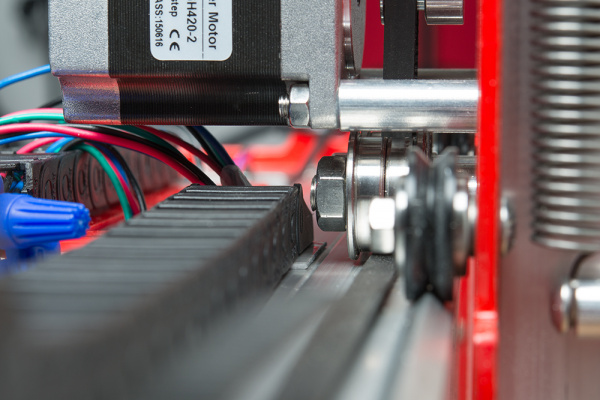
The roller clears the cable carrier with no problems! If this is not the case, simply peel up the cable carrier, and try again.

