RETIRED - BadgerHack
This Tutorial is Retired!
This tutorial covers concepts or technologies that are no longer current. It's still here for you to read and enjoy, but may not be as useful as our newest tutorials.
 Shawn Hymel
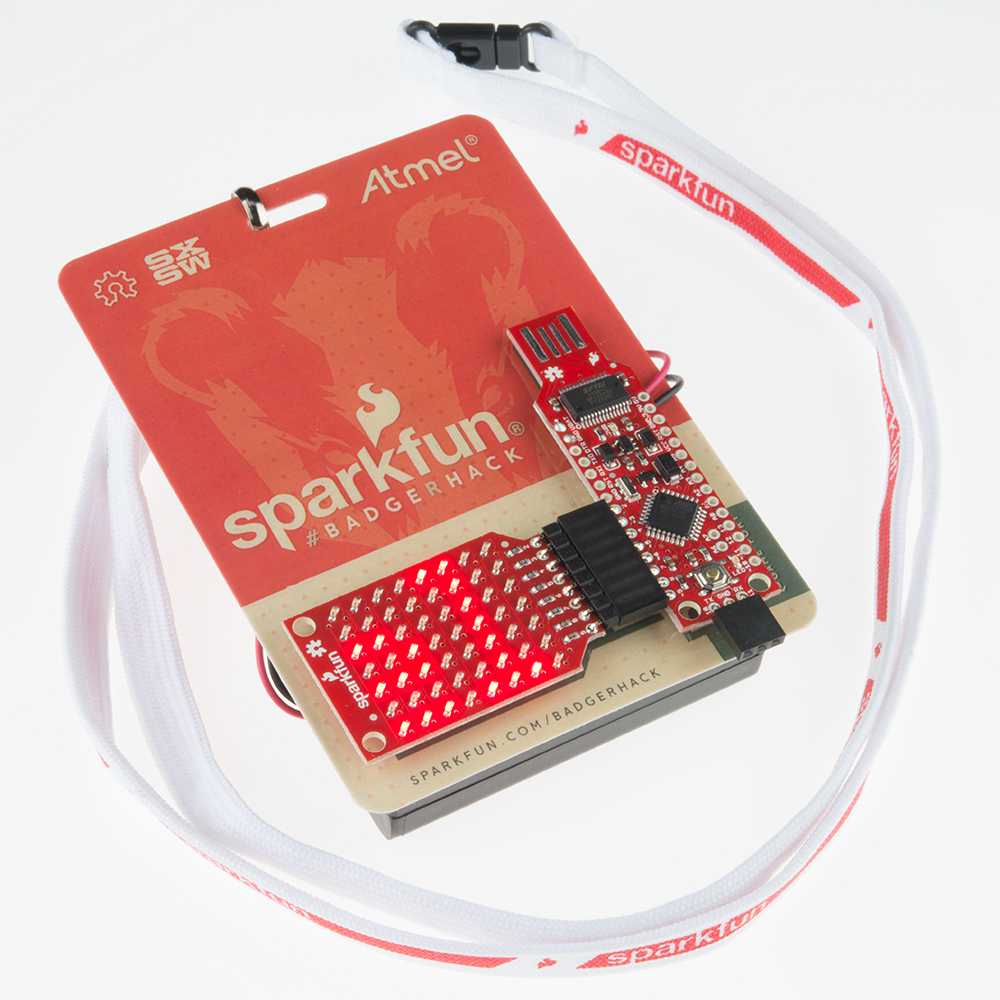
Hack Your Badge
What do you do with your badge after the event? Well, you can hack it!
To program the BadgerStick, you will need the Arduino Integrated Development Environment (IDE). Find the section below about installing and configuring Arduino for your particular operating system (Windows, OS X, or Linux), and then move on to "Install Libraries."
Install and Configure Arduino (Windows)
Download and Install Arduino
Download the latest Arduino IDE from arduino.cc or by clicking the button for Arduino 1.6.1.
Double-click the downloaded executable, and follow the instructions to install Arduino.
Install COM Port Drivers
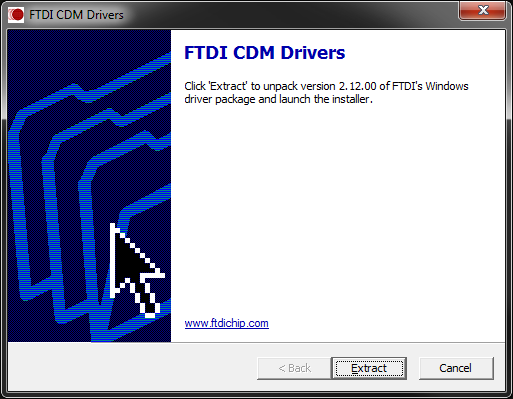
Navigate to FTDI's Virtual COM Port drivers page, and click to download the "setup executable."
Double-click on the executable to run it, and follow the prompts to install the Virtual COM Port drivers.
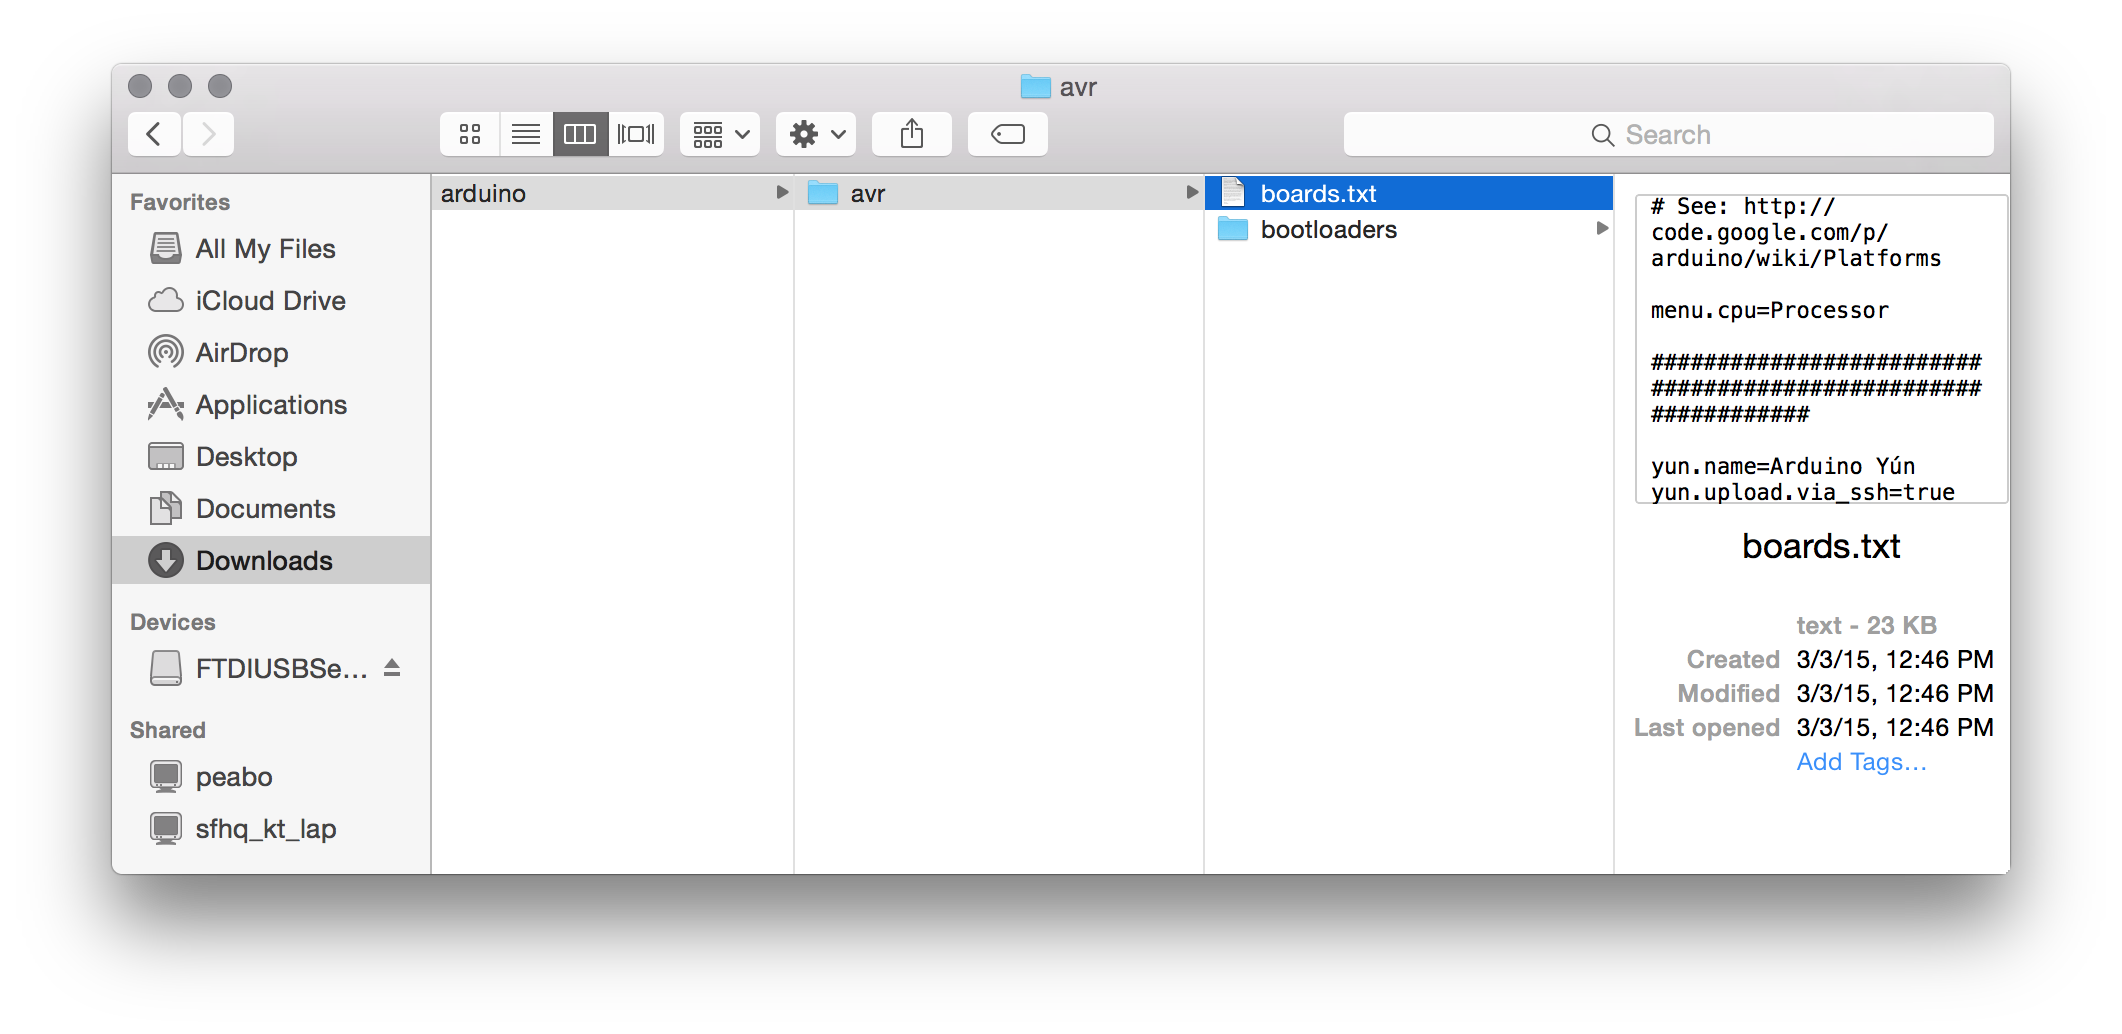
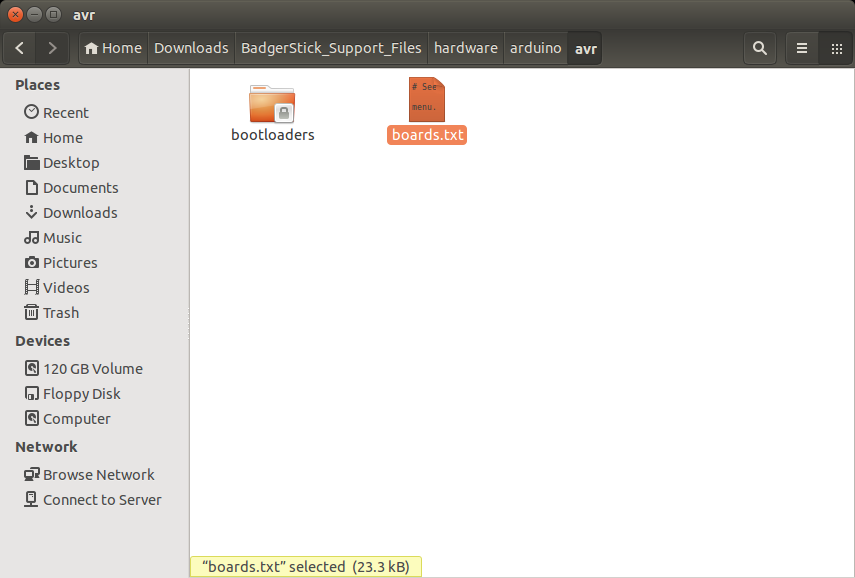
Update boards.txt
We need to modify a file in the Arduino installation in order to work with the BadgerStick. Download the hardware files for BadgerStick support:
Unzip and navigate to the folder BadgerStick_Support_Files/hardware/arduino/avr. Copy the boards.txt file.
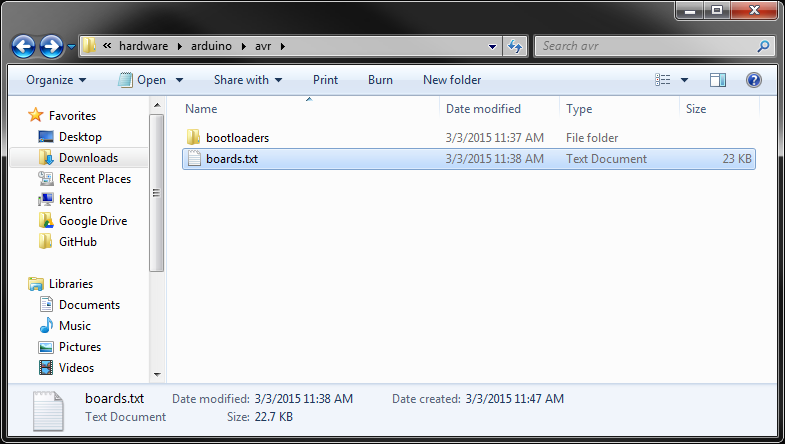
Paste them in \
That's it! Move on to the "Install Libraries" section.
Install and Configure Arduino (OS X)
Install Java
If you do not have Java already installed, you will need it for Arduino. Go to Java for OS X 2014-001, and click the Download button.
Use Finder to navigate to your Downloads folder, and double-click the downloaded file to mount the image.
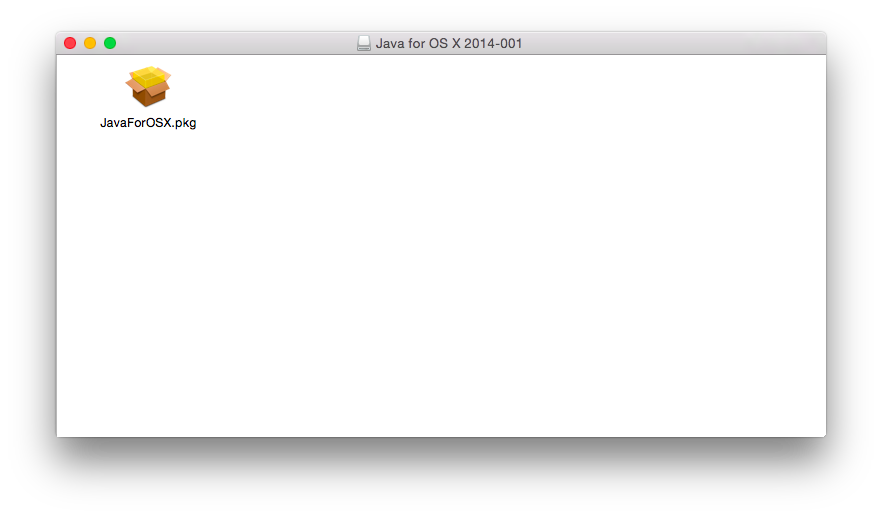
Double-click the JavaForOSX.pkg file to run the installer.
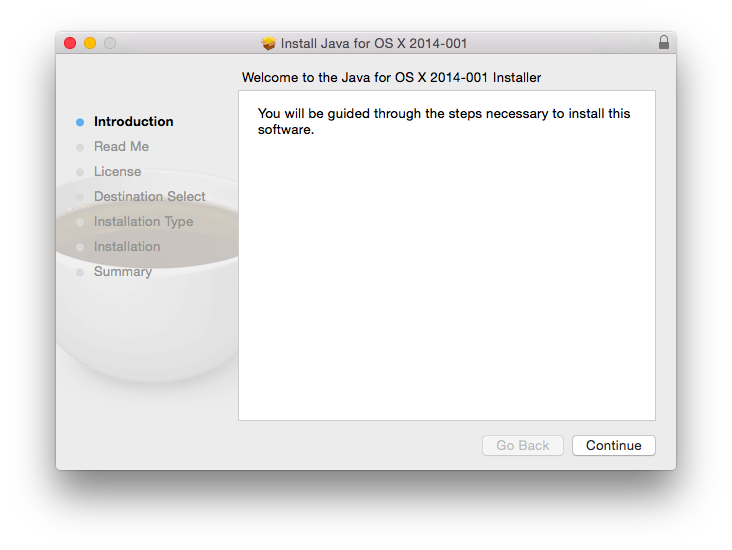
Follow the instructions to install Java 6.
Download and Install Arduino
Download the latest Arduino IDE from arduino.cc or by clicking the button for Arduino 1.6.1 (for Java 6).
Locate the downloaded file in Finder and double-click it to extract the .zip file.
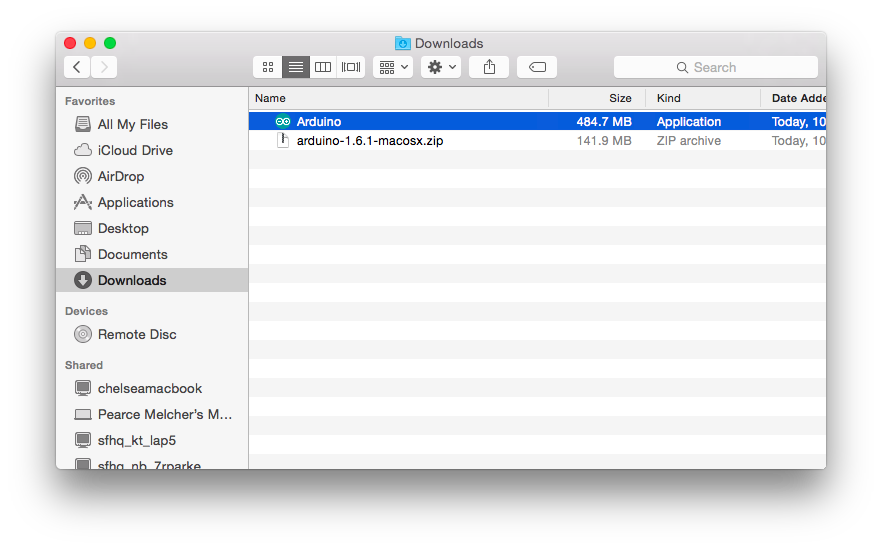
Drag the newly unzipped Arduino application to the Applications folder.

Install COM Port Drivers
Navigate to FTDI's Virtual COM Port drivers page and click to download the latest version of the VCP drivers for Mac OS X x64 (64-bit).
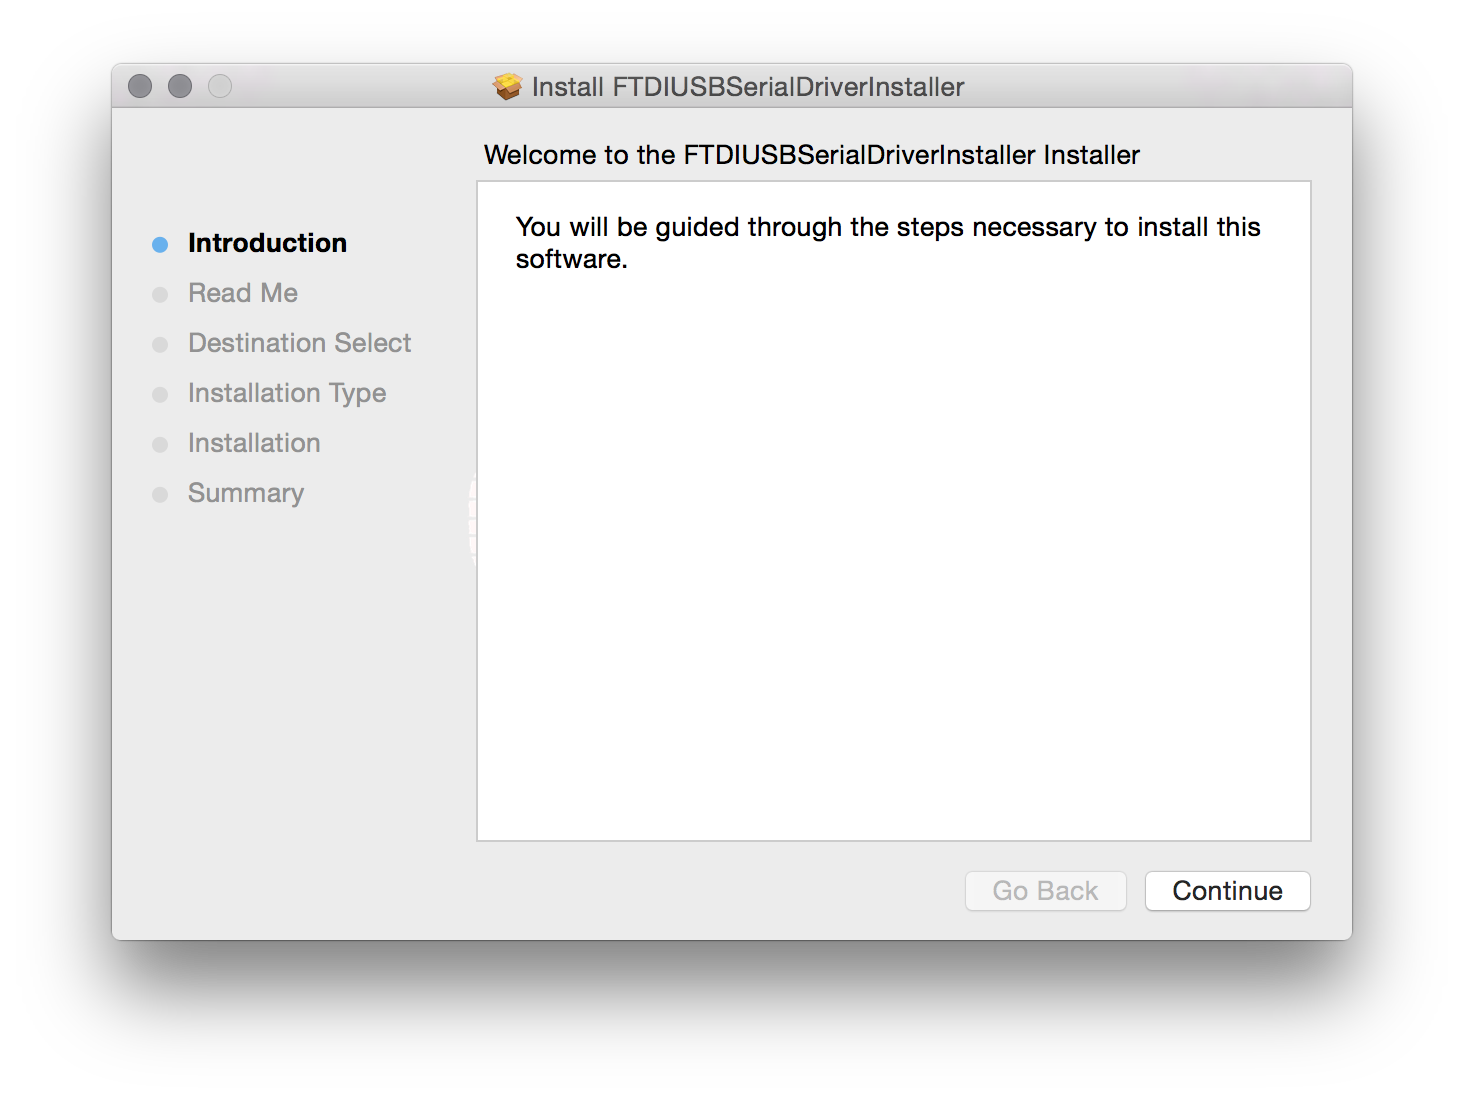
Locate the downloaded driver file in Finder, and double-click it to mount the drivers as a disk image.
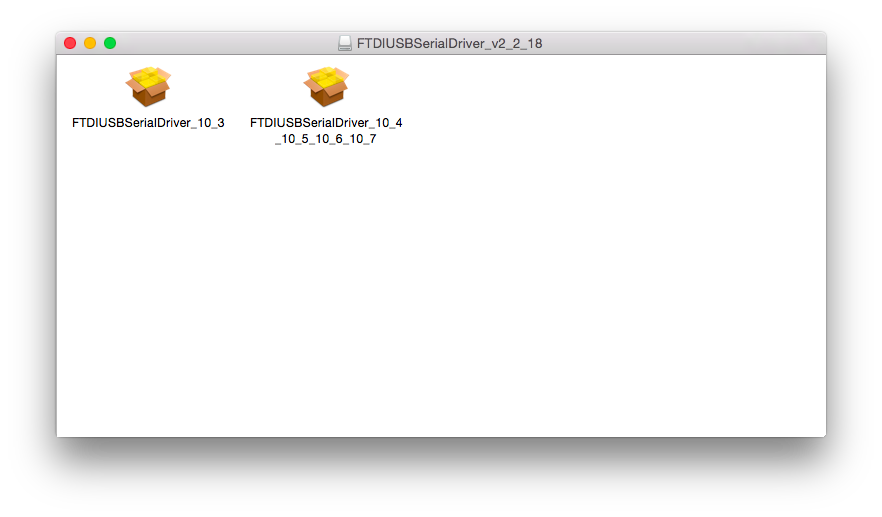
If you are on OS X 10.3, double-click the FTDIUSBSerialDriver_10_3. If you have a newer version of OS X, double-click the other installer. Follow the on-screen instructions to install the Virtual COM Port drivers.
If you run into an error like "can't be opened because it is from an unidentified developer," you will need to change your application security settings. See this post on how to do that.
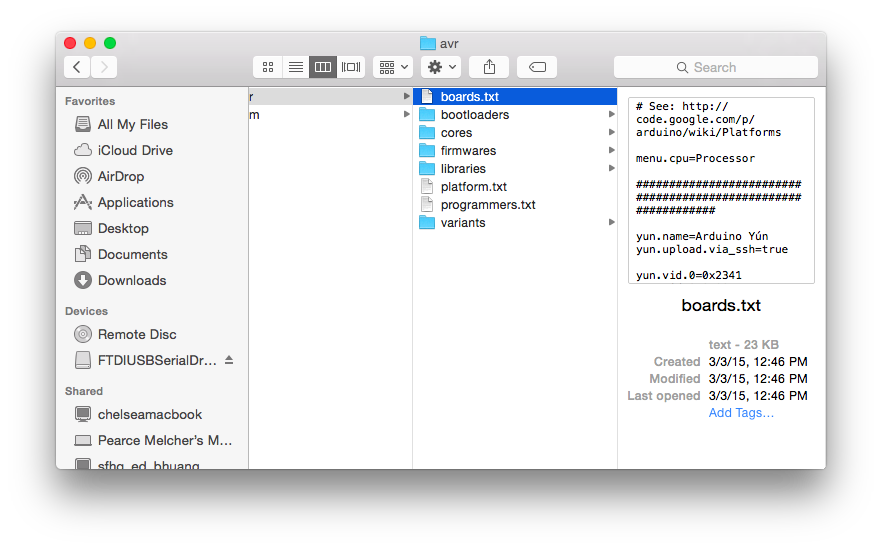
Update boards.txt
We need to modify a file in the Arduino installation in order to work with the BadgerStick. Download the hardware files for BadgerStick support:
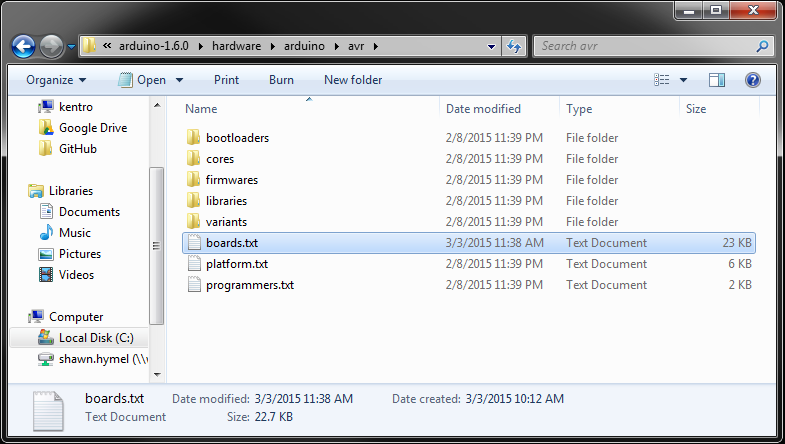
Double-click the downloaded zip file to unzip it. Navigate to \
Right-click (or ctrl+click) on the Arduino application (in Applications), and select "Show Package Contents." This will allow you to browse the files within the Arduino application.
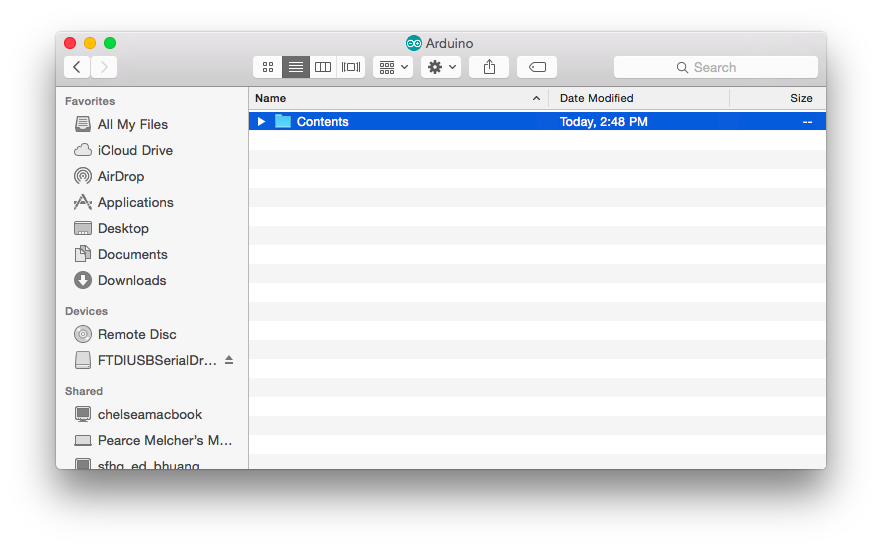
Navigate to Contents/Resources/Java/hardware/arduino/avr, and paste boards.txt. Agree to replace (overwrite) the existing boards.txt.
That's it! Move on to the "Install Libraries" section.
Install and Configure Arduino (Linux)
Download and Install Arduino
Note that these steps were performed on Ubuntu 14.04. They might differ depending on your particular flavor of Linux.
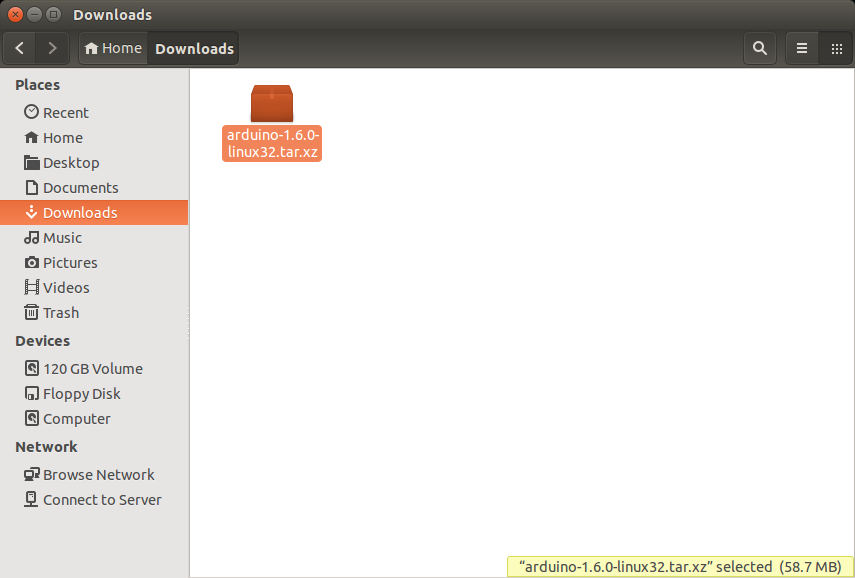
Download the latest Arduino IDE from arduino.cc or by clicking the button for Arduino 1.6.0 (64-bit).
Navigate to your Downloads directory, right click on the downloaded tar file, and select "Extract Here."
If you try and run the Arduino application, you might get an error like "java: not found." Additionally, you may not have avr-gcc installed. So, open a command window, and enter the following:
sudo apt-get install openjdk-6-jre avr-libc gcc-avr
Enter 'y' when asked to install the additional packages.
Update boards.txt
We need to modify a file in the Arduino installation in order to work with the BadgerStick. Download the hardware files for BadgerStick support:
Unzip and navigate to the folder BadgerStick_Support_Files/hardware/arduino/avr. Copy the boards.txt file.
Paste them in \

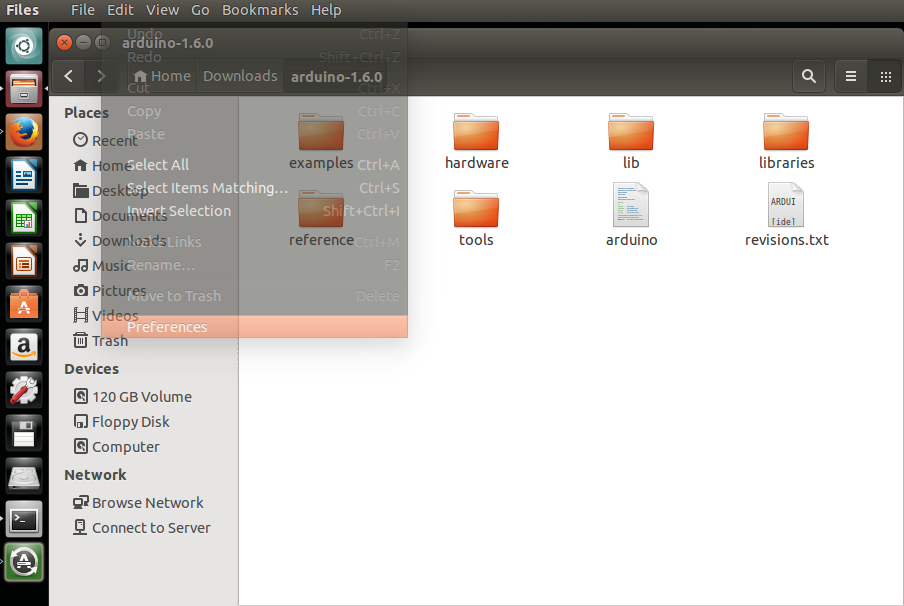
Enable Double-Click to Run Application
To run the Arduino program, you can simply navigate to the downloaded (and extracted) directory, and run the arduino script:
cd ~/Downloads/arduino-1.6.0/
./arduino
To make the script run when you double-click it in a Files window, open up Files, go to Edit → Preferences.
Go to the "Behavior" tab, and select "Ask each time."
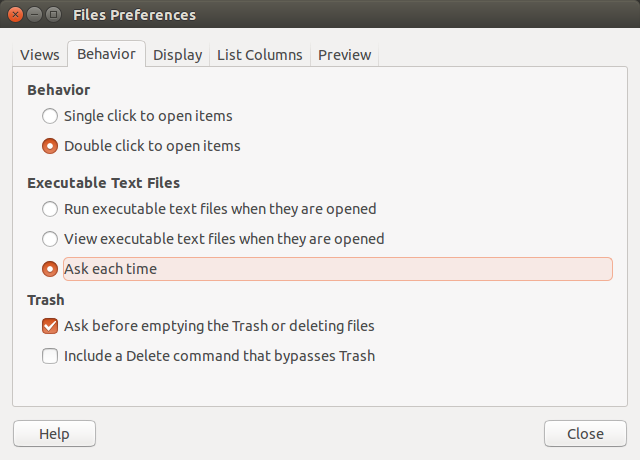
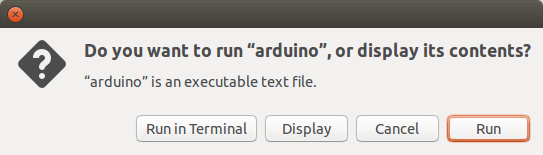
Close the Preferences window, and double-click the arduino script. You will be asked what to do. Select "Run" to start the Arduino application.
That's it! Move on to the "Install Libraries" section.
Install Libraries
Now that the Arduino IDE is installed and configured, we need 2 important libraries for controlling the LED array. The following steps use screenshots from Windows, but the steps are the same for all operating systems.
Install the Chaplex Library
Charlieplexing is a slick way to control many LEDs with only a few input/ouptut (IO) pins. We rely on the Arduino Chaplex library to do much of this for us. Download the library to get started.
Run the Arduino IDE, and select Sketch → Import Library... → Add Library...
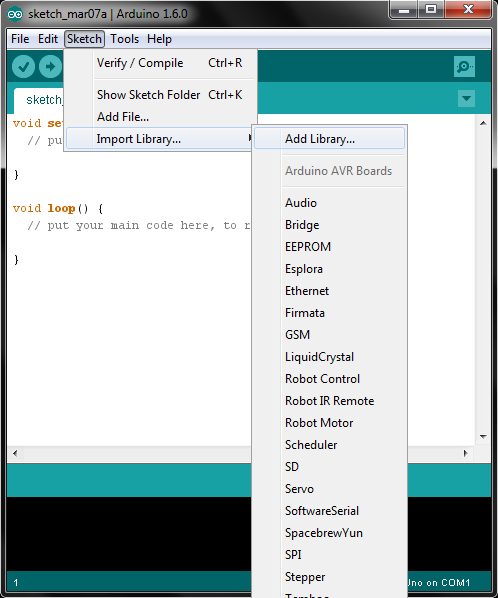
Find the Chaplex.zip file you just downloaded, select it, and click open.
Install LED Array Library
We built a library on top of the Chaplex library that will let you draw shapes and text to the LED array with ease. Download that library here:
In the Arduino IDE, select Sketch → Import Library... → Add Library... Find the SparkFun_LED_8x7.zip file you just downloaded, select it, and click open.
Your First Badger Hack
Plug your BadgerStick (with the LED array attached) into any available USB port on your computer. Open the Arduino IDE, and you will be presented with a template sketch.
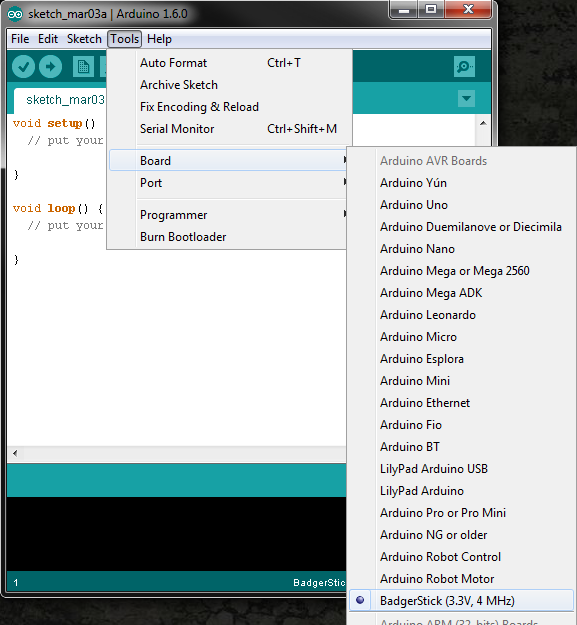
Go to Tools → Board, and select the BadgerStick (3.3V, 4 MHz).
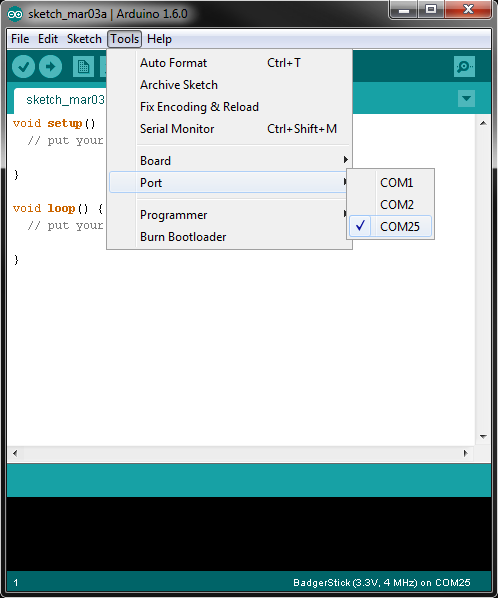
Go to Tools → Port, and select the COM port that is associated with your BadgerStick (e.g. COM25 in the example screenshot).
Now, we get to write some code! In the Arduino IDE, copy in the following code:
language:c
#include <SparkFun_LED_8x7.h>
#include <Chaplex.h>

// Global variables
static byte led_pins[] = {2, 3, 4, 5, 6, 7, 8, 9}; // Pins for LEDs

void setup() {

  // Initialize LED array
  Plex.init(led_pins);

  // Clear display
  Plex.clear();
  Plex.display();
}

void loop() {

  // Scroll text 1 time
  Plex.scrollText("Hello world", 1);

  // Wait 7 seconds to let the text finish scrolling
  delay(7000);

  // Stop scrolling the text
  Plex.stopScrolling();
  delay(2000);
}
Notice that we had to include both the SparkFun_LED_8x7 library and Chaplex library in the code. We initialized the LED display (lovingly called "Plex") and scroll the phrase "Hello world" across the screen once, wait 2 seconds, and repeat.
Press the "Upload" button in the top left of the Arduino IDE to compile and send the program to the BadgerStick. If you are asked to save the file, you can choose to save your current project, or just press "Cancel" to continue uploading (without saving).
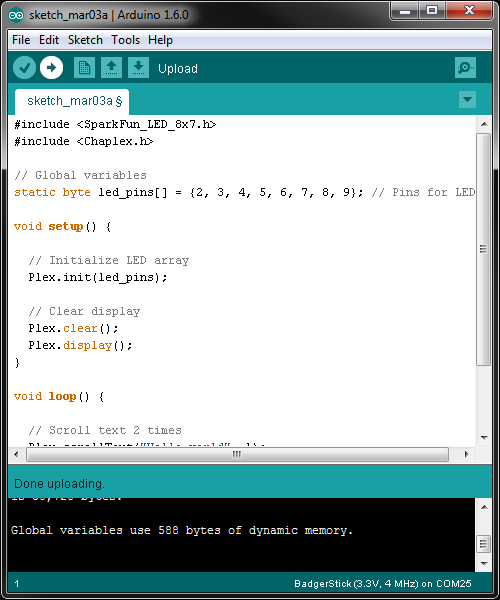
Wait while the IDE compiles and uploads the code. Once it finishes, you should see some pretty text scrolling across your LED array!
Let's make some shapes! The SparkFun_LED_8x7 library is also capable of creating basic shapes. Delete the code you have in the current Arduino window, and copy in the following:
language:c
#include <SparkFun_LED_8x7.h>
#include <Chaplex.h>

// Global variables
byte led_pins[] = {2, 3, 4, 5, 6, 7, 8, 9}; // Pins for LEDs
byte i;

void setup() {

  // Initialize and clear display
  Plex.init(led_pins);
  Plex.clear();
  Plex.display();
}

void loop() {

  // Clear the display buffer
  Plex.clear();

  // Draw a line (x0, y0, y1, y1)
  Plex.line(1, 4, 1, 6);

  // Draw a rectangle (x, y, width, height)
  Plex.rect(0, 0, 3, 3);

  // Draw a filled circle (x, y, radius)
  Plex.circleFill(5, 4, 2);

  // Display our shapes and wait a second before repeating
  Plex.display();
  delay(1000);
}
Upload the new code, and your LED board should show some fun shapes.