Re-Programming the LilyTiny / LilyTwinkle
 bri_huang
Tiny AVR Programmer
Drivers
Follow the hook-up guide for the Tiny AVR programmer. For Windows / PC users, there are a few driver files that you'll need. For Mac / OS X users, the Tiny AVR Programmer should be plug-and-play ready.
Tiny AVR Programmer Hookup Guide
Hardware Hookup
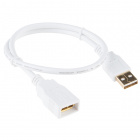
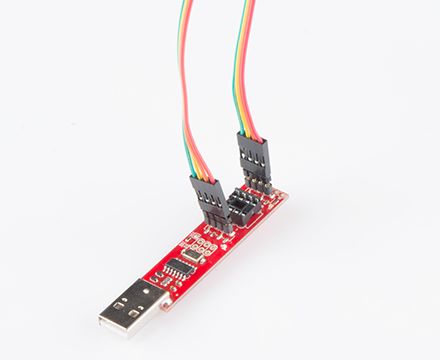
While the photos show us using the 4-wire ribbon cables and the straight pin break-away headers to connect the SOIC clip to the Tiny AVR Programmer, we have found that the straight pin break-away headers (or any square pins) do not sit into the Tiny AVR Programmer very well. Instead, we recommend using the 12" Male-to-Female jumper wires to connect the SOIC clip to the Tiny AVR Programmer.
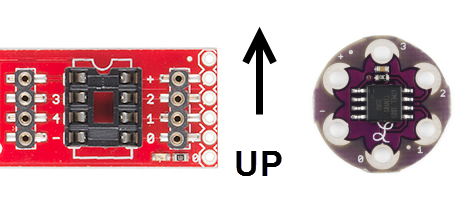
Make sure that the left side pins on the programmer are wired to the left side of the clip and the right side pins are wired to the right side of the clip. When you clip this onto the LilyTiny, make sure that the chip is right-side up. There are a few distinguishing marks to identify which way is up. On the programmer, there is a notch where an 8-pin chip would go. This should be up. And, on the LilyTiny, the Lilypad script "L" should be on the bottom.
When you are finished connecting the Tiny AVR Programmer to the ATtiny85, it should look similar to the image below.
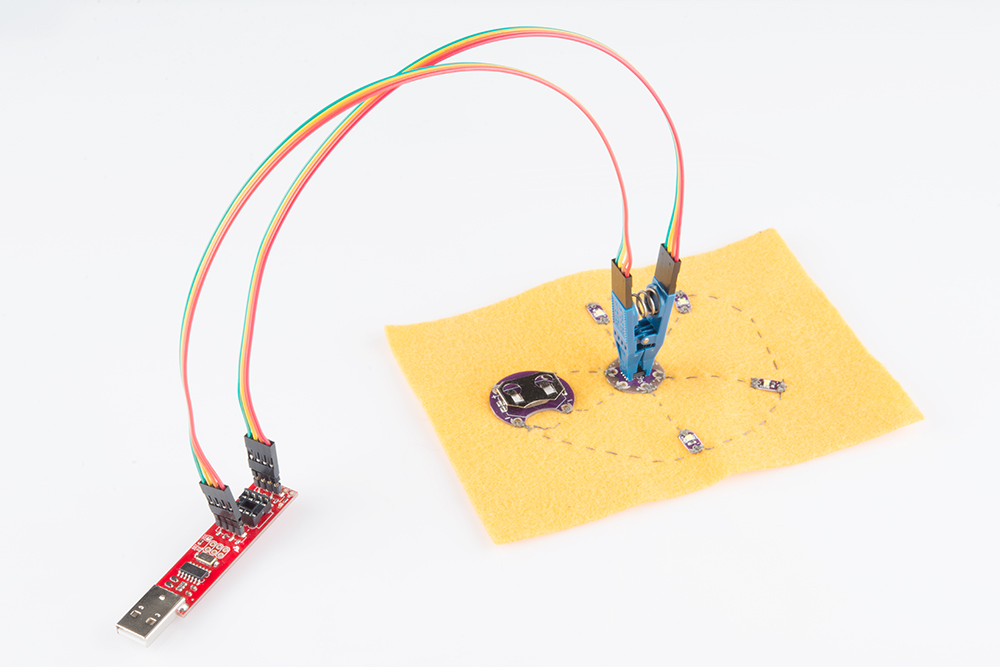
You are now ready to re-program the LilyTiny or LilyTwinkle! The last step is to insert the Tiny AVR Programmer to your computer's USB port to begin programming.