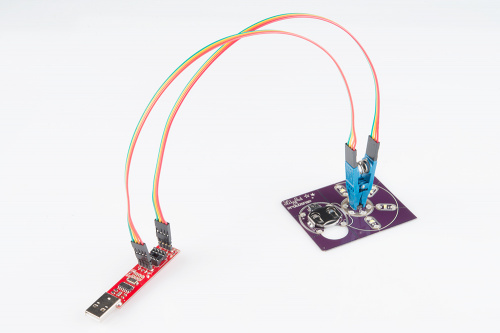
Re-Programming the LilyTiny / LilyTwinkle
Introduction
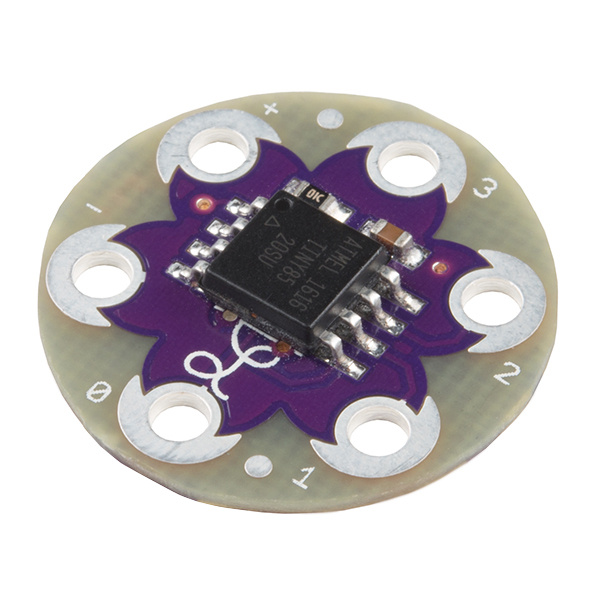
The LilyTiny (and LilyTwinkle) are both great, low-cost, sew-able microcontrollers for eTextile projects. For most projects that only need to interface to a small number of LEDs or sensors, the LilyTiny is a great option.
The LilyTiny has 6 petals. Two are reserved for power(+) and ground(-). The other four are general purpose I/O pins (GPIOs). The LilyTiny is pre-loaded with a sample sketch which shows a variety of LED patterns on each of the pins:
- "breathing" pattern (pin 0)
- heartbeat pattern (pin 1)
- simple on-off blink (pin 2)
- random fade (pin 3)
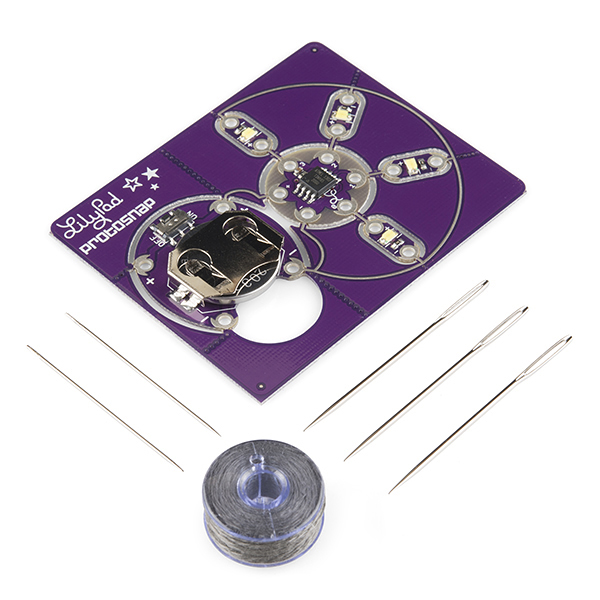
LilyTwinkle ProtoSnap
DEV-11590This is a great place to start, but the only way to re-program one of these boards is to use an AVR Programmer and an ISP Pogo Pin Adapter to connect to the 6 exposed pins on the bottom of the LilyTiny board.
This is okay if you haven't already sewn your board into your project. If you have, we can still re-program your board. This tutorial will show you exactly how to accomplish this.
Required Materials
To follow along with this tutorial, you will need the following materials. You may not need everything though depending on what you have. Add it to your cart, read through the guide, and adjust the cart as necessary.
- 1x 8-Pin SOIC IC Test Clip
- 8x Male to Female Jumper Wires
- 1x Tiny AVR ISP Programmer
- 1x LilyTiny (or LilyTwinkle) to reprogram. The Protosnap LilyTwinkle Kit is a great option for beginners!
- 1x USB Extension Cable (Optional, but recommended)
Tiny AVR Programmer
PGM-11801USB Cable Extension - 1.5 Foot
CAB-13309There are a couple of ways to re-program your board. We will focus on one of the easiest methods here -- using the Tiny AVR Programming stick.
