Qwiic Shield for Arduino & Photon Hookup Guide
Contributors:
 Englandsaurus
Hardware Assembly
To get started with your Qwiic shield, all you'll need to do is solder on headers. For a detailed description of how to do this with Arduino shields, simply check out our Arduino shield tutorial. It'll get you started with attaching those headers to your shield properly. These tips are also useful when installing the headers for the Qwiic shield for Photon.
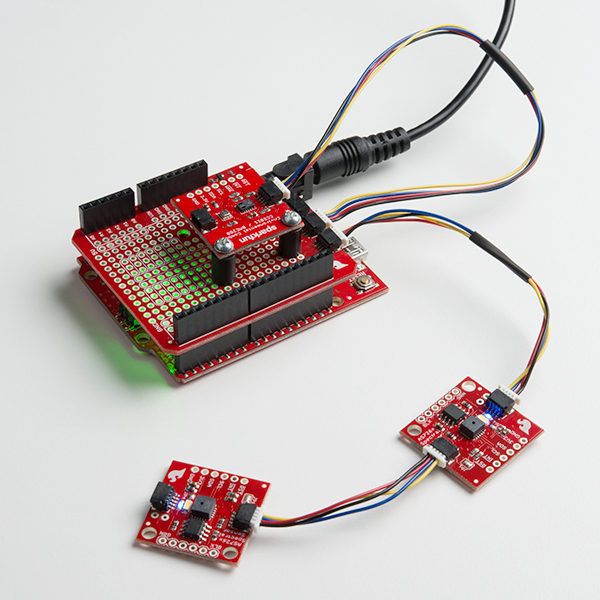
Once you've attached headers to your Qwiic shield, you're ready to plug it into your Qwiic enabled board of choice. Below is an example of a few Qwiic sensors daisy chained to the Qwiic shield for Arduino. If you need to mount a Qwiic sensor, just grab a few standoffs and screws. Plug in any Qwiic enabled board and get going!
