Qwiic pHAT for Raspberry Pi Hookup Guide
Hardware Overview
There are two pHAT versions out in the wild! Overall, they function the same to Qwiic-ly connect your I2C devices to your single board computer. However, there are small differences between the two boards. Click on one of the images below to explore the hardware for your respective Qwiic pHAT.
 |
 |
| Qwiic pHAT v2.0 | Qwiic pHAT v1.0 |
Qwiic pHAT v2.0
I2C Pins
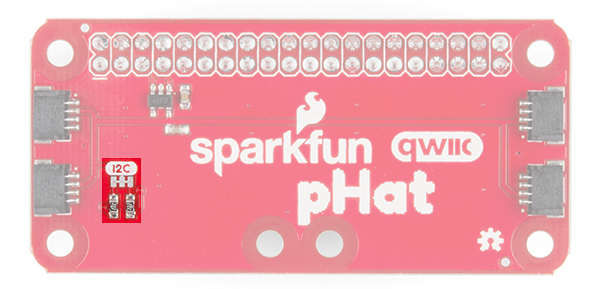
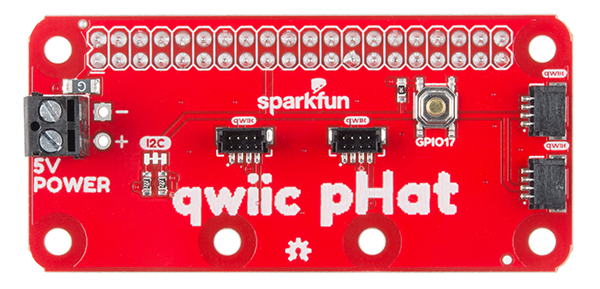
The Qwiic pHAT has 4x Qwiic connect ports, all on the same I2C bus. There are two vertical Qwiic connectors located at the center and two horizontal connectors on the right side.
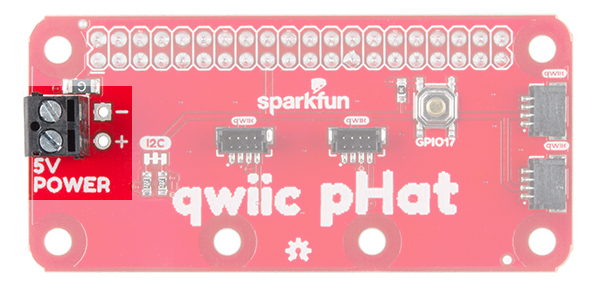
5V Power
If you need to power a device with 5V, we have broken out the Raspberry Pi's 5V and GND pins on the side with a screw terminal. Depending on your project, you can also solder to the PTH pads.
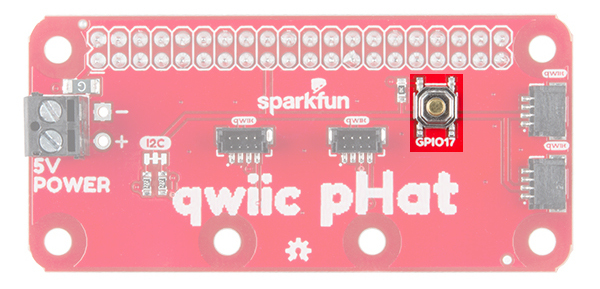
General Purpose Button
Included on the board is a general purpose button connected to GPIO17. You can use the button however you would like but we found it useful to shutdown or reboot a Raspberry Pi with a Python script.
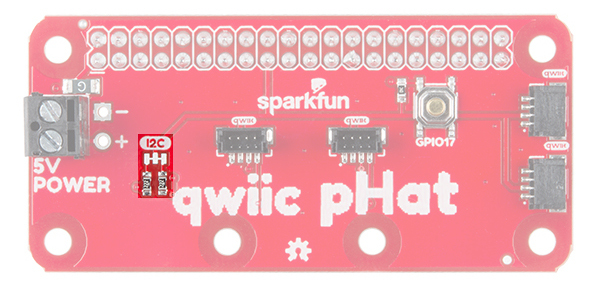
Jumpers
There are built-in pull-up resistors on board. If necessary, you can cut the traces to disable depending on the number of boards connected to the I2C bus.
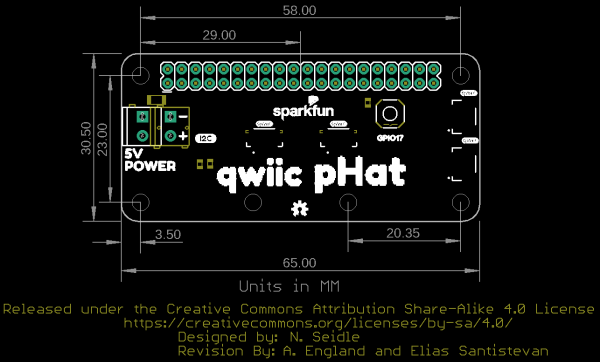
Board Dimensions
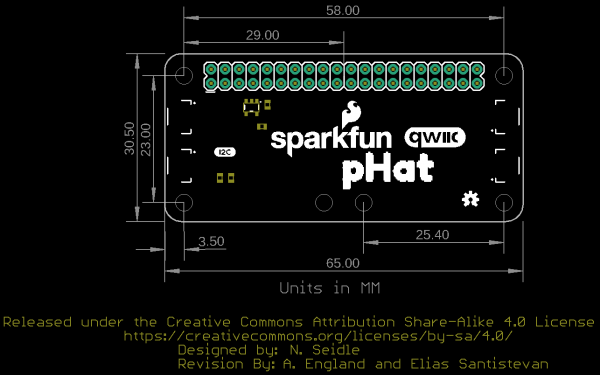
The board is about 65.00mm x 30.50mm. There are six mounting holes on the board. Two pairs of mounting holes were optimized to easily mount Qwiic devices that have the standard 1.0"x1.0" sized board.
Qwiic pHAT v1.0
I2C Pins
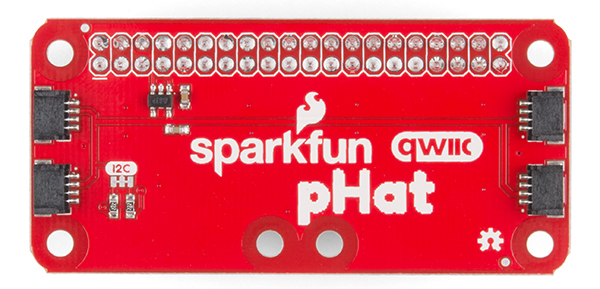
The Qwiic pHAT has 4x Qwiic connect ports, all on the same I2C bus. A 3.3V regulator is included to regulate voltage down for any Qwiic boards connected.
Jumpers
There are built-in pull-up resistors on board. If necessary, you can cut the traces to disable depending on the number of boards connected to the I2C bus.
Board Dimensions
The board is about 65.00mm x 30.50mm. There are six mounting holes on the board.
