Qwiic pHAT for Raspberry Pi Hookup Guide
 bboyho,
  Englandsaurus
 Hardware Assembly
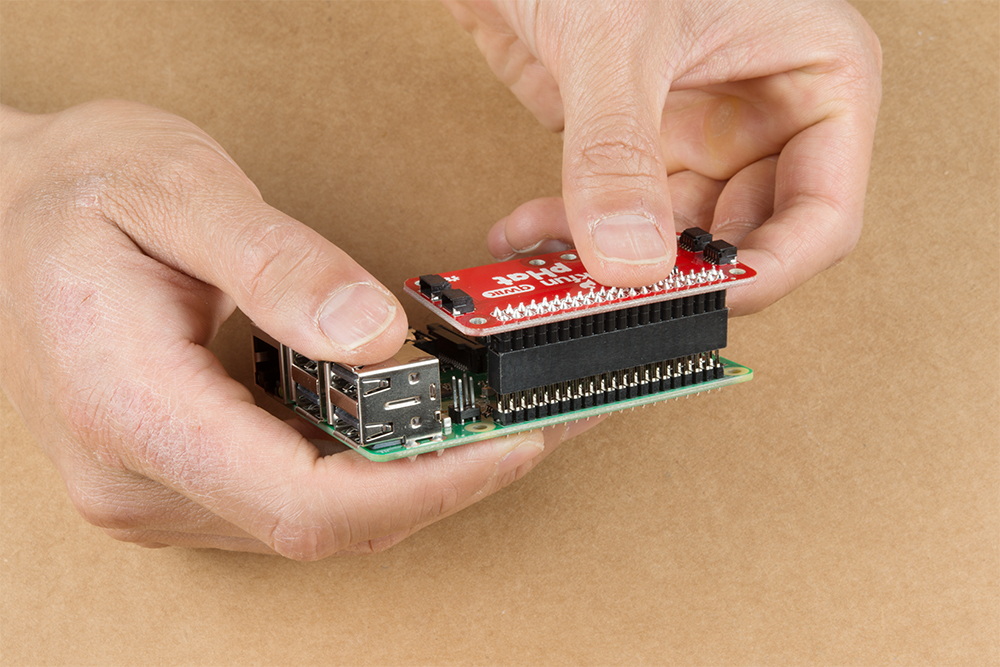
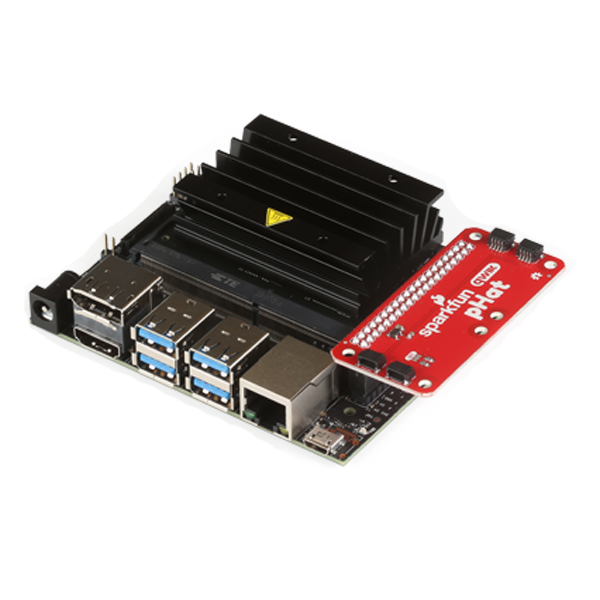
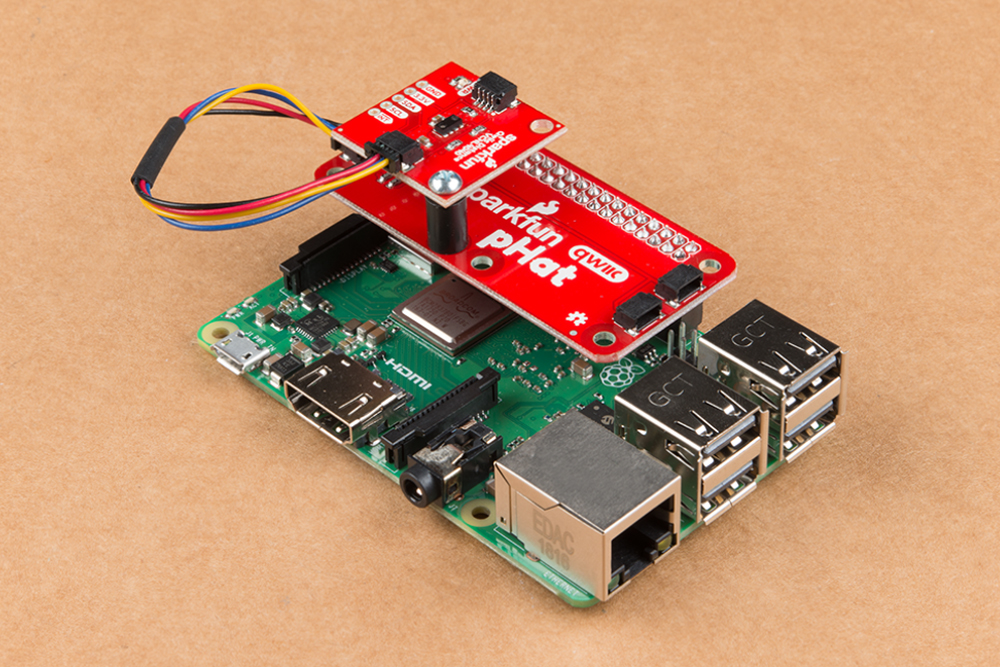
To get started with your Qwiic pHAT, simply plug it into the headers on the Raspberry Pi with the letters facing you. We'll use the Qwiic pHAT v1.0 in the following images to connect a Qwiic device.
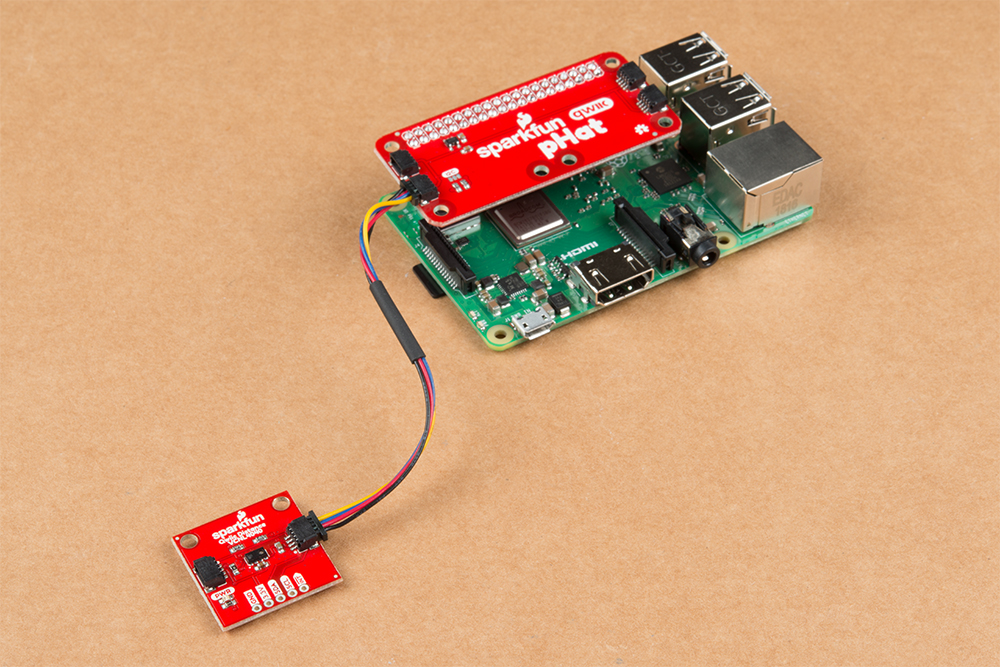
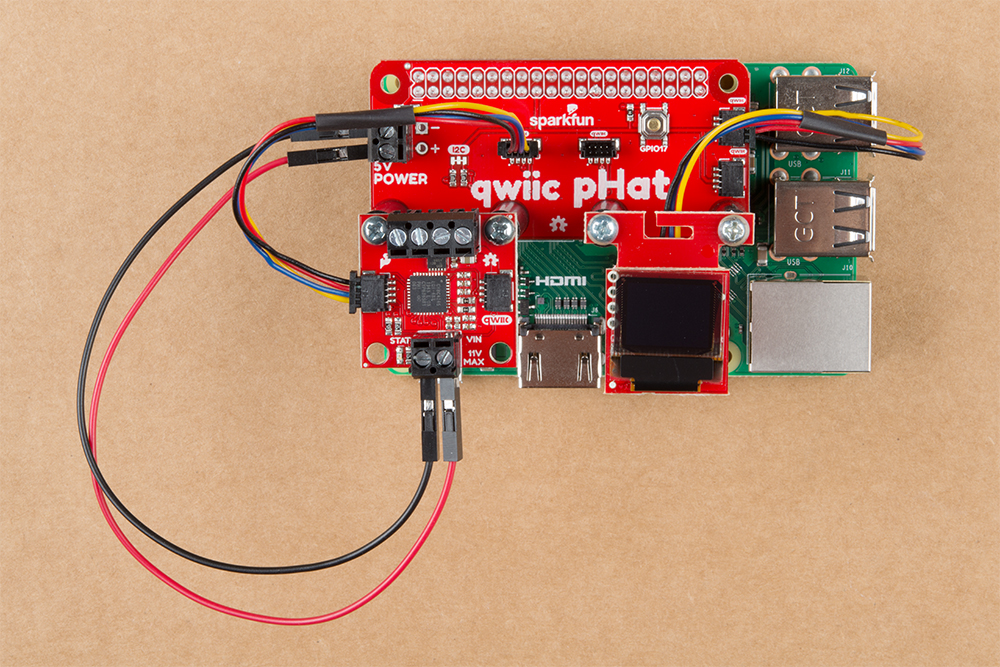
Once the pHAT is plugged in, you can start plugging in any Qwiic enabled sensors.
Standoffs and Mounting Holes
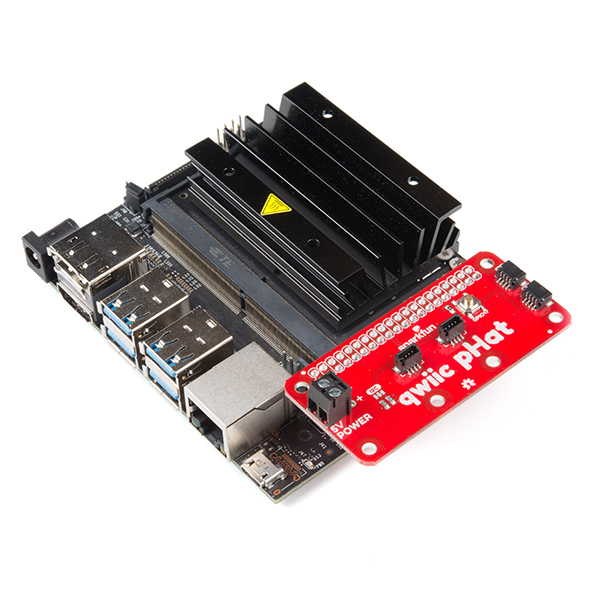
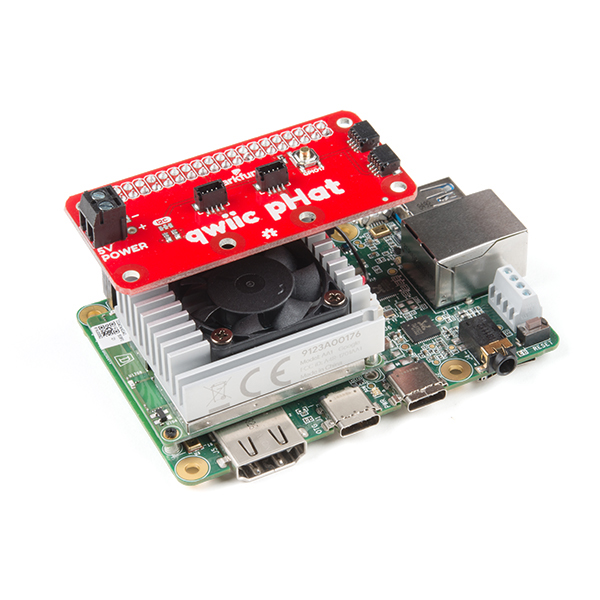
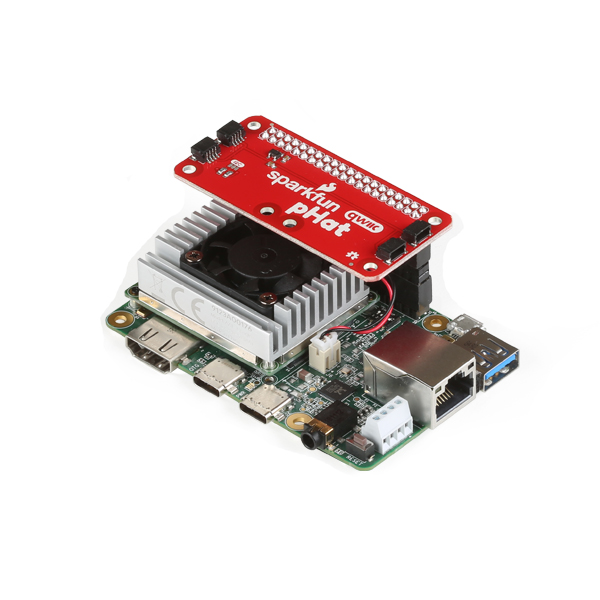
Depending on your project, you can mount a qwiic enabled board on the mounting holes using standoffs. Below are two images showing Qwiic devices mounted on each version of the Qwiic pHAT.
 |
 |
| Qwiic Devices Mounted on v2.0 | Qwiic Device Mounted on v1.0 |
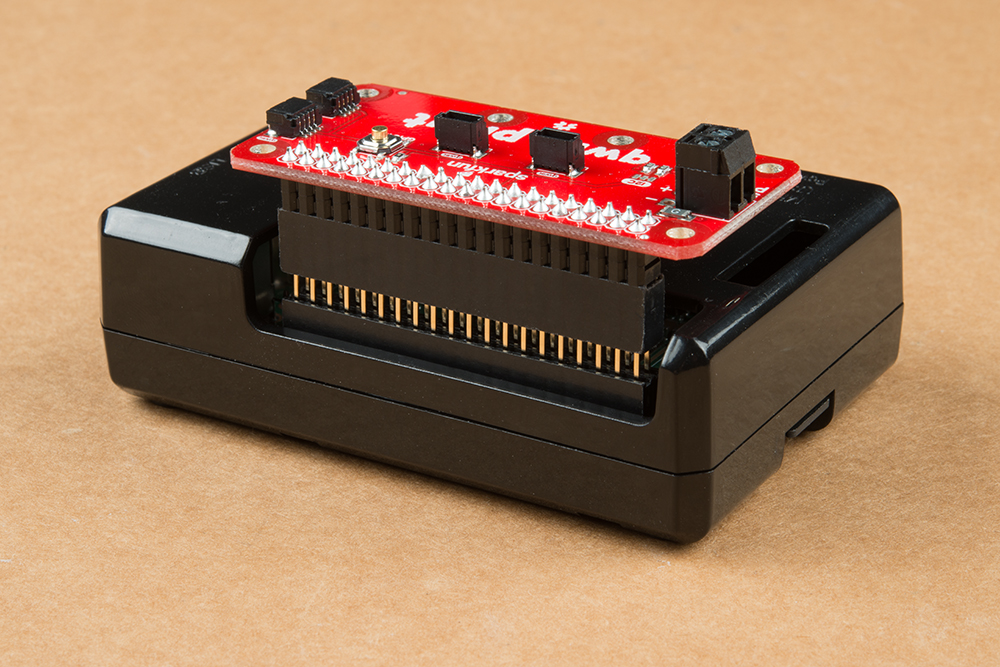
Stackable Headers
When placing a Raspberry Pi and the pHat in an enclosure (like the Pi Tin), we noticed that the pHAT was not fully inserted in Pi's header pins. You will need an additional pair of stackable headers for a secure connection depending on your enclosure. Otherwise, the original Qwiic HAT would be better if you need to using the boards in an enclosure.