Qwiic pHAT for Raspberry Pi Hookup Guide
Introduction
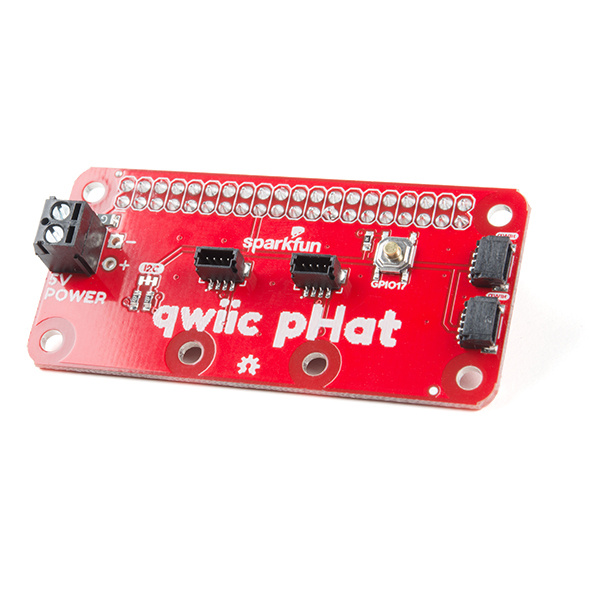
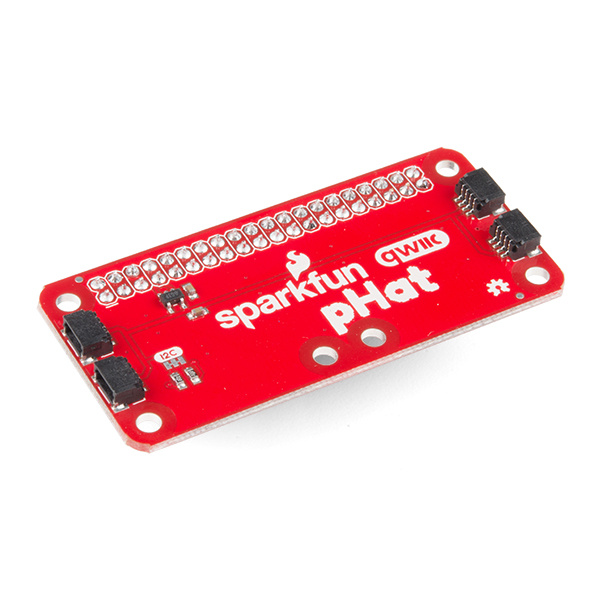
This Qwiic pHAT [v2.0 and v1.0] for Raspberry Pi is based on the Qwiic Hat. The board is the quickest and easiest way to utilize SparkFun's Qwiic ecosystem while still using that Raspberry Pi that you've come to know and love. This Qwiic pHAT connects the I2C bus (GND, 3.3V, SDA, and SCL) on your Raspberry Pi to an array of Qwiic connectors. Since the Qwiic system allows for daisy chaining (as long as your devices are on different addresses), you can stack as many sensors as you'd like to create a tower of sensing power!
SparkFun Qwiic pHAT for Raspberry Pi
DEV-15351Required Materials
To follow along with this tutorial, you will need the following materials. You may not need everything though depending on what you have. Add it to your cart, read through the guide, and adjust the cart as necessary.
Single Board Computer
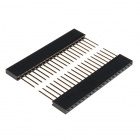
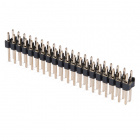
You will need Raspberry Pi with 2x20 male headers installed. For those that are using an enclosure with the Raspberry Pi, you'll want to get two rows of 1x20 stackable headers in order to help extend the pins outside of the enclosure.
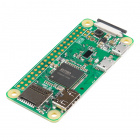
A Pi Zero W will also work but you will need to make sure to solder some male headers to it.
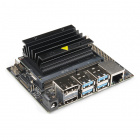
Or you could stack it on any single board computer (like the NVIDIA Jetson Nano) that utilizes the 40-pin Raspberry Pi header footprint.
NVIDIA Jetson Nano Developer Kit
DEV-15297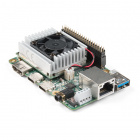
Google Coral Development Board
DEV-15318Qwiic Board
Now you probably didn't buy the Qwiic pHAT if you didn't have any Qwiic products to use with it, right? If you don't have any Qwiic products, the following might not be a bad place to start.
Finally, you'll need our handy Qwiic cables to easily connect sensors to your Qwiic pHAT. Below are a few options.
Qwiic Cable - 100mm
PRT-14427Qwiic Cable - 50mm
PRT-14426Qwiic Cable - 200mm
PRT-14428Qwiic Cable - 500mm
PRT-14429Required Setup Tools
As a desktop, these devices are required:
- USB Mouse
- USB Keyboard
- HDMI monitor/TV/adapted VGA
- 5V Power Supply
Suggested Reading
If you aren't familiar with the Qwiic system, we recommend reading here for an overview.
| Qwiic Connect System |
We would also recommend taking a look at the following tutorials if you aren't familiar with them.
