Qwiic Accelerometer (MMA8452Q) Hookup Guide
 Englandsaurus
Hardware Overview
Let's look over a few characteristics of the MMA8452Q sensor so we know a bit more about how it behaves.
| Characteristic | Range |
|---|---|
| Operating Voltage | 1.95V - 3.6V |
| Current | 7-165 µA |
| Measurement Range | ±2g, ±4g, ±8g |
| I2C Address | 0x1D (open jumper, default) or 0x1C (closed jumper) |
Pins
The characteristics of the available pins on the MMA8452Q are outlined in the table below.
| Pin Label | Pin Function | Input/Output | Notes |
|---|---|---|---|
| 3.3V | Power Supply | Input | Should be between 1.95 - 3.6V |
| SDA | I2C Data Signal | Bi-directional | Bi-directional data line. Voltage should not exceed power supply (e.g. 3.3V). |
| SCL | I2C Clock Signal | Input | Master-controlled clock signal. Voltage should not exceed power supply (e.g. 3.3V). |
| INT2 | Interrupt 2 | Output | Programmable interrupt — can indicate data ready, orientation change, tap, and more. |
| INT1 | Interrupt 1 | Output | Programmable interrupt — can indicate data ready, orientation change, tap, and more. |
| GND | Ground | Input | 0V/common voltage. |
Optional Features
Pull-Up Resistors Jumper
The Qwiic Accelerometer has onboard I2C pull up resistors; if multiple sensors are connected to the bus with the pull-up resistors enabled, the parallel equivalent resistance will create too strong of a pull-up for the bus to operate correctly. As a general rule of thumb, disable all but one pair of pull-up resistors if multiple devices are connected to the bus. If you need to disconnect the pull up resistors they can be removed by removing the solder on the corresponding jumpers highlighted below.

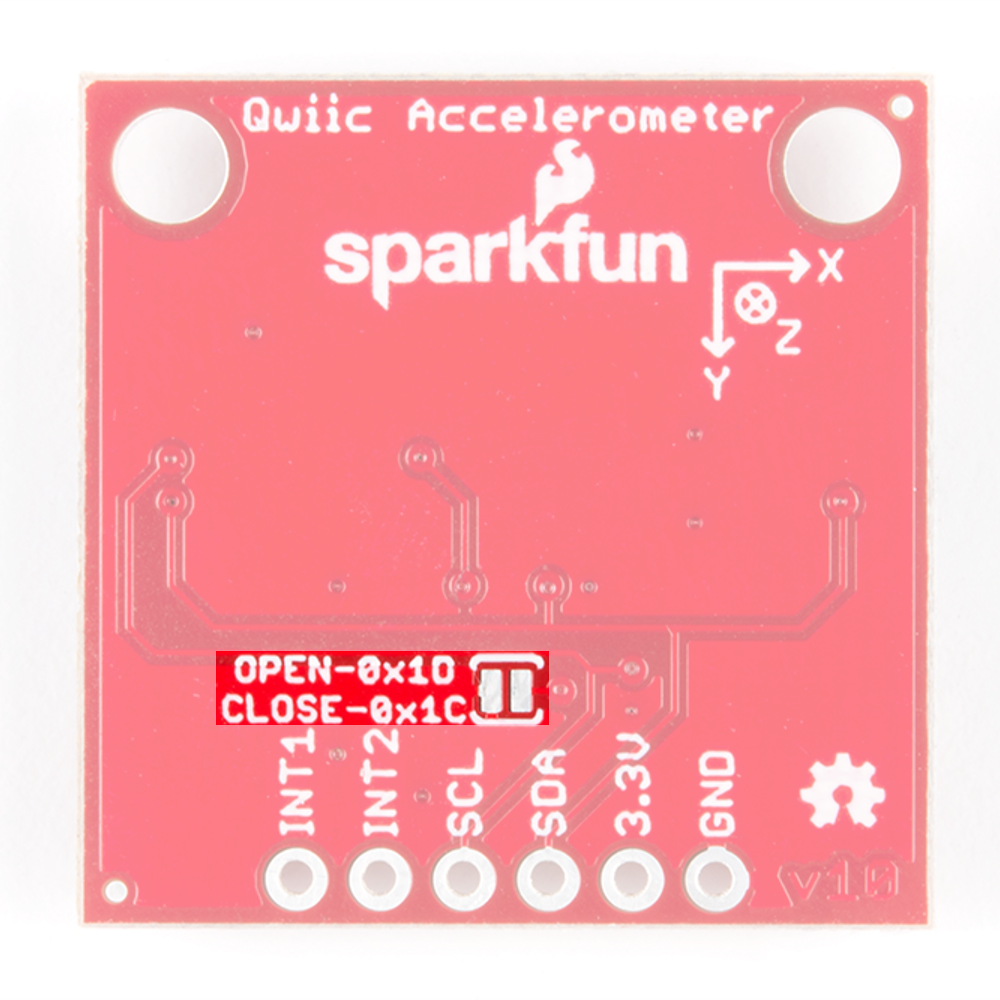
Address Select Jumper
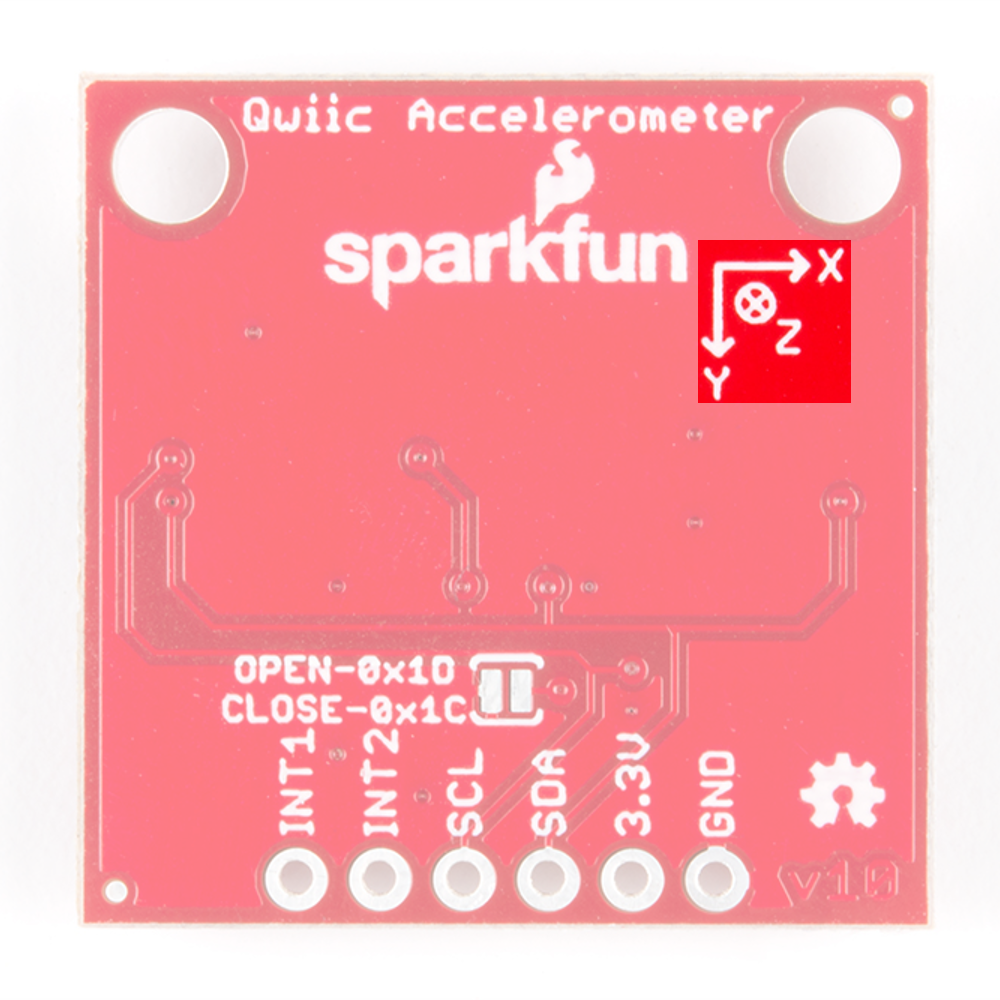
There is an additional jumper on the back of the board that allows the I2C to be changed from the default 0x1D to 0x1C if you have multiple accelerometers on the same I2C bus. However, if you have more than 2 accelerometers, you'll need the Qwiic Mux to have them all on the same I2C bus. The jumper is highlighted below. Normally open, the jumper sets the I2C address to 0x1D. Closing the jumper with solder will give an I2C address of 0x1C.
Axis Reference
Also be sure to check out the labeling on the back of the board that indicates the orientation of the positive X, Y, and Z axes so you know what exactly your data means.