PIR Motion Sensor Hookup Guide
Introduction
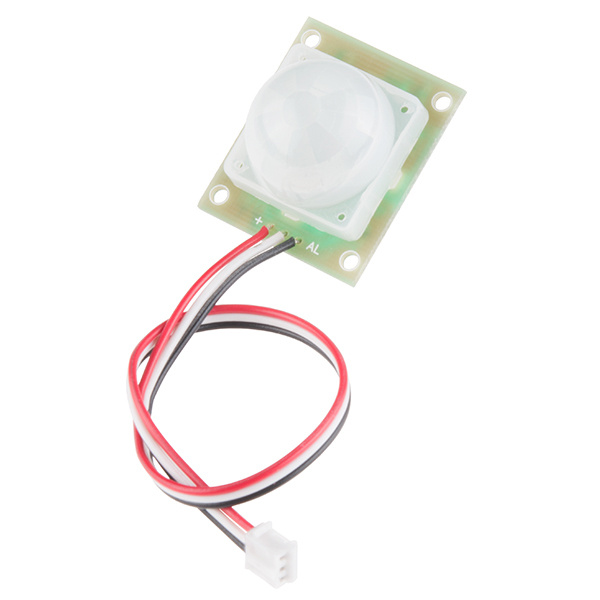
Passive infrared (PIR) sensors are motion-detecting devices used in security systems across the world -- even though you may not see them, they probably see you!
Using the PIR sensor is simple: power it up, connect a pull-up resistor to the open-collector signal pin, and watch for it to go low. The PIR can sense abrupt changes in scenery as far as 10 feet (~3m) away. Once your microcontroller is sensing movement, it can trigger a buzzer, text message, tweet, or a klaxon.
Suggested Materials
This tutorial serves as a quick primer on PIR motion sensor and demonstrates how to hook them up and use them. Beyond the sensor itself, the following materials are recommended:
Arduino Uno -- We'll be using a digital pin on the Arduino to read the state of the PIR sensor's signal output. Any Arduino-compatible development platform -- be it a RedBoard, Pro or Pro Mini -- can substitute.
Jumper Wires -- The PIR sensor is terminated with a 3-pin JST cable one of the easier ways to connect this to an Arduino is to plug a few jumper cables into the connector and run them straight to an Arduino.
Beyond those two items, you may want to add a buzzer or large LED to make range testing of the PIR sensor more convenient.
Suggested Reading
PIR sensors are a great entry-level component for beginners, but there are still a few basic electronics concepts you should be familiar with. If any of these tutorial titles sound foreign to you, consider skimming through that content first.


