Photon Wearable Shield Hookup Guide
This Tutorial is Retired!
This tutorial covers concepts or technologies that are no longer current. It's still here for you to read and enjoy, but may not be as useful as our newest tutorials.
 HelloTechie
Introduction
The SparkFun Photon Wearable Shield breaks out each pin on the Photon, so it is easier to use the Photon in WiFi wearables projects. Due to the large pins, you can also use other conductive materials like copper tape and conductive paint for non-wearable projects.
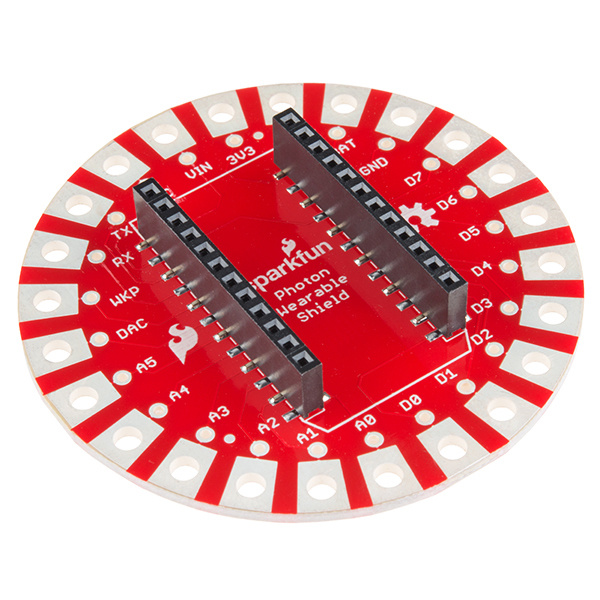
SparkFun Photon Wearable Shield
DEV-13328Suggested Reading
If you have never worked with the Photon or the Core before, we highly recommend visiting the getting started documentation available on the Particle site.
If you are unfamiliar with any of the concepts below, we suggest checking out those tutorials as well.
Hardware Overview
This might be a simple shield for the Photon, but you can use it in many different types of projects! Here is a list of hardware features for this shield.
Female Headers for the Photon
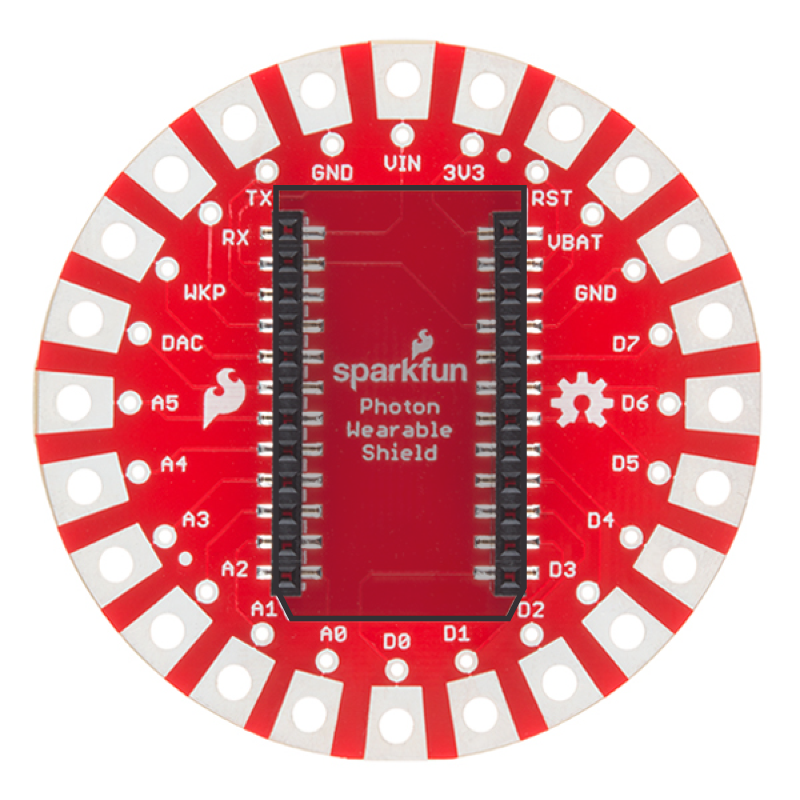
No soldering required! The shield comes with two SMD headers already soldered on, which makes easy to place the Photon on top and start a new project. There is a white Photon silkscreen outline to help show what direction the Photon needs to be placed.
Large Sewable Pins
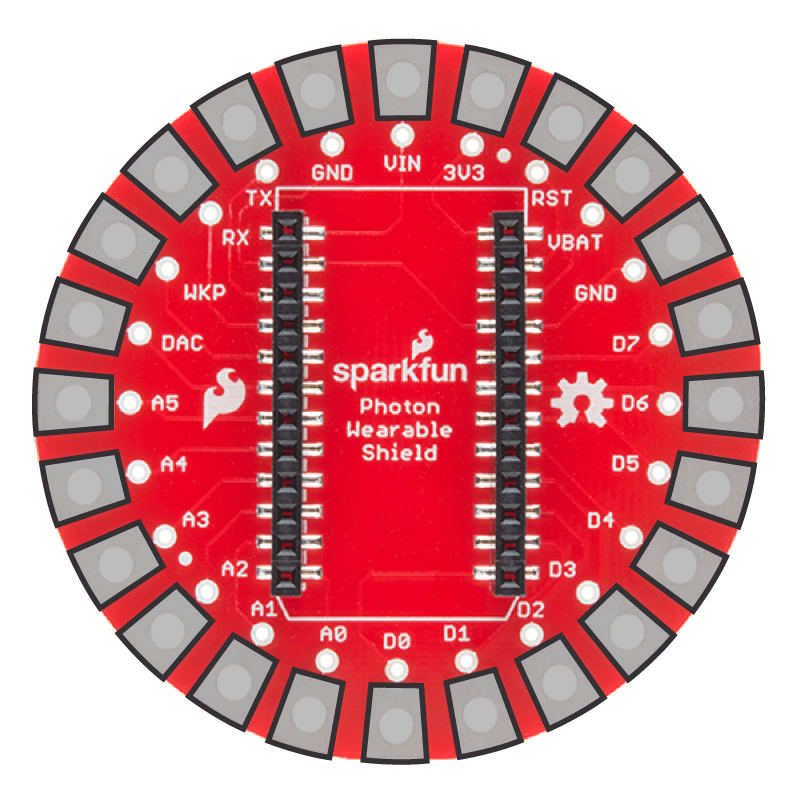
The larger pins makes it possible to use different types of conductive materials to connect sensors, LEDs, and other components to the Photon. Conductive paint, conductive thread, and copper tape are just few different conductive materials you can use with the large pins. When prototyping, the large pads makes it easy to use alligator clips.

Normal Sized Pins
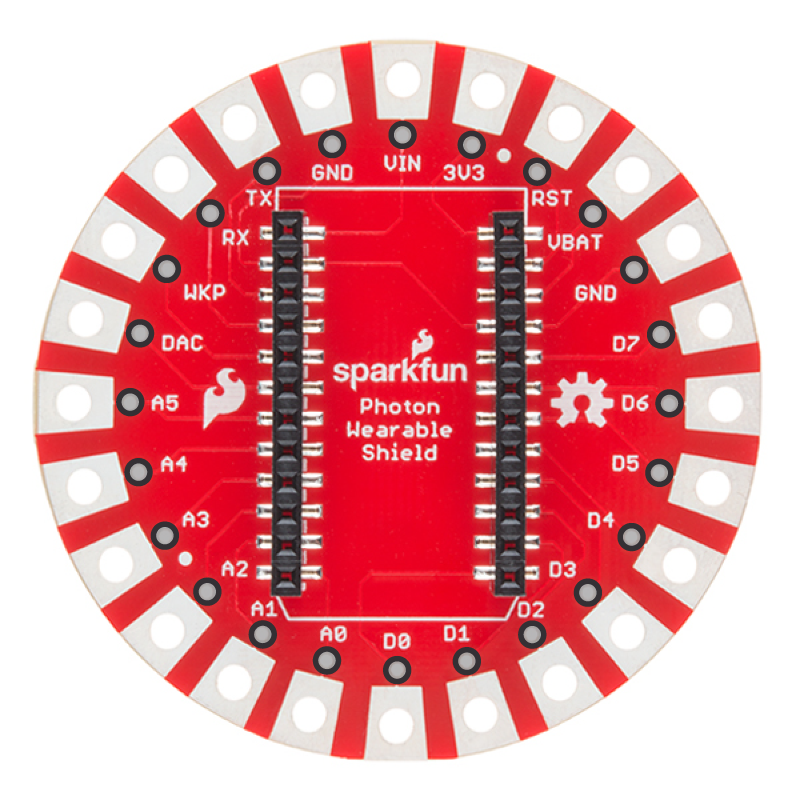
There are normal sized pins for soldering hook-up wire to the shield. Which, is great for projects needing tons of LEDs or a solid connection.
Hardware Hookup (Conductive Thread, Paint, and Tape)
There are different types conductive materials that can be used with the shield. Depending on the project, some materials are better then others. Here are the most common conductive materials to hook-up external components to the shield and the Photon.
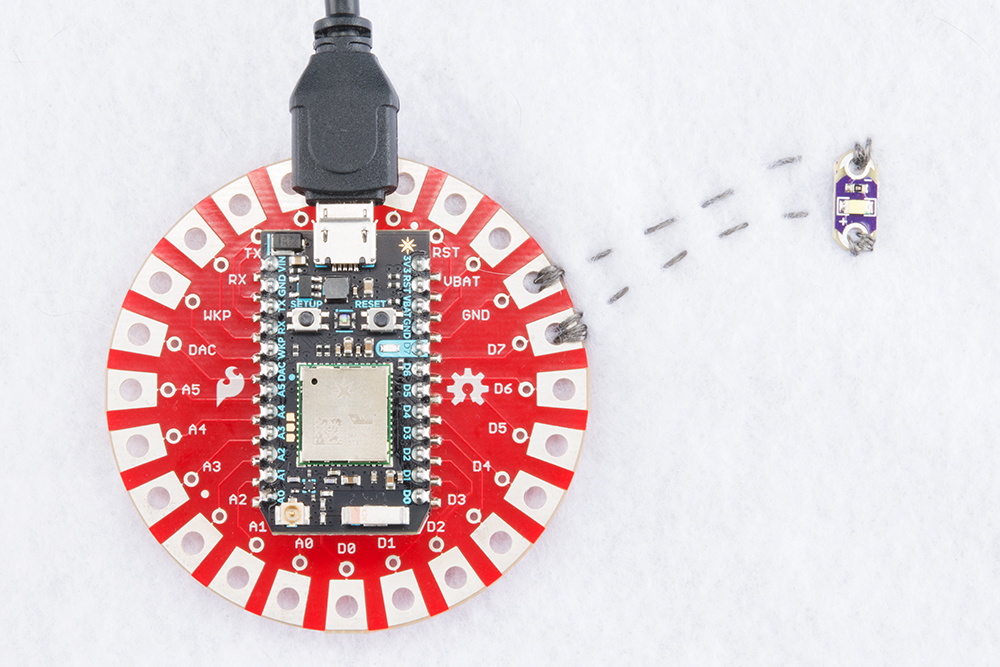
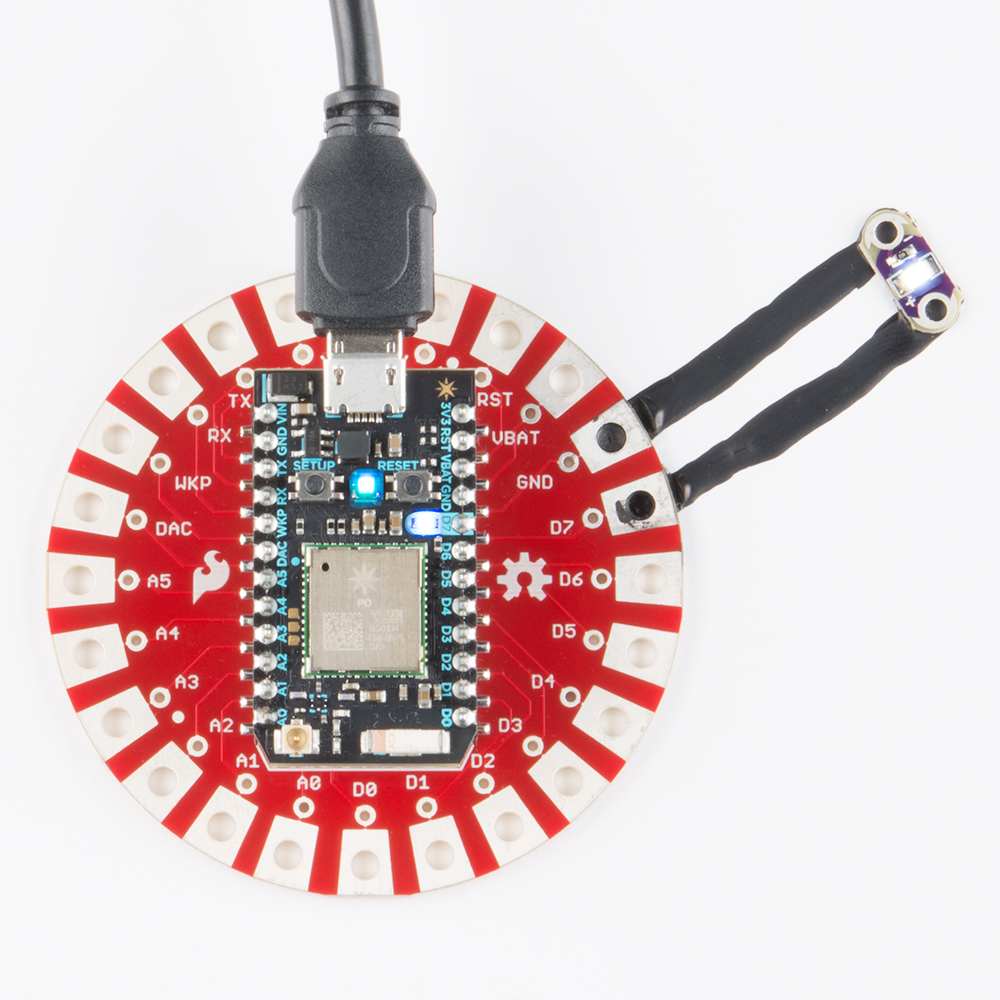
Conductive Thread
Want to make an IoT wearable fitness project and be able to sew an accelerometer into your clothes? Sewing with conductive thread is a great way to add sensors into a wearables or other e-textiles projects. It provides more flexibility then standard hook-up wire.
The Photon can also work with 3.3V LilyPad products like the LilyPad Temperature Sensor, LilyPad Accelerometer, and LilyPad Vibe Board.
Conductive Paint
Thinking of doing an interactive art painting or wall? Conductive paint opens doors for traditional artists and tinkers to combine art and electronics together. The conductive paint can go under or over the large pads on the shield.
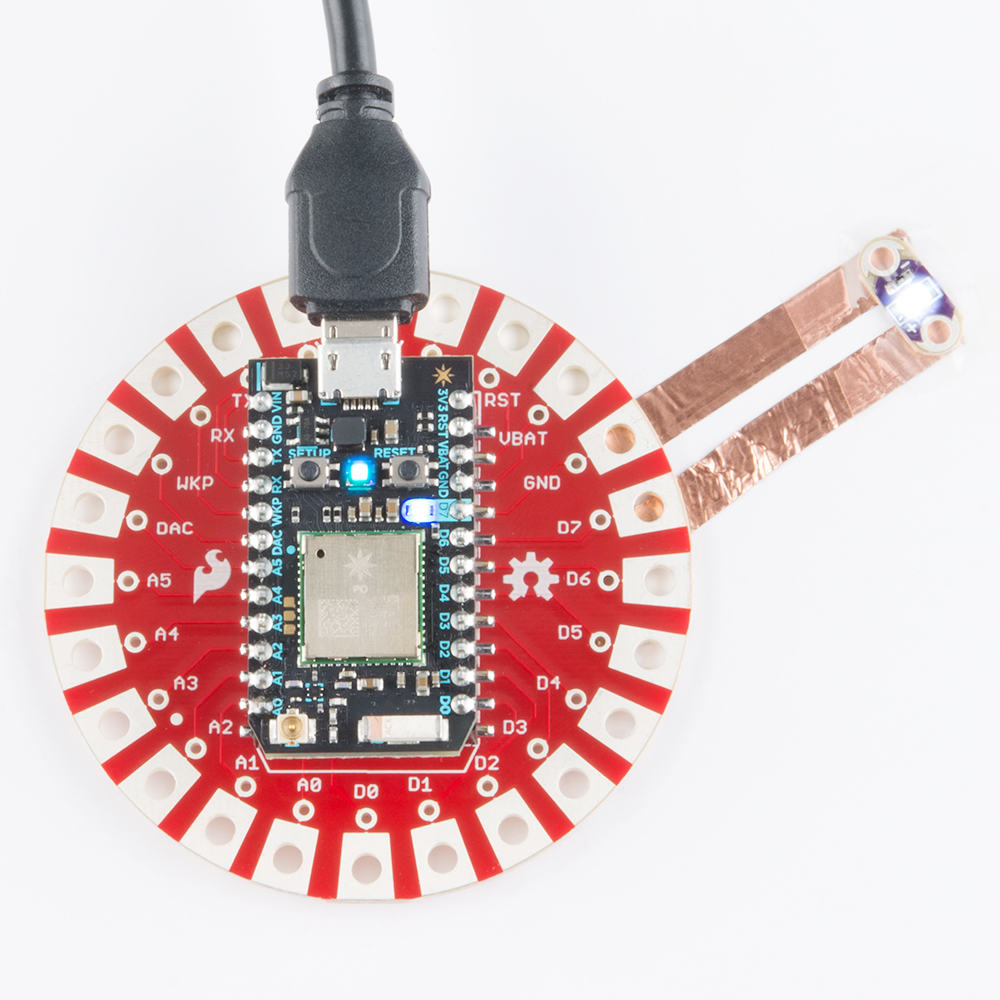
Copper Tape
Copper tape is great for paper crafts or other e-crafts. Copper tape has an adhesive backing, which isn't as conductive as the nonadhesive side. We recommend to place the copper tape under the large pads on the shield.
Resources and Going Further
Now that you know a little bit more about the Photon Wearables Shield, it is time to start your project! These links may be useful in your journey:
- SparkFun Photon Wearables Shield Repo -- this is where to go for the hardware files and documentation.
- Particle Documentation Pages -- go here to set up and configure your Photon (or other Particle devices).
- Particle Community Forum -- anything that you couldn't find in the docs should be easily found in the community forum. If you are having trouble, search this forum first, as many of the answers are there already.
Check out these related wearables tutorials:
LDK Experiment 1: Lighting Up a Basic Circuit
Insulation Techniques for e-Textiles
Bare Conductive Musical Painting
Origami Paper Circuits
The Wearables Shield pairs very well with any of our other Photon Shields; check out our hookup guides for those shields: