Photon Development Guide
 jimblom
ARM GCC and the DFU Bootloader (Offline)
At its heart, the Photon is just an STM32F205 ARM processor with a Broadcom WiFi chip built in. Developing firmware for it doesn't have to be different from any other ARM processor. Plus, because the Photon is completely open source, you have access to all of the firmware to help get you started.
Get The Tools
This is a much more advanced approach than the previous two environments. You'll need to set up a toolchain on your computer to be able to build firmware and flash your Photon.
- GNU Tools for ARM -- Primarily, this includes ARM GCC -- an open-source tool for compiling C and C++ files for ARM processors.
- Make sure your ARM-gcc is up to date. Type the
arm-none-eabi-gcc --versioncommand to get a read on your gcc's version -- make sure it's at least 4.9.3.
- Make sure your ARM-gcc is up to date. Type the
- Make -- To work the makefile magic, you need the "make" tool installed. Mac and Linux users should already have this wonderful tool available, Windows users may need to install it though.
- dfu-util -- The Photon has a USB DFU (device firmware upgrade) bootloader, which allows you to flash code locally. For your computer to communicate with the bootloader, you'll need this utility.
- Windows users may also need to install MinGW and MSYS to get an assortment of programming tools and a simple shell interface.
You may also need to do some re-ordering of your machine's PATH environment variable. This post on Particle's forum was a big help in getting my Windows machine operational, it may help you too.
Download the Photon Firmware
Particle is awesomely open-source, everything from the Photon's hardware layout to the firmware is available to download, view, and modify. You can find it all on their GitHub page.
The Photon's latest firmware release is hosted in the latest branch of the firmware repo. You can download the firmware by either clicking "Download Zip" on that GitHub page, or you can use git via the command line. (Visit git-scm.com to download the git tool.)
git clone https://github.com/spark/firmware.git
cd firmware
git checkout latest
Update the Photon Firmware
Before you can begin flashing an application of your own design, you'll need to update the Photon's firmware. It's easily done, but requires some patience.
Before you type any commands, put your Photon in DFU mode: hold down both the SETUP and RESET buttons. Then release RESET, but hold SETUP until you see the RGB blink yellow. That means the Photon is in DFU mode.
To verify that the Photon is in DFU mode and dfu-util is installed properly, try the dfu-util -l command. You should see a response like this:
Found DFU: [2b04:d006] devnum=0, cfg=1, intf=0, alt=0, name="@Internal Flash /0x08000000/03*016Ka,01*016Kg,01*064Kg,07*128Kg"
Found DFU: [2b04:d006] devnum=0, cfg=1, intf=0, alt=1, name="@DCT Flash /0x00000000/01*016Kg"
The important parts there are the hex values inside the braces -- the USB VID and PID, which should be 2b04 and d006 for the Photon.
Two commands are required to build and flash the firmware: switch to the modules directory then call make with a few parameters to build and upload the firmware:
make PLATFORM=photon clean all program-dfu
Then sit tight as make and then dfu-util work their magic. Be warned this may take a long while.
Navigating the Photon Firmware
The Photon's firmware code base is massive, but it's well sorted. Unless you want to mess with really low-level stuff, you can ignore most directories. The user directory is where the Photon's application code is stored.
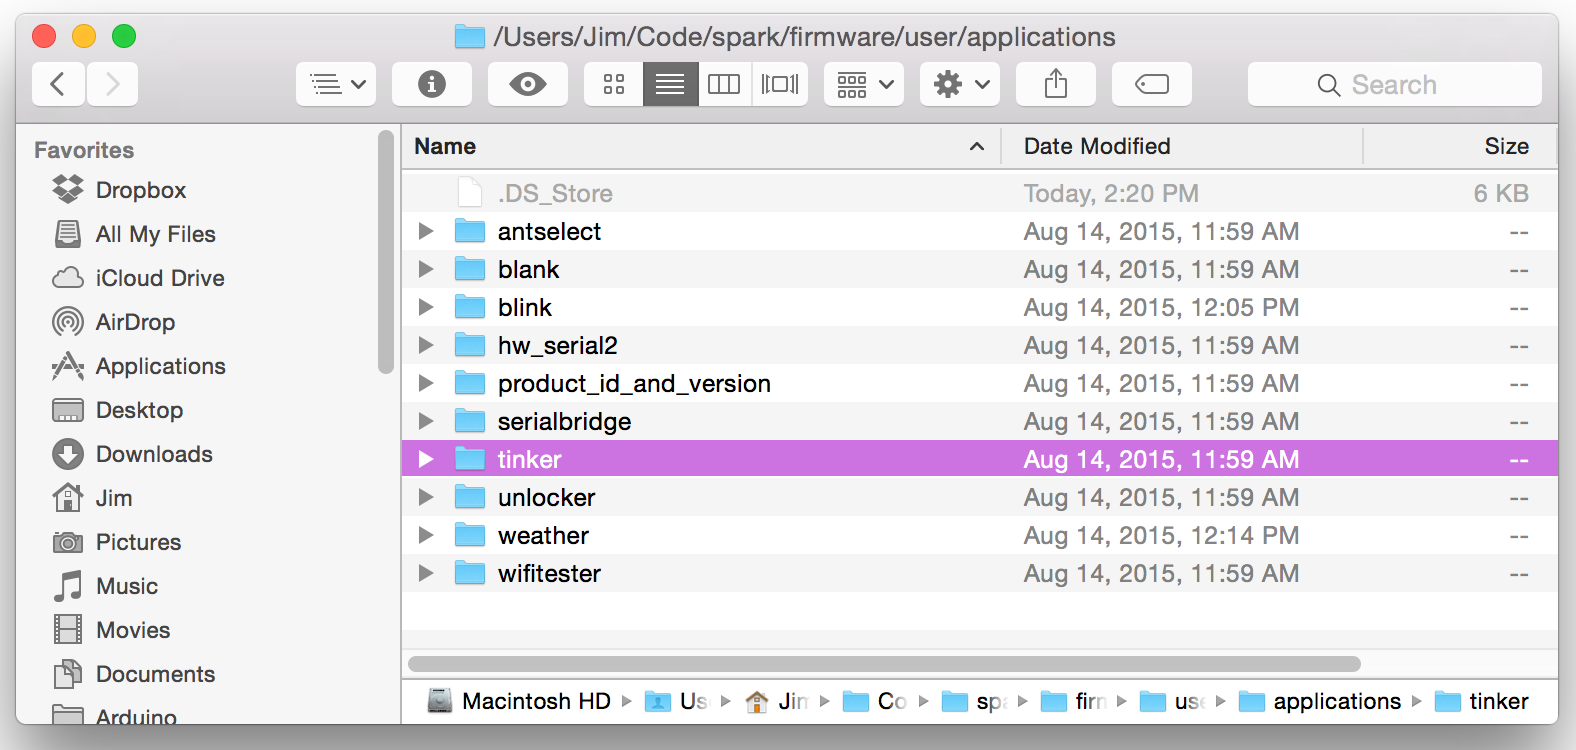
The "src" directory contains the default application to be built. You can either put your application code in here (overwriting "application.cpp") or create a directory of your own in "applications".
There are some example applications in the "applications" folder, including tinker -- the default application every Photon ships with.
As an example of our own, lets create a "blink" directory in "user/applications". Then create a file called "application.cpp".
To code up a simple blink app, copy and paste this into "application.cpp":
#include "application.h"

int ledPin = D7;

void setup()
{
  pinMode(ledPin, OUTPUT);
}

void loop()
{
  digitalWrite(ledPin, HIGH);
  delay(250);
  digitalWrite(ledPin, LOW);
  delay(250);
}
Don't forget to #include "application.h", other than that your code will look a lot like any other Arduino/Photon sketch. Easy enough. Now the hard(er) part -- compiling.
Compiling with Make Magic
To build your firmware you'll need to call make, while configuring a few variables at the same time. You need to tell make what platform you're compiling for (we're assuming its a Photon, but it could also be a Core or P1 module). And you also need to tell it which app to make.
First, change directories to the main folder. Then type this:
make PLATFORM=photon APP=blink
The APP=blink bit will tell make to look for application code in the "user/applications/blink" folder. There are more make options available as well, check out Particle's build documentation.
Your first build may take some time, but, now that most everything is built, successive make's should go much faster. A successful build should yield a response like this:
text    data     bss     dec     hex filename
1956      44     236    2236     8bc ../../../build/target/user-part/platform-6-m-lto/applications/blink.elf
The final output of our build will be: firmware/build/target/user-part/platform-6-m-lto/applications/blink.bin. That's what all this work was for. That's what we'll be flashing with dfu-util.
Compile Locally, Flash Locally (Over USB)
Now that you have a .bin file -- cryptic instruction code that only the Photon will understand -- it's time to send it over to the development board. This is where you'll need dfu-util.
Make sure you put your Photon in DFU mode again! Then use this dfu-util command to upload your BIN file to the Photon's application memory:
dfu-util -d 2b04:d006 -a 0 -i 0 -s 0x80A0000:leave -D ../build/target/user-part/platform-6-m/blink.bin
Alternatively, you can make your life a bit easier by using the make command to invoke dfu-util:
make PLATFORM=photon APP=blink program-dfu
Compile Locally, Flash Remotely (With Particle CLI)
Claiming control over your toolchain and source files doesn't mean you can't enjoy the luxury of over-the-air programmability! Particle's Command Line Interface (Particle CLI) gives you command line access to all of their cloud utilities.
Particle CLI, which uses node.js, is a multitool for the Photon. You can use it to configure WiFi, list connected devices, compile code remotely, and -- pertinent to this section of the tutorial -- flash code over-the-air.
After installing Particle CLI, you can use the particle flash command to upload code you've compiled to your Photon remotely. All you need is the name of your Photon and the compiled BIN file.
For example, to upload the blink.bin file we created earlier, send this command (assuming you're still in the "main" directory):
particle flash MY_PHOTON_NAME ../build/target/user-part/platform-6-m/blink.bin
Replace MY_PHOTON_NAME with that of your Photon, and it should quickly transition from breathing cyan (connected to cloud), to blinking magenta (flashing new application), to running your new application.
Adding Libraries
Adding a library to an app built with local gcc is a lot like adding a library using Particle Dev.
Download your library of interest (usually it'll be on GitHub). Then move the library's source files (excluding the "examples" folder) into your application folder.
For example, if you want to use the Weather Shield library, copy the .cpp and .h files, and stick them into your application folder.
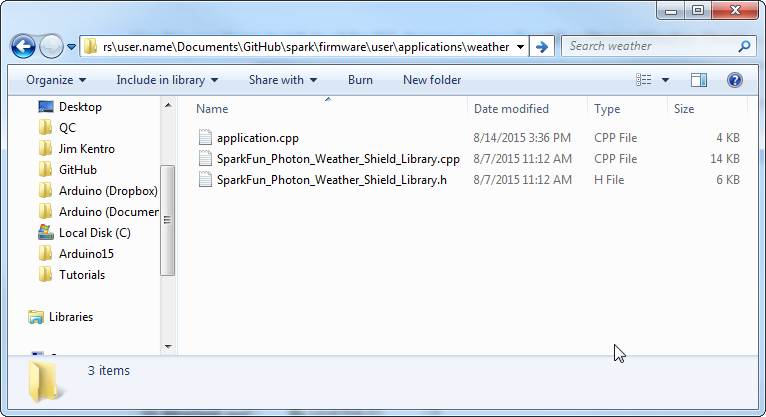
Finally, #include the library in your main application file and compile away!
Additional documentation on developing on Particle's firmware with GCC can be found in the README in Particle's firmware repository.