Nuclear Battery Assembly Guide
A Healthy Green Glow

Experimental Products: SparkX products are rapidly produced to bring you the most cutting edge technology as it becomes available. These products are tested but come with no guarantees. Live technical support is not available for SparkX products.
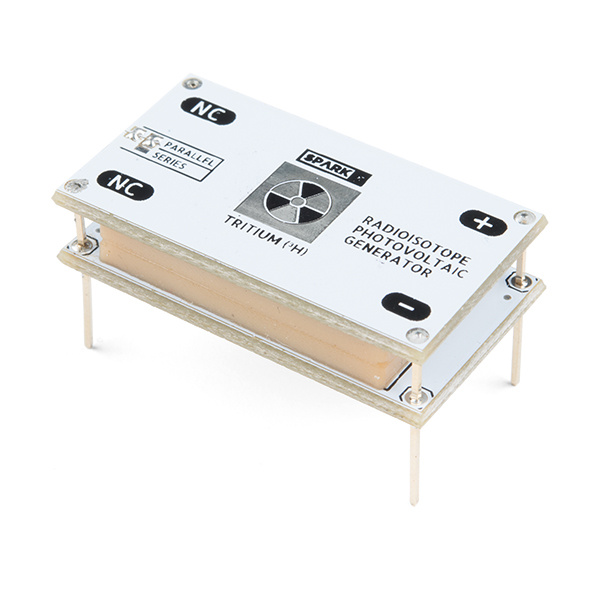
We were inspired to develop the Nuclear Battery Kit after finding some very cool folks making their very own homemade nuclear batteries. The following assembly guide will take you through the construction of this project step by step and even discuss some of the chemistry that makes nuclear batteries possible!
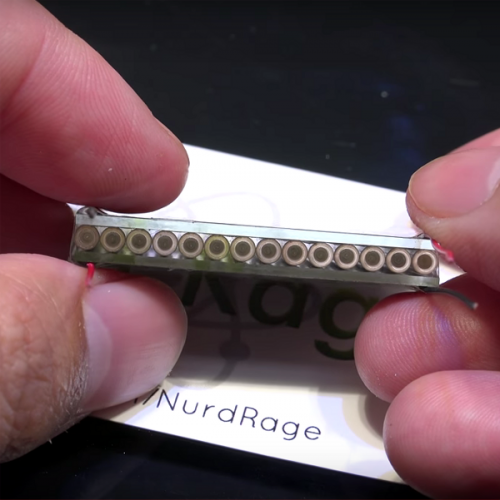
These devices are actually known as "Radioisotope Photovoltaic Generators" or "Photobetavoltaic Generators," and they're a pretty clever design: glowing glass pills filled with tritium gas and coated in a phosphorescent material are sandwiched between two photovoltaic cells. The beta radiation emitted by the tritium is blocked by the glass walls of the pill, but they cause the phosphorescent coating to glow. This light has no trouble passing through the glass and lands on the photovoltaic cells where it produces a small amount of electricity!
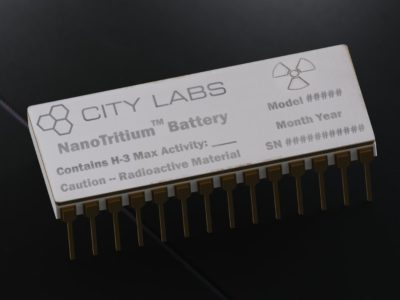
Commercial tritium batteries — like those produced by City Labs — cut out the middleman by using betavoltaic (as opposed to photovoltaic) cells in direct contact with tritium gas. Those commercial devices are more rugged and efficient, but come with a very large price tag (thousands of USD per unit).
On the other hand, homemade devices constructed using the packing tape sandwich method are as cheap as it gets, but aren't particularly sturdy.
This kit provides a good compromise between price and quality of construction. We've designed carrier boards for both of the photovoltaic cells which we supply pre-soldered and fixed to the boards with chipbonder. We have also designed and cast custom silicone rubber grommets which cushion the tritium vials between the two photovoltaic cells, preventing the cells from getting scratched or chipped and — most importantly — the vials from getting broken. The carrier boards also allow you to choose whether the photovoltaic cells are wired in series or parallel and provide you with breadboard compatible pin spacing for the battery terminals.
Required Materials
Now that we've explained the science behind this kit, it's time to start on the construction. To create nuclear batteries of your own, you will need the following materials in addition to the tritium that must be purchased elsewhere:
The breadboard is not needed for this project but it will simplify the required soldering. For information on finding and purchasing tritium vials, please reference the next section "A Brief Word on Tritium Gas Lights." You will need at least ten vials for this guide.
Tools
You will also need some basic soldering equipment and a couple simple tools. The following products are a great starting point:
Weller WLC100 Soldering Station
TOL-14228Please note the tweezers and pliers are not required but will make the construction process easier. In addition, a soft cloth is recommended for cleaning various components of the kit and masking tape may be useful in keeping parts of the battery stationary during the assembly.
Suggested Reading
If you're new to soldering or want to brush up on your soldering skills before beginning this project, please check out the following tutorial:


