nRF52840 Advanced Development With the nRF5 SDK
 jimblom
Setting Up a VS Code Environment
Before you get too deep into building examples and applications for the nRF52840, it may be a good idea to set up a development environment around the nRF5 SDK. An IDE can help you navigate the codebase and easily interact with it via a console.
This tutorial will explain how to set up a Visual Studio (VS) Code environment. A lot of this content should be portable to setting up similar environments in IDE's or editor's like Eclipse, Notepad++, or Sublime if you prefer other tools, though.
Open Folder in VS Code
Open up a new VS Code window, then navigate to File > Open Folder.... In the explorer-prompt that opens, navigate to your nRF5 SDK, then find examples/peripheral/blinky.

The "blinky" example simply blinks an LED on your development board -- it's a great way to verify that your toolchain is correctly set up.
Set Up c_cpp_properties.json
After opening the folder, you should see a file-explorer on the left-hand side of the window. Double-click main.c to open the main source file.
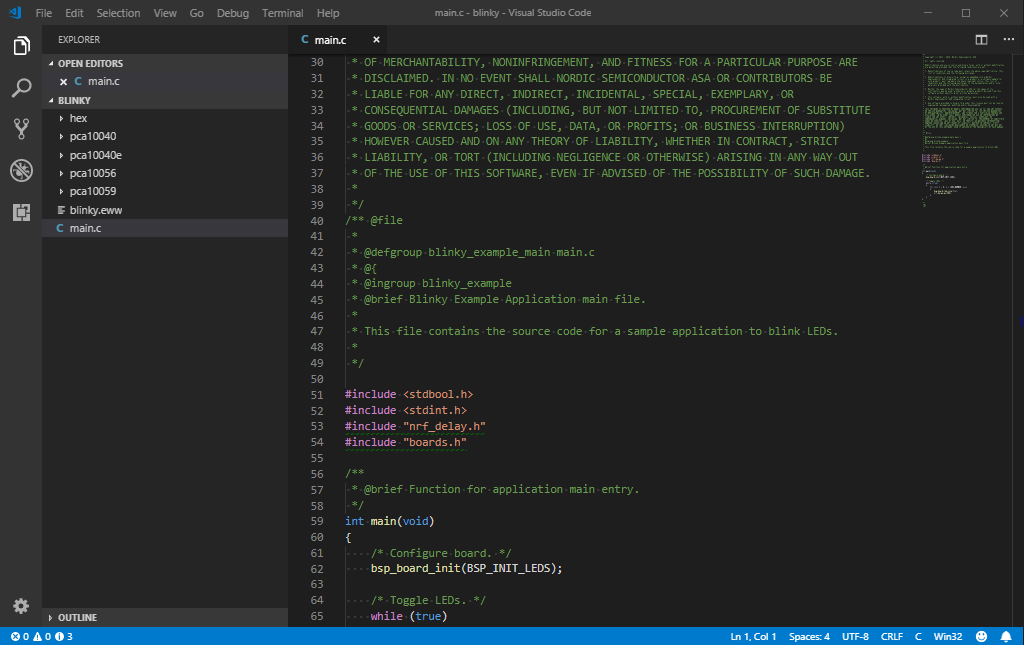
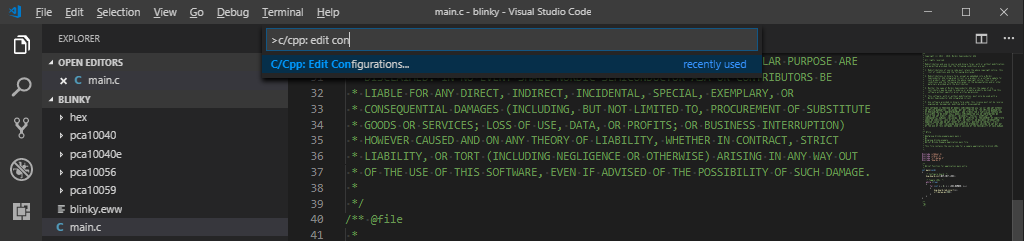
One of the most powerful features of IDE's like VS Code is this ability to trace back through #include to provide the definition of functions or constants. To help the IDE navigate these files, you should define a file named c_cpp_properties.json in a .vscode directory in your blinky example. This file can be automatically created by pressing CTRL+SHIFT+P, then beginning to type c/cpp: edit configurations.
Your c_cpp_properties.json file should be automatically created. This file includes paths to include files and macro definitions that may alter the compilation of a source file. Here's an example you can base your file off. You may need to alter the path of nrfSDK, so it matches that of your nRF5 SDK's root path.
language:json
{
    "env": {
        "nrfSDK": "C:\\nRF5\\nRF5_SDK_15.2.0_9412b96"
    },

    "configurations": [
        {
            "name": "ARMGCC",
            "includePath": [
                "${workspaceFolder}/**",
                "${nrfSDK}/components/**",
                "${nrfSDK}/components",
                "${nrfSDK}/components/libraries/experimental_memobj",
                "${nrfSDK}/components/libraries/experimental_section_vars",
                "${nrfSDK}/modules/nrfx/mdk",
                "${nrfSDK}/modules/nrfx/hal",
                "${nrfSDK}/components/libraries/balloc",
                "${nrfSDK}/components/libraries/experimental_log",
                "${nrfSDK}/components/libraries/experimental_log/src",
                "${nrfSDK}/components/libraries/delay",
                "${nrfSDK}/integration/nrfx",
                "${nrfSDK}/components/libraries/bsp",
                "${nrfSDK}/components/drivers_nrf/nrf_soc_nosd",
                "${nrfSDK}/components/libraries/strerror",
                "${nrfSDK}/components/boards",
                "${nrfSDK}/components/toolchain/cmsis/include",
                "${nrfSDK}/modules/nrfx",
                "${nrfSDK}/components/libraries/util",
                "${nrfSDK}/components/libraries/fifo",
                "${nrfSDK}/components/libraries/uart",
                "${nrfSDK}/integration/nrfx/legacy",
                "${nrfSDK}/components/libraries/delay",
                "${nrfSDK}/modules/nrfx/drivers/include",
                "${workspaceFolder}/sparkfun/blank/config",
                "${workspaceFolder}/sparkfun/blank"
            ],
            "defines": [
                "_DEBUG",
                "UNICODE",
                "_UNICODE",
                "BOARD_SPARKFUN_NRF52840_MINI",
                "BSP_DEFINES_ONLY",
                "CONFIG_GPIO_AS_PINRESET",
                "FLOAT_ABI_HARD",
                "NRF52840_XXAA",
                "DCONFIG_NFCT_PINS_AS_GPIOS"
            ],
            "compilerPath": "C:\\Program Files (x86)\\GNU Tools ARM Embedded\\7 2018-q2-update\\bin\\arm-none-eabi-gcc.exe",
            "cStandard": "c11",
            "cppStandard": "c++17",
            "intelliSenseMode": "clang-x64"
        }
    ],
    "version": 4
}
If everything parses correctly, you should be able to right-click on any #include, function, or constant definition and select "Go to Definition (F12)" to navigate to the source file that declares that bit of code.
This is a super-powerful tool, especially if you're just beginning to familiarize yourself with the nRF5 SDK and the API's it provides.