MicroMod Environmental Function Board Hookup Guide
 bboyho,
  Elias The Sparkiest
 Introduction
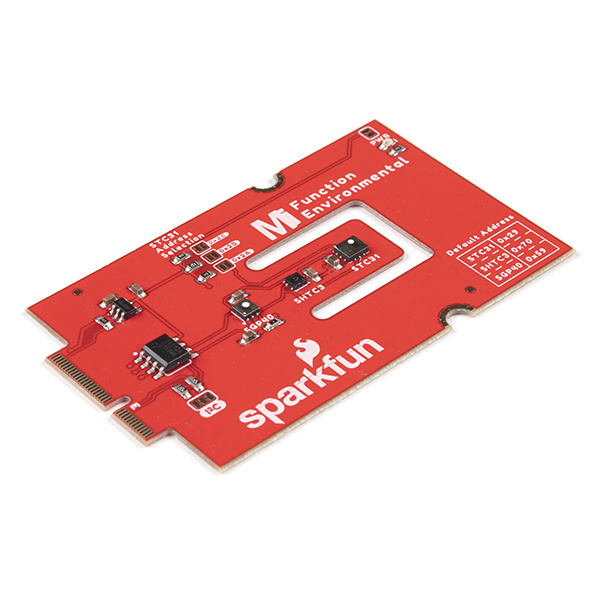
The SparkFun MicroMod Environmental Function Board adds additional sensing options to the MicroMod Processor Boards. This function board includes three sensors to monitor air quality (SGP40), humidity & temperature (SHTC3), and CO2 concentrations (STC31) in your indoor environment. To make it even easier to use, all communication is over the MicroMod's I2C bus! In this tutorial, we will go over how to connect the board and read the sensors.
Required Materials
To follow along with this tutorial, you will need the following materials at a minimum. You may not need everything though depending on what you have. Add it to your cart, read through the guide, and adjust the cart as necessary.


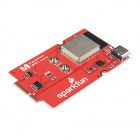
SparkFun MicroMod Main Board - Single
DEV-18575MicroMod Main Board
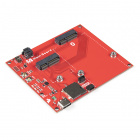
To hold the processor and function boards, you will need one Main board. Depending on your application, you may choose to have either one or two function boards.
SparkFun MicroMod Main Board - Single
DEV-18575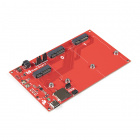
SparkFun MicroMod Main Board - Double
DEV-18576MicroMod Function Board
To add additional functionality to your Processor Board, you'll want to include one or two function boards when connecting them to the Main Board. Besides the MicroMod Environmental Function Board which this tutorial is focused on, you may descide to add the WiFi Function Board to the mix. Make sure to adjust the cart and include the MicroMod Main Board - Double as opposed to the Single when using two Function Boards. Check out the SparkFun catalog for other function boards.
Tools
You will need a screw driver to secure the Processor and Function boards.
Suggested Reading
If you aren't familiar with the MicroMod ecosystem, we recommend reading here for an overview.
| MicroMod Ecosystem |
If you aren’t familiar with the following concepts, we also recommend checking out a few of these tutorials before continuing. Make sure to check the respective hookup guides for your processor board and function board to ensure that you are installing the correct USB-to-serial converter. You may also need to follow additional instructions that are not outlined in this tutorial to install the appropriate software.