Making Custom Footprints in EAGLE
Editing the Existing Footprint
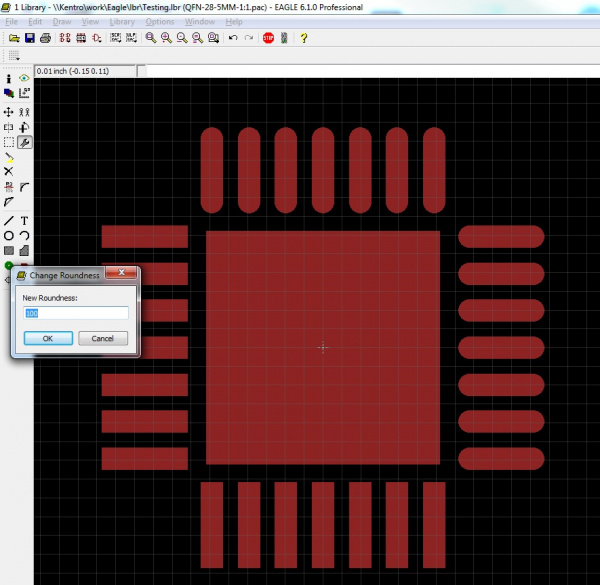
Chances are the existing footprint will be fairly close to the right size and spacing, but there are always better ways to set things up. For instance, in this example, the pads on the footprint are square, while the pads on the part are round.
Always match metal to metal wherever possible. This means that all the pads on the footprint should be the same size and shape as their counterparts on the part on which you are working.
Using the Change tool on the left toolbar, select Roundness and type 100 (for 100%). Then select each pad, and they will change from square to round.
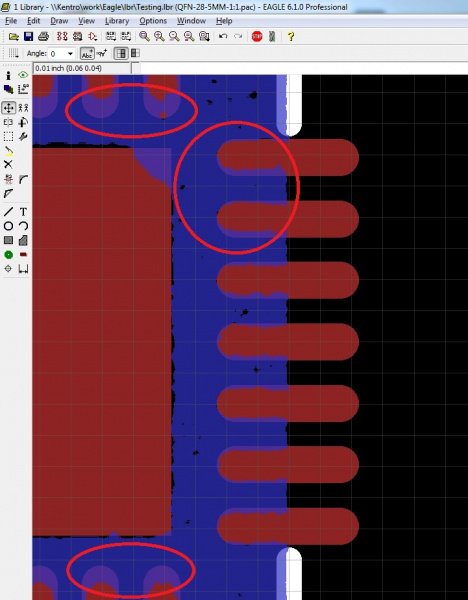
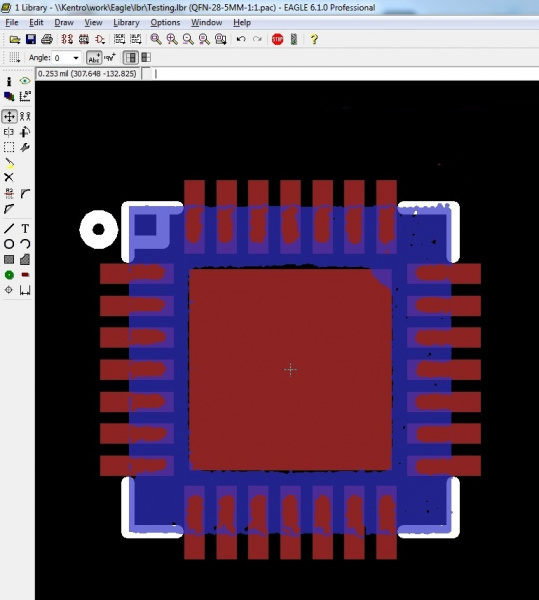
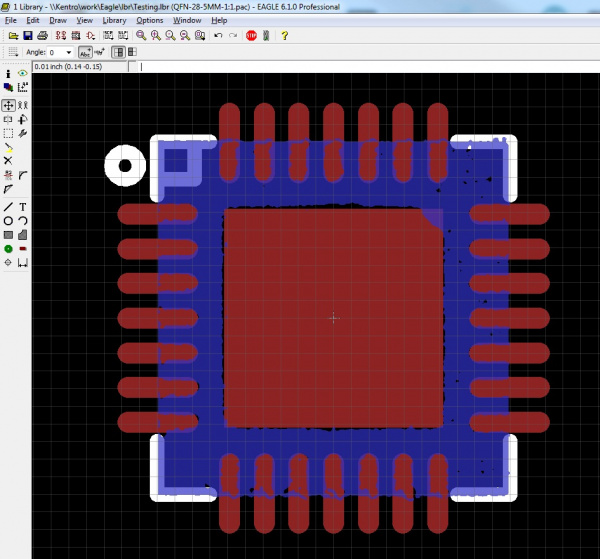
After all the pads are round, move each individual pad into place, using the imported image as a reference. Note the righthand pads are lined up correctly while the upper and lower pads have not yet been moved.
Remember that for the most part, footprints are quite small, so little moves in Eagle are even smaller in the real world. It's ok to just get things as close as you can. It doesn't have to be exactly right. I always make symmetrical moves when dealing with a symmetrical part (what I do to one side I do to all four sides), so I end up having to move pads into positions that look the best overall, and maybe not the best per individual pad.


