Making Custom Footprints in EAGLE
 Joel_E_B,
  TheoS
TheoS 
Connecting the New Package to the Device
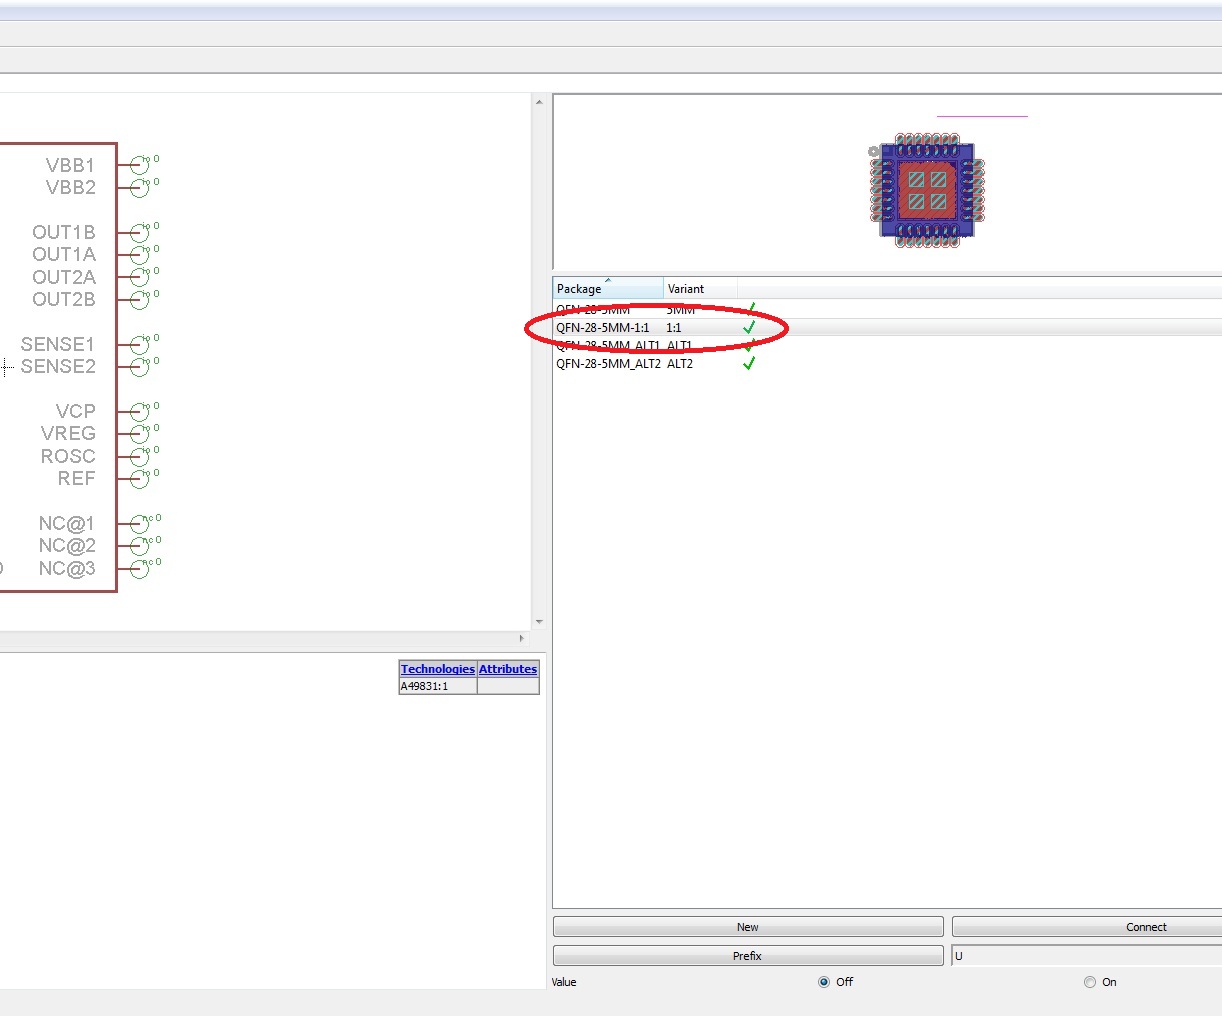
In order for you to be able to use the new package in Eagle, it must be connected to a device. Since we are just customizing an existing part, it's a pretty simple thing to do.
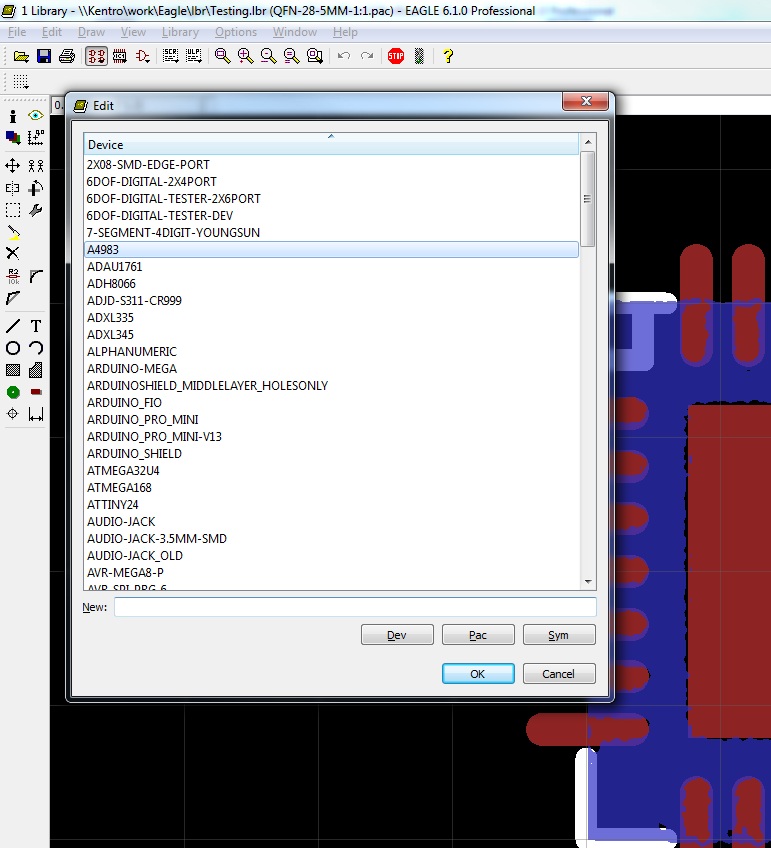
Open the Device list (next to Package on the toolbar), and select your device.
This opens a schematic picture of your device, along with all of the packages connected to it.
On the righthand side, select “New”.
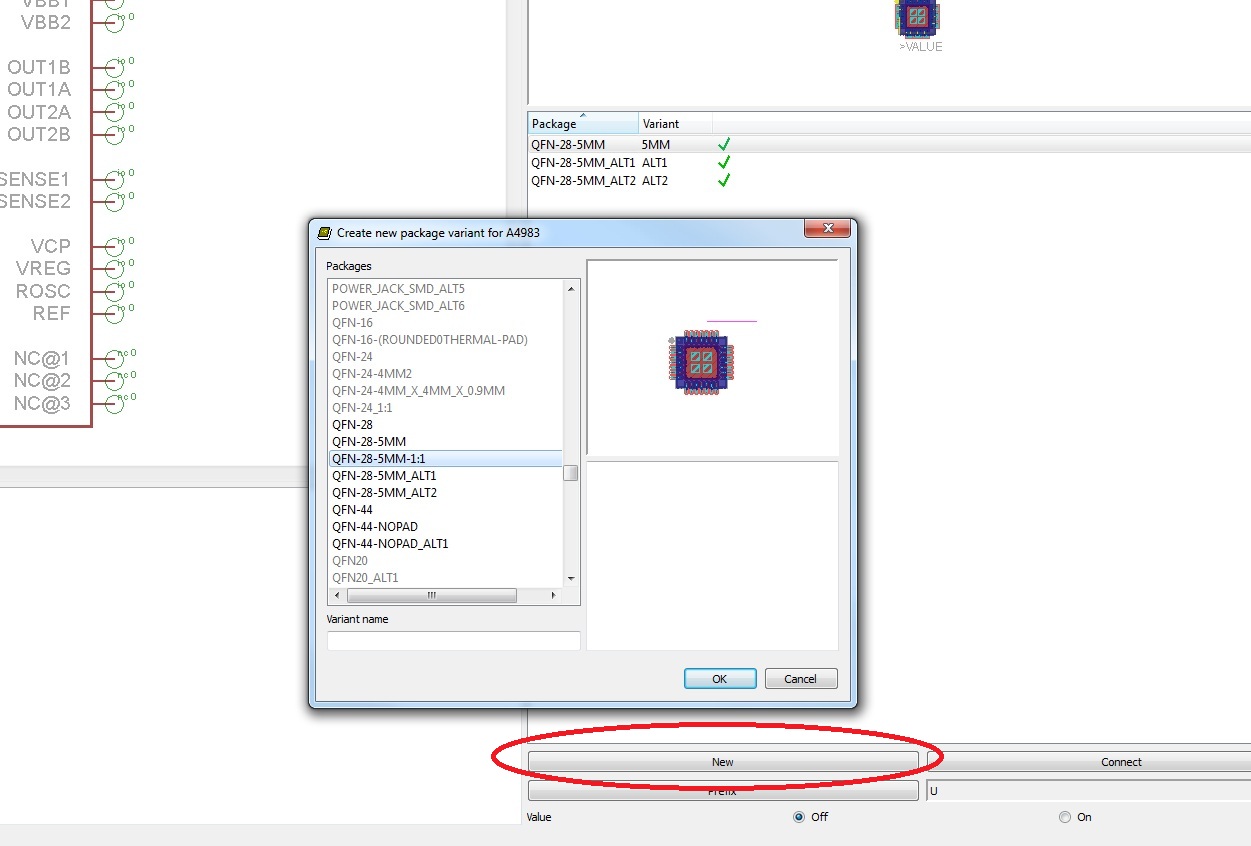
This brings up the package list, and you can select the one you just created.
You just created what Eagle calls a Variant. It's an alternate package associated with a device. Right-click on it and hit Rename.

I always rename this new Variant “1:1” so that all the Library files are consistent, but you can call it whatever you like.
Notice that there is that little yellow circle with an exclamation point next to the variant. This means that a package has been added to the device, but Eagle is not sure how to connect the pins associated with the pads.
With your variant selected, hit the Connect button.
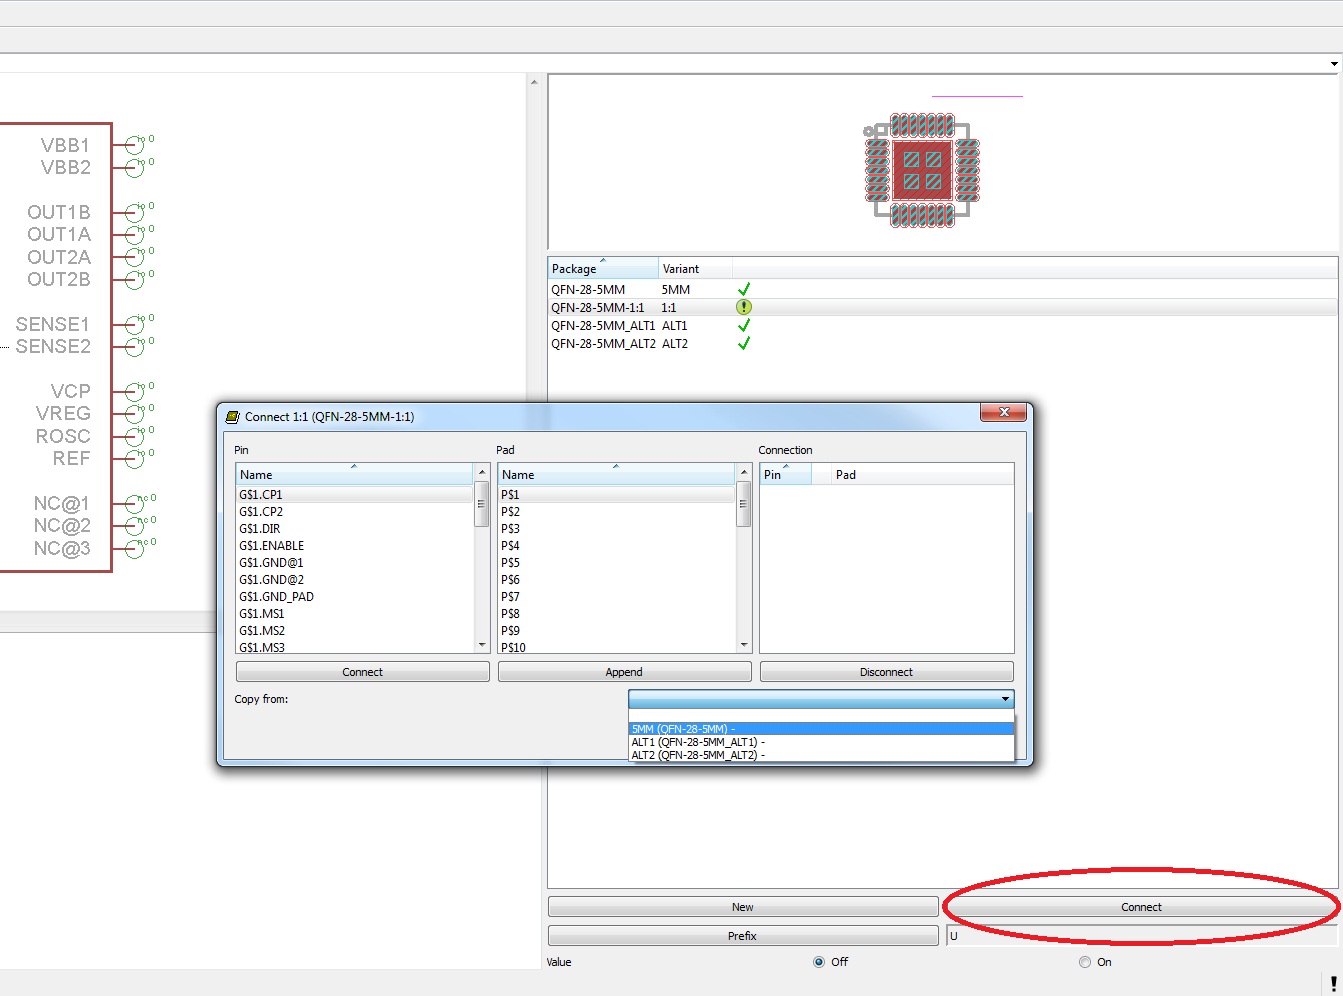
This brings up a list of all the pins on the Device, and all the pins on the package.
From the little dropdown menu, scroll to the original package name (if there is more than one package already associated with this device – in my case there are two more).
This connects your variant exactly like the original package, which is how you want it to be.
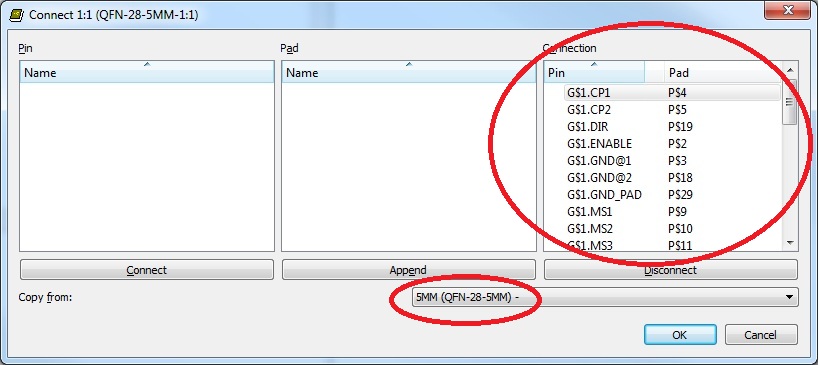
Once you click OK, you have completed the connections and your variant should get a check mark.
Now all that remains is to use this new package and on a board, or replace an existing package on a board if you have already used the library part somewhere in your designs.