LilyPad Vibe Board Hookup Guide
Contributors:
 bboyho,
  Gella
Gella
Sewing Into a Project
Once you are finished prototyping your project using the LilyPad Vibe Board, you can replace any temporary connections with conductive thread. For an overview of sewing with conductive thread, check out this guide:
LilyPad Basics: E-Sewing
Learn how to use conductive thread with LilyPad components.
You can also make your own button by using metal snaps or any conductive material.
LDK Experiment 5: Make Your Own Switch
Learn to create and integrate your own handmade switch into an e-textile circuit.
Making Your Project Portable with Batteries
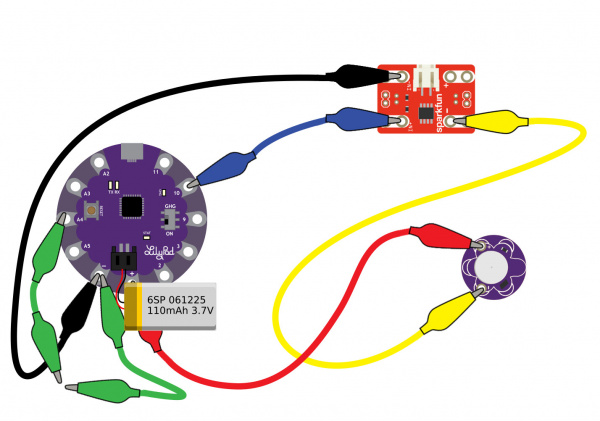
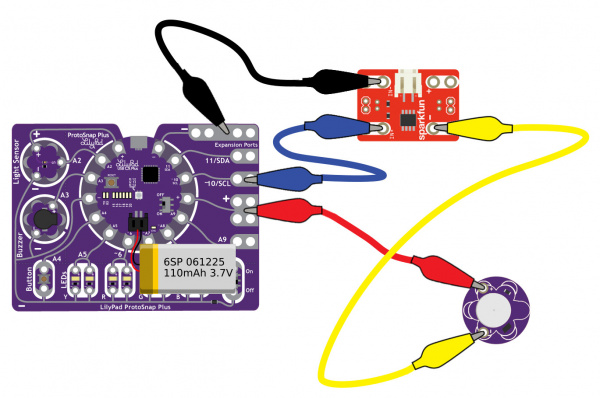
As you start embedding your circuit into your project, we recommend connecting a LiPo battery to the LilyPad's JST connector to regulate the voltage. There are also LiPo charge IC's built into LilyPad Arduinos to recharge the LiPo batteries so that it does not have to be removed from the circuit.
 |
 |
| Circuits with LiPo batteries for remote power. Click on images for a closer view. | |
For more information about using LiPo batteries with LilyPad, check out the tutorial for Powering Your Project.
LilyPad Basics: Powering Your Project
Learn the options for powering your LilyPad projects, LiPo battery safety and care, and how to calculate and consider power constraints on your projects.