LilyPad Pixel Board Hookup Guide
Project Planning and Examples
Now that we've tested our code and basic circuit hookup, time to make some decisions about how to attach the components to our project. For general tips on planning your project, check out this tutorial:
Planning a Wearable Electronics Project
When working with LilyPad Pixel Boards, you'll have to make a lot more decisions regarding power, as well as considering placement of pixels and how they will shine through the project.
As we discovered earlier, the LEDs on the pixels can get pretty bright! Here are some ideas for diffusing the light so that it illuminates in a soft glow instead of a spotlight effect on your project:
- Batting or layers of felt/fabric between pixel and top layer of fabric
- Sequins, beads, or hot glue
- Scrape the mirror backing off of craft gems to create a jewel cover for the pixel
- Light colored fake flower over the pixel
- Ping Pong Balls, bottle caps, or other plastic pieces
Example Projects
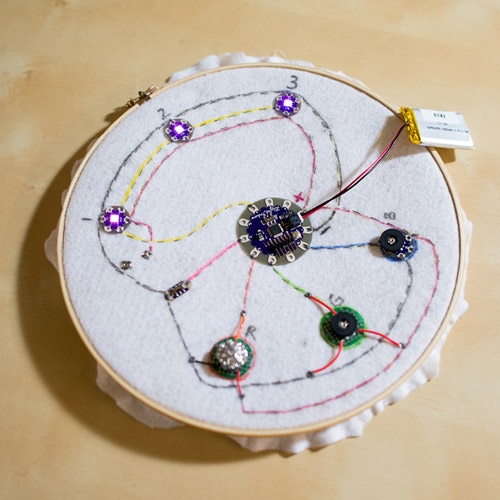
Here is a basic example circuit SparkFun Education uses for teaching LilyPad skills. The snaps are sewn in to demonstrate the difference when a capacitor is in the circuit to eliminate flickering. Both types of potentiometer methods are used, one is covered with a jeweled button to show a method for incorporating into a project.
In this episode of ElectriCute, Dia and Nick show a New Year's Eve dress created with pixel boards and a DeadOn RTC Breakout.
This prom dress project featured in this video uses a LilyPad Light Sensor to trigger some pixel boards in a twinkling pattern.
