LilyPad Pixel Board Hookup Guide
 Gella ,
  MikeGrusin
 Powering Your Pixels
For a general overview of calculating power requirements for your LilyPad project, take a look at our Powering LilyPad LED Projects tutorial. Here, we'll cover special considerations for the LilyPad Pixel Boards.
Unlike most e-textiles parts, LilyPad Pixel Boards use quite a bit of power. If running a project with a 3.7V Lipo battery, each LilyPixel could use as much as 40 milliamps (mA) of current when the color is set to white (all three internal LEDs are fully on). Each additional LilyPixel adds another 40mA to the total, so current draw can add up fast.
LilyPad Pixel Boards start to misbehave when voltage powering them drops below 3 volts. When prototyping with alligator clips, the circuit may have functioned great, but once we sew it into a project with conductive thread resistance can become an issue. The thread on the bobbin averages around 28 Ohms/ft in resistance, which over long distances can the reduce voltage reaching the pixel boards. So what does this mean for project planning?
For successful projects, use as thick a thread as you can, and keep the total power supply stitching as short as possible.
Instead of placing all of the pixels on one power loop, create multiple loops that contain fewer pixels. For example instead of having 10 pixels on one loop, two 5 pixel loops with separate power lines will help decrease thread resistance over distance. One drawback is that this strategy increases the amount of sewing required, and multiple loops can make crossovers difficult.
Preventing Flickering Pixels
Voltage-drop issues can also happen when LilyPad Pixel Boards are commanded to different brightness levels. The change in current draw will create a voltage fluctuation on the power line, causing neighboring pixels to appear to flicker even if they are not being commanded.
We can prevent (or fix) these problems by:
Reducing power line resistance - keep the power lines as short as possible, by using bundled conductive thread or conductive thread alternatives such as conductive fabric with a lower resistance.
Use multiple power loops - use a pixels in short lines instead of all pixels on one long power line.
Switch to wire - some larger projects may benefit from wired pixels instead of conductive thread.
Adding Capacitors
We can also add capacitors to the circuit. Capacitors are an electronic component that acts like power reservoirs. They fill up with voltage when it’s available, and supply it when the voltage drops. This evens out the voltage fluctuations on the power line, greatly reducing flicker.
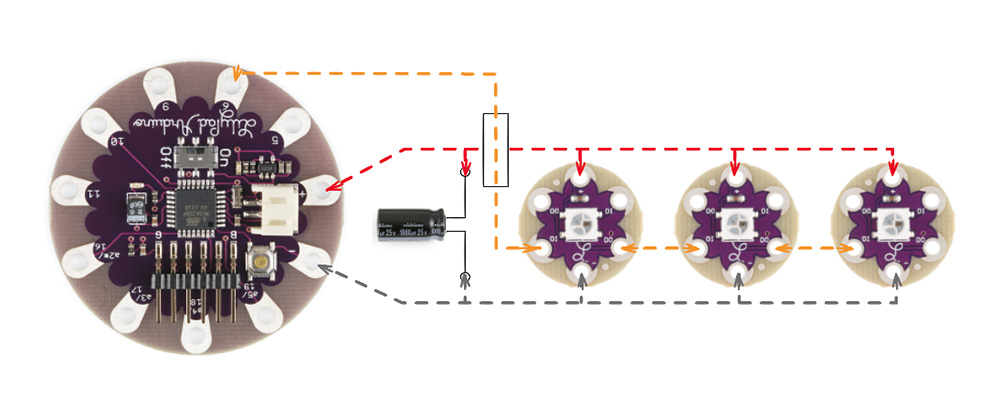
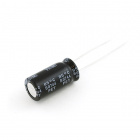
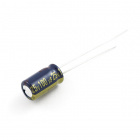
SparkFun sells 1000 microfarad (uF) capacitors that can be added to your circuit by making loops in the leads and sewing to the loops. Note that there is a positive and negative lead; the negative lead is denoted by a stripe on the body of the capacitor.
Attach capacitors across the power and ground close to the LilyPad Pixel Boards. Because the effects are reduced along the length of the resistive thread, add one capacitor for every five or ten pixels. Sprinkling them throughout the project layout will provide local voltage reservoirs that will help even out the voltage fluctuations.