LilyPad E-Sewing ProtoSnap Hookup Guide
Stitching into a Project
Ready to sew into a project? First, slide the coin cell battery out of the battery holder and set aside.
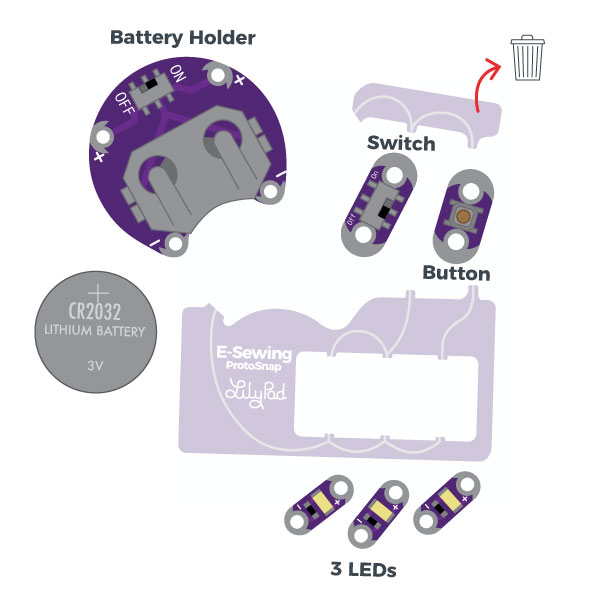
Carefully snap apart the connected components on the E-Sewing ProtoSnap panel to prepare for sewing. Discard the non-sewable pieces and scraps. Use a set of pliers or diagonal cutters if you are having trouble snapping the pieces apart. You will end up with six individual LilyPad pieces: the battery holder with battery, three LEDs, button, and switch.
Designing Your Project
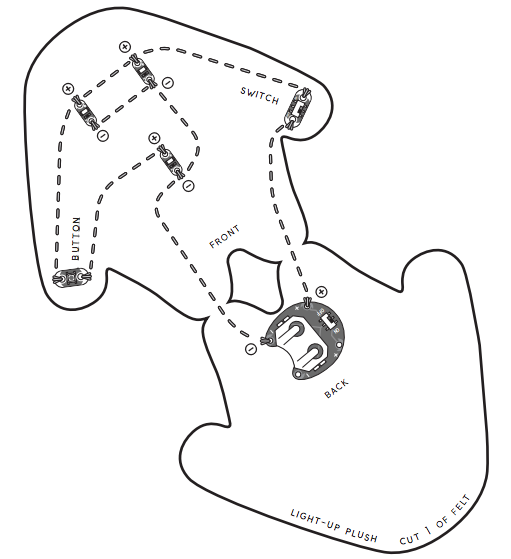
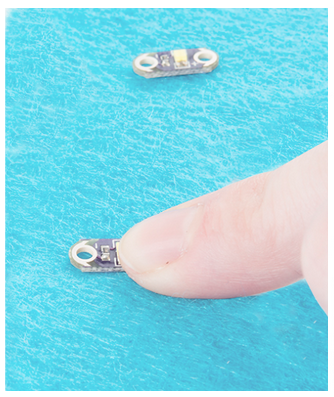
Sketch on a piece of paper or arrange the LilyPad pieces on your felt or fabric to form your design. At this point, you can recreate the connections the pieces had in the ProtoSnap format or design your own new configuration. Keep in mind that the positive tabs of the LED must connect to the button or switch in order to be controlled by them. The negative tabs of the LEDs should connect back to the negative tab on the battery holder.
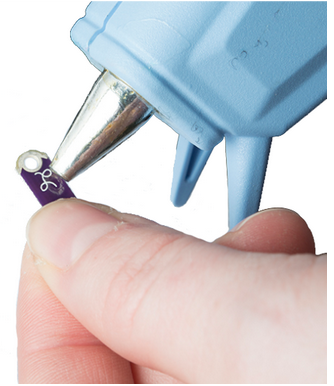
When your circuit design is finalized, secure the LilyPad pieces on your project with a small dab of hot glue or fabric glue, making sure not to cover the holes in the sew tabs. Double check the orientation of the LilyPad pieces against your diagram (or template if using a SparkFun design) before gluing.
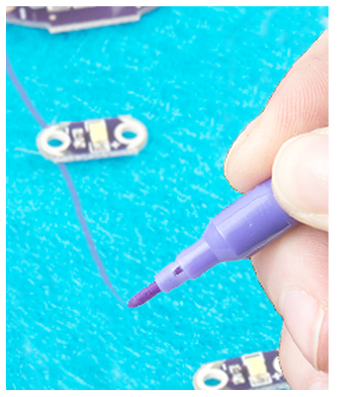
To help you plan your stitch lines, draw your circuit onto the fabric with chalk or a washable marker.
After arranging the circuit, carefully connect each LilyPad component together with conductive thread stitching. Each connection between components should be a separate piece of conductive thread and avoid crossing other stitch lines.
If have never sewn with conductive thread this tutorial covers the basics.
LilyPad Basics: E-Sewing
Troubleshooting
With any electronics project, there are times you will have to troubleshoot if your circuit isn't working. If your circuit isn't lighting up, try a new battery or check that your project is switched on. Check your sewing for any loose threads or ends that may be touching other parts of your circuit and causing a short circuit. Learn more about troubleshooting your project in the LilyPad Basics: E-Sewing tutorial.
