LilyMini ProtoSnap Hookup Guide
Overview
The LilyMini ProtoSnap is a great way to get started learning about creating interactive e-textile circuits before you start sewing. Read on for a description of the board's pre-programmed behaviors and how to snap it apart for use in a project.
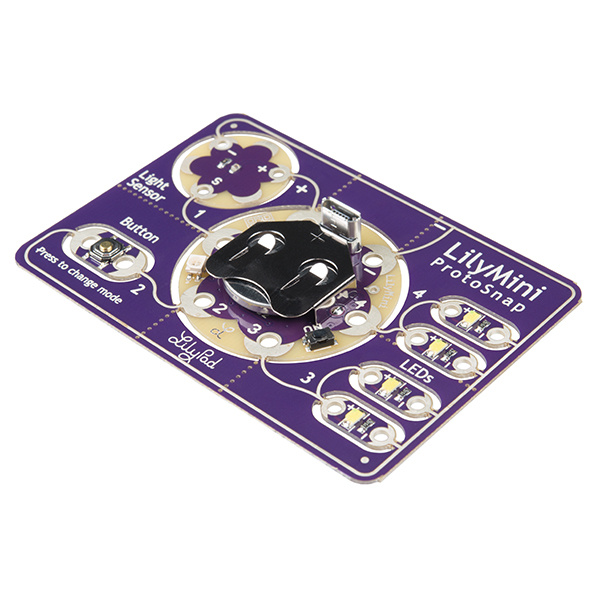
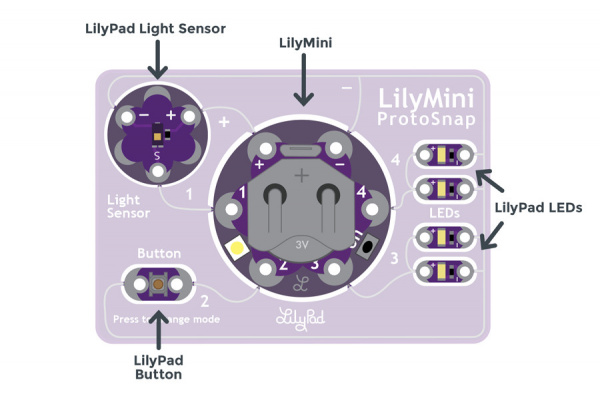
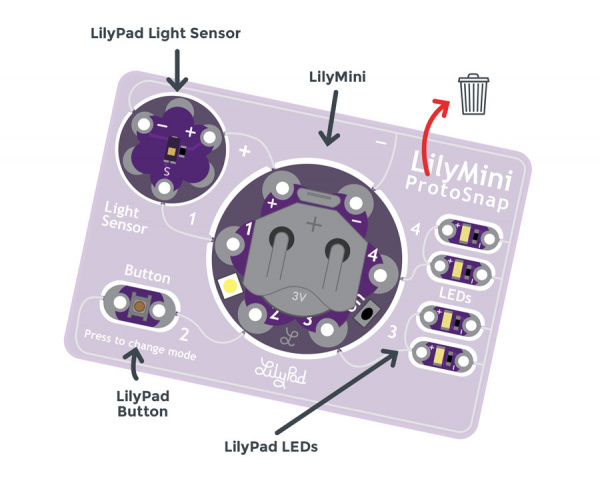
Like other LilyPad ProtoSnap boards, the LilyMini ProtoSnap has all of its pieces wired together, enabling you to test the circuit’s function before you sew. At the center of the board is a pre-programmed LilyMini microcontroller connected to a LilyPad Light Sensor, LilyPad Button, and two pairs of LilyPad LEDs.
Suggested Reading
If this is your first e-textile project, take a look at some of our beginner tutorials.
Planning a Wearable Electronics Project
LilyPad Light Sensor Hookup Guide
LilyPad Basics: E-Sewing
Hardware Overview and Features
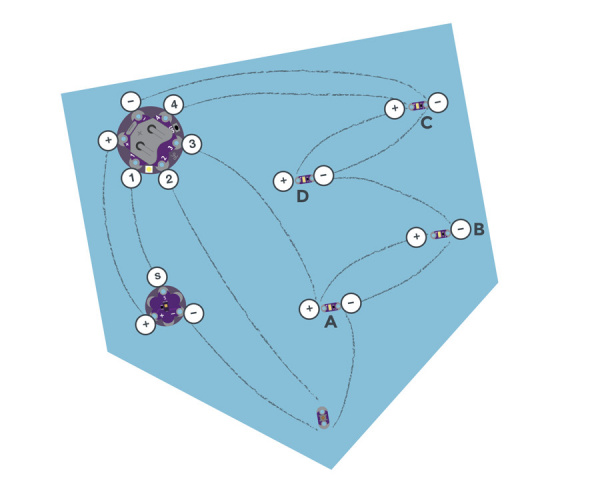
The LilyMini ProtoSnap includes six LilyPad components connected to a LilyMini by silver pathways called traces. After breaking the ProtoSnap into individual pieces, we will replace these pathways with conductive thread stitch lines. For easy reference, each piece on the ProtoSnap has a nearby label with its name and the LilyMini sew tab to which it is connected.
| LilyPad Component: | Connected to LilyMini Sew Tab: | Description: |
|---|---|---|
| LilyPad Light Sensor (S) | 1 | LilyMini receives ambient light level input from light sensor. |
| LilyPad Button | 2 | LilyMini receives button press input to change modes. |
| 2 LilyPad LEDs (+) | 3 | A pair of LEDs controlled by LilyMini modes. |
| 2 LilyPad LEDs (+) | 4 | A second pair of LEDs controlled by LilyMini modes. |
| LilyPad Light Sensor (+) | + | LilyMini provides power to the Light Sensor. |
| All components (-) | - | All components share a common ground connection back to the LilyMini. |
Powering the LilyMini ProtoSnap
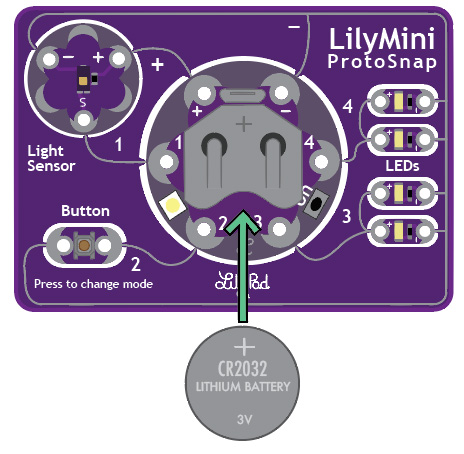
The LilyMini board, at the center of the ProtoSnap, has a built-in battery holder that will hold a 20mm CR2032 Coin Cell Battery. The board can also be powered through the micro USB port. If both are present, the USB cable takes priority. When the LilyMini is being powered via the cable, no power is drawn from the battery.
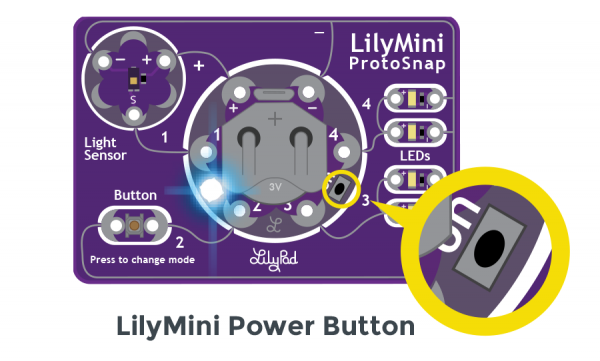
To turn on the LilyMini, locate the small push button labeled ON between sew tabs 3 and 4. With the battery installed (or USB cable connected) press and release the button quickly to start up the LilyMini. To turn the LilyMini off, press the button a second time.
A built-in LED between sew tabs 1 and 2 is used as an indicator light when powered on. The LED will briefly flash green upon start up if the battery has enough charge to power the board or flash red if the battery is too low and will not power the circuit. The LilyMini does not include a battery charging circuit, when the LED flashes red we recommend installing a new battery for best performance.
Exploring the Sample Circuit
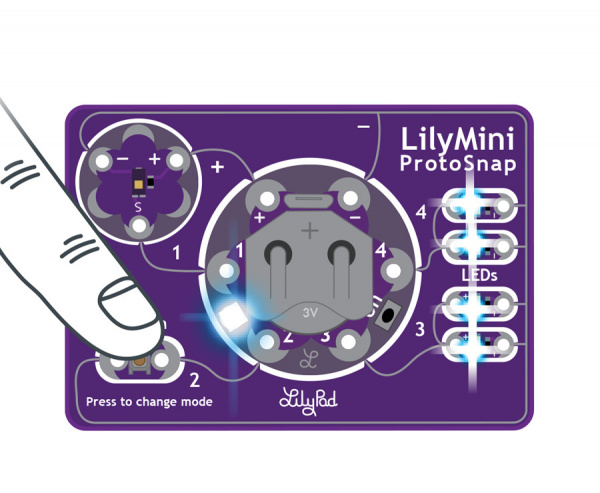
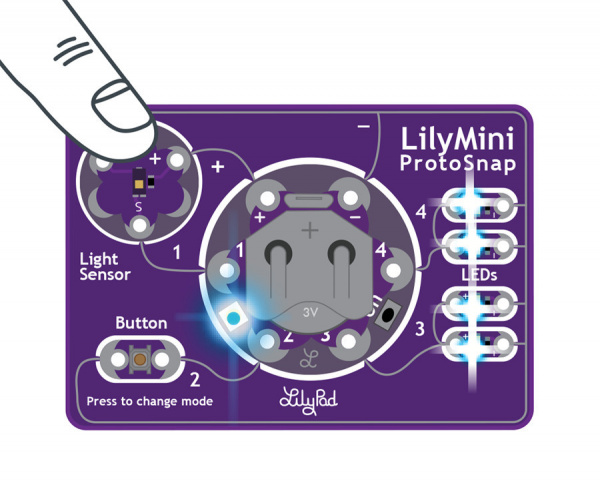
The LilyMini ProtoSnap ships with pre-loaded code that uses all the LilyPad pieces connected to it. This sample code has three modes, which can be selected by pressing the LilyPad Button on the bottom-left side of the ProtoSnap (see in the chart below). The built-in LED on the LilyMini will change color to indicate which mode has been selected.
LilyMini ProtoSnap Modes
| Mode | Color | Behavior |
|---|---|---|
| 1 | White | All LEDs on. |
| 2 | Magenta | LEDs fade in and out in a breathing pattern. When the light sensor is covered, LEDs fade faster. |
| 3 | Cyan | LEDs off. When the light sensor is covered, LEDs will twinkle. |
Try It Out
Press the button to switch modes. In modes 2 and 3, when the light value from the light sensor falls below a certain level, the LilyMini tells the LEDs to change behavior (breathe or twinkle). When the light level rises again, the LilyMini tells the LEDs to return to the original behavior.
Stitching into a Project
Carefully snap the pieces of the ProtoSnap apart to prepare for sewing. Use a set of pliers or diagonal cutters if you are having trouble snapping the pieces apart. Discard the non-sewable pieces and scraps.
Arrange the LilyPad pieces on your project and secure with a small dab of hot glue or fabric glue, making sure not to cover the holes in the sew tabs. Double check the orientation of the LilyPad pieces against your diagram (or template if using a SparkFun design) before gluing. To help you plan your stitch lines, draw your circuit onto the felt with chalk or a washable marker.
After arranging the circuit, carefully connect each LilyPad component to the LilyMini with conductive thread.
If you need help sewing with conductive thread this tutorial covers the basics.
Resources and Going Further
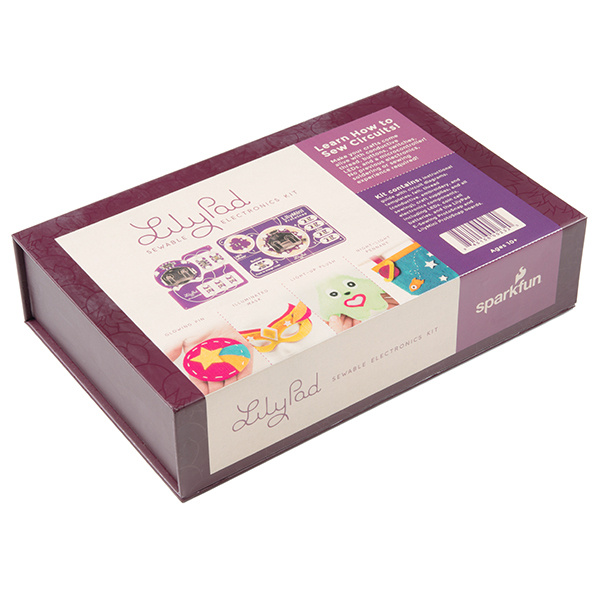
Looking for project inspiration? The Night-Light Pennant project from the LilyPad Sewable Electronics Kit uses the LilyMini ProtoSnap.
These tutorials will guide you through additional projects and concepts:
