Let It Glow Holiday Cards
 Gella
Gella 
Step 6: Prepare Pop Up
Time to cut out our pop up pieces. Click the links below to visit Robert Sabuda's website for full instructions on assembling the Gingerbread and Christmas Tree pop ups.
Gingerbread House Instructions
Note: There is an additional edit to this template - use a hobby knife to cut windows in the house so that the LED can shine through. Cut out the small circle in the base template (page 3 of the pdf) to let the LED shine through before you glue the house down.
Christmas Tree Instructions
Note: To create a string of lights effect after the pop up is cut and folded, use a hole punch or small pair of scissors to cut out the small circles marked on the back of the template. For a three dimensional look, use a glue gun to adhere a small dab of glue on the back of each hole (be careful not to glue the card to your work surface). The glue will press through and create a bulb-like shape. This may take some practice to get the right amount of glue for each 'bulb' - we recommend trying on scrap paper first.


Window Instructions
Begin folding the window card along the center crease, be careful not to bend the frame.

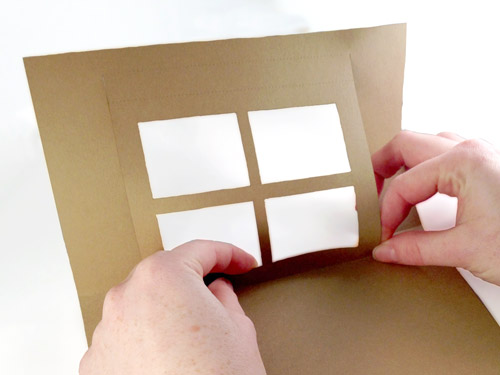
Next, carefully fold the bottom of the window frame.
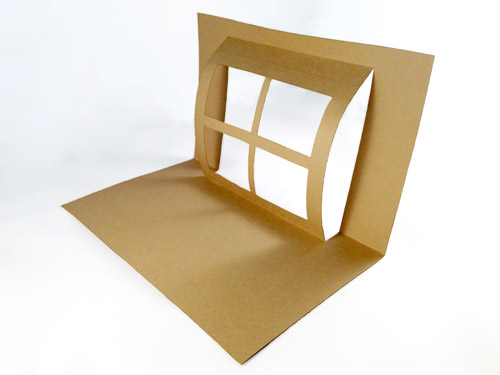
To fold the top creases of the window frame, press the card flat against a table.

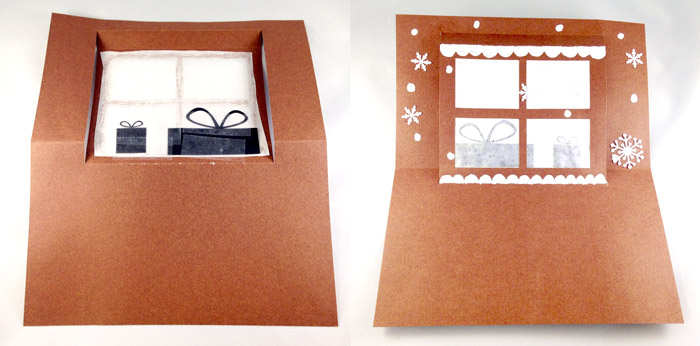
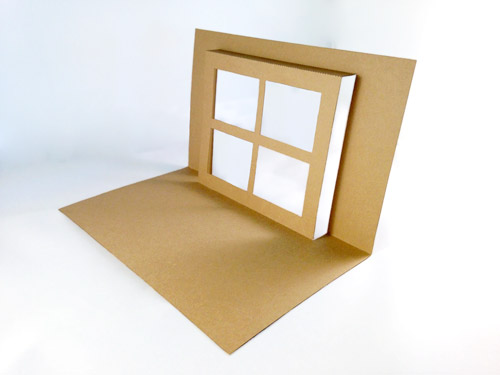
Your final pop up will look like this:
Use a piece of parchment paper or vellum behind the frame to create a frosted look. Tape or glue on silhouette shapes to create a holiday scene.